
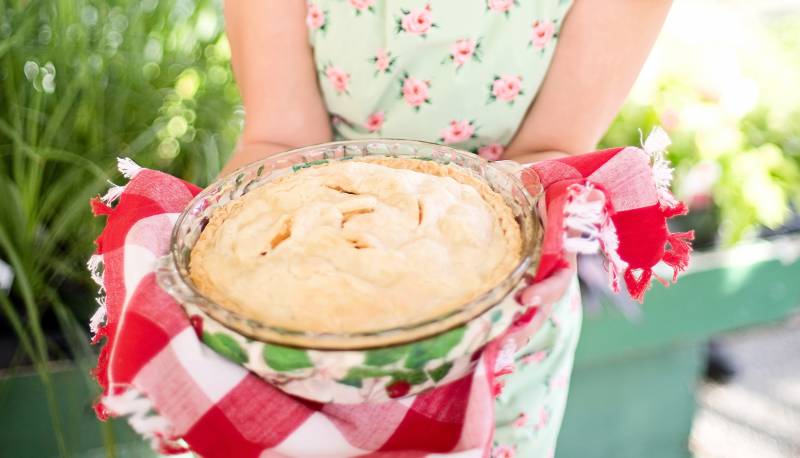
This is an old post I just discovered in the archives – one that Julia had written but never posted! I thought with the Summer almost here, it would be a great time to share! -Sarah
______________________________________
I was new to the canning world. It intrigued me, but I felt inadequate to do such an “old fashioned” thing. I felt like I needed an expert to guide me through it!
Here’s what I did and what I learned along the way…
The problem I had was after I cut the apples up I wanted to be able to jar them immediately to prevent them from turning brown. I was stressed to the max and called my husband over to help out. He felt the syrup was too hot, so he took it off the burner. Unfortunately, when the syrup cools it turns into a thicker version of itself and let’s just say it wasn’t great. So, the second time I did it by myself here’s what I did.

I used this recipe from All Recipes: allrecipes.com
1. Set your pot full of water that you are going to can/water bath on high with the lid on. The last thing you want to be doing is waiting for your water to boil. Put your jars in the water to sterelize them. If you do not do this, there is an extra step later to make sure they are hot enough not to break when you put them back in this water.
2. Put the syrup ingredients in a pot. Leave the water, lemon, food coloring measured in a bowl next to the dry ingredients.
3.Take a big bowl and put water it in. Juice 1 lemon (or add 2 TBSP of lemon juice) in the water, and add three drops of yellow food coloring.
4. Start peeling and coring your apples. I use Pampered Chef’s Apple Peeler Corer Slicer. It works great on apples that aren’t mushy. I hold cutting edge until it gets going and then you need to crank as fast as you can go. The faster you go the less apple it takes with it.
5. Place your peeled apples in your water, food coloring, lemon water. As you add more, rotate the apples, so they have had a chance to be in the water.
6. After you’ve peeled and cut the apples, cut the apples in thirds.
7. Dump the 10 cups of water into the pot with the syrup ingredients and set the burner on high. Stir every couple of minutes until it starts to get hotter. (If you want to wait until you have jarred the apples, that’s fine too. I simply do not like to wait)
8. In a shallow pan, add water to cover the lids and heat on 5. This is done to make sure that the rubbery seal is soft enough to create a seal on top of the glass jar.
9. Remove the jars (dumping the water in the jars back into the pot) from the pot and place them on a towel.
10. Fill the jars with apples. Separate the apple slices, so they aren’t stuck together.
11. Add the syrup leaving 1 inch head space.
12. Remove air bubbles. Add any more syrup.
13. Wipe the tops of the lids to be sure they are clean.
14. Put lids on the jars.
15. Twist bands on the jars.
16. Place jars back in the canning pot.
17. Make sure that there is at LEAST one inch of water covering the jars and leave them in the boiling water for 20 minutes. If you don’t have enough water, add what you need and wait til it boils to start the timer.
18. Remove and place on the towel. Do not press down on the lids to see if they have sealed. You will hear it seal. Check seals in a couple of hours.
19. Clean up! This stuff can get sticky in a big hurry, so clean up right away. Total time from start to finish for me is two hours.
ENJOY!
Leave a Reply