
Our Pace Arrow Renovation
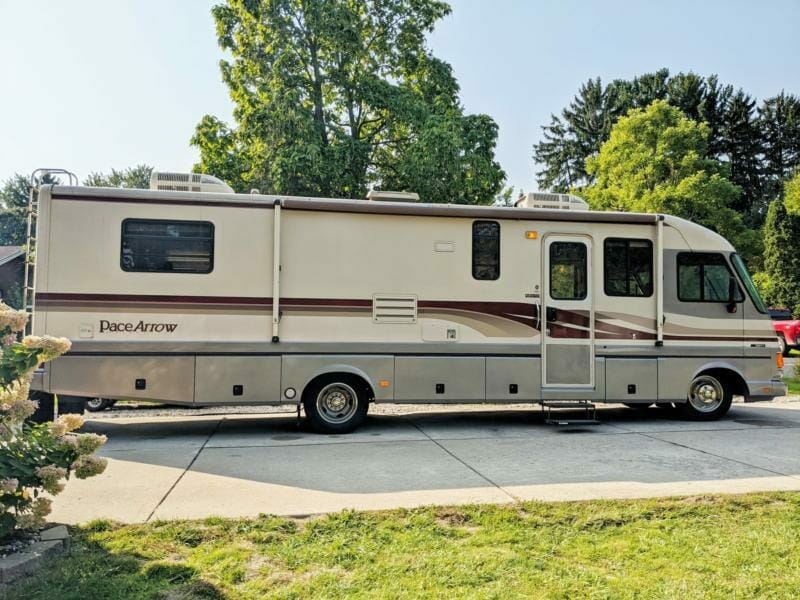
I am excited to share the details from our latest renovation! This Pace Arrow has already sold and gone home with her new owners, but the transformation is too fun not to share. This RV was purchased through a friend of a friend. They were the only owners and had stored it in a heated facility for the last decade. It had been taken out for routine maintenance and kept in pristine condition. I’ve never seen an RV this old, in this good of condition. The exterior was spotless, like it had just rolled off the showroom floor. It was really hard to decide what to keep and what to replace, since it was all like-new!
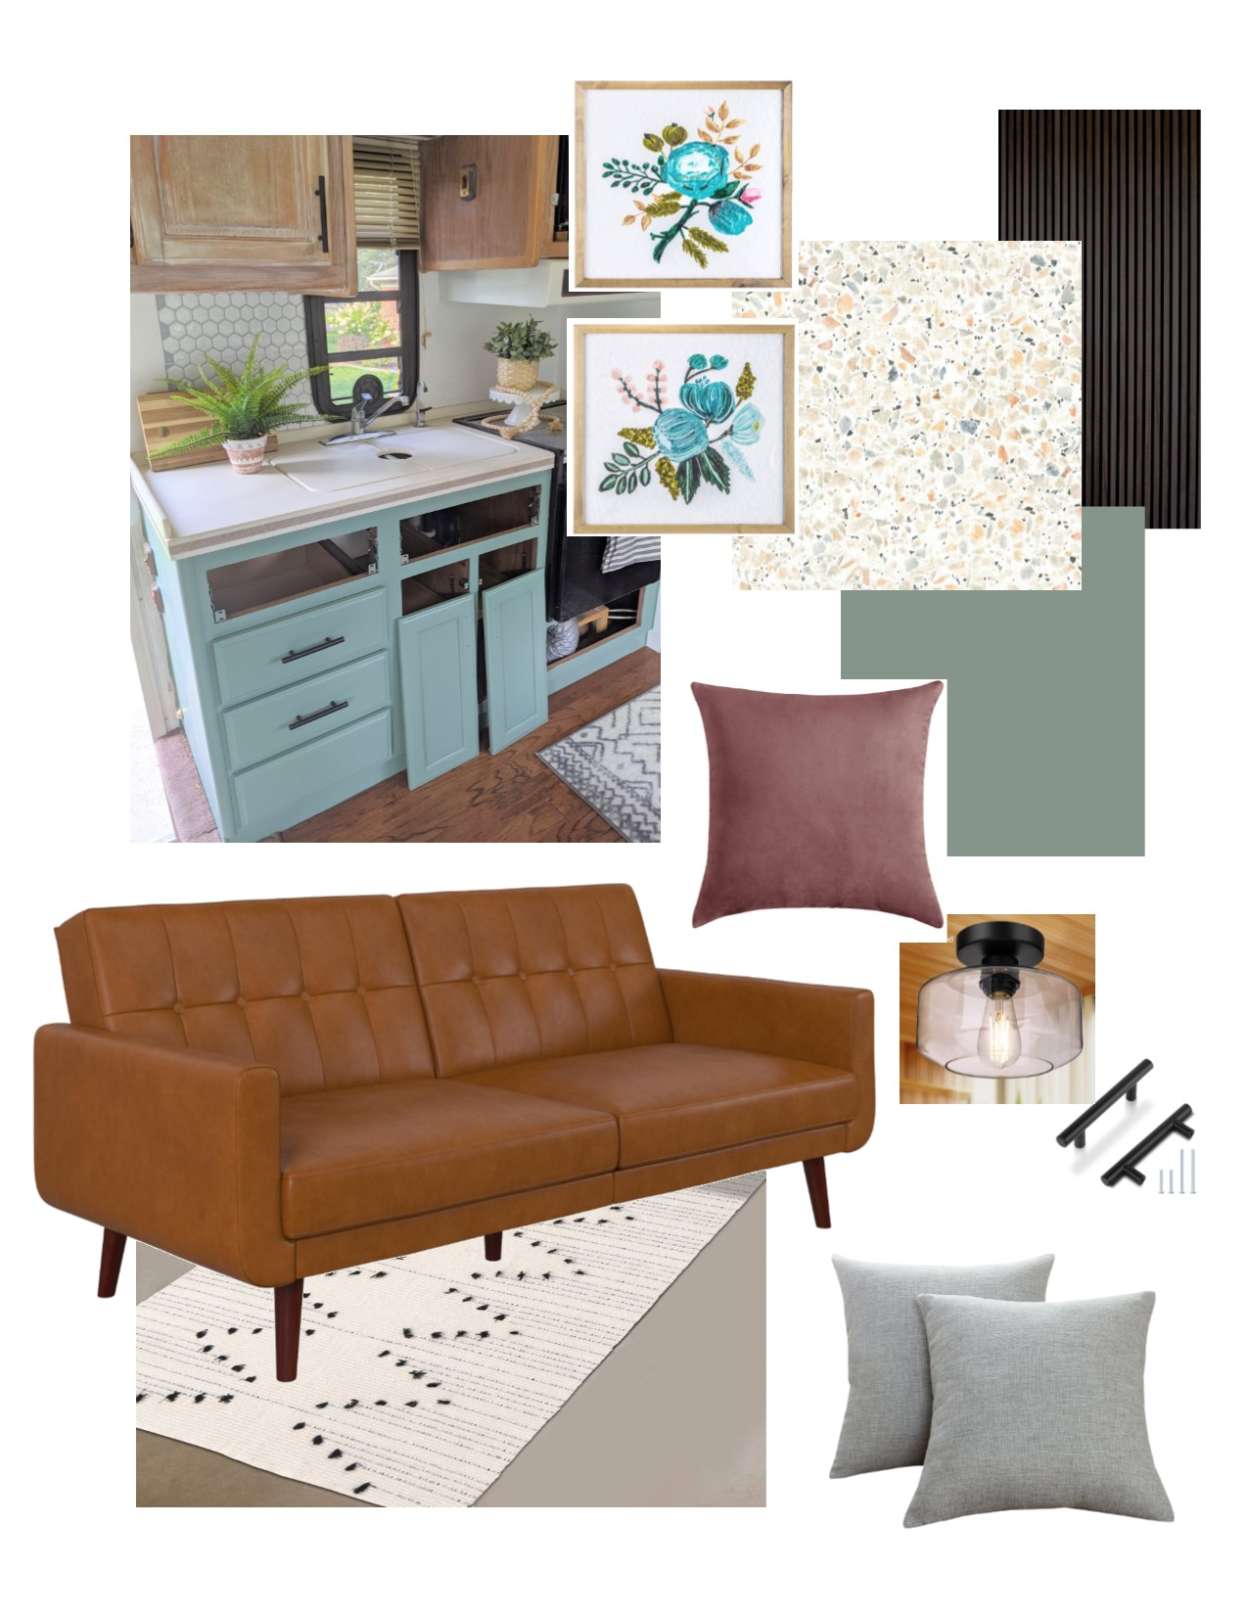
Shop the Look
Find all the links to products found in this RV, in the links below.
- Backsplash
- Black hinges
- Semi flush mount light
- Rug
- Small rug
- Cabinet handles
- Wall basket
- Wall art: Hobby Lobby
- Sofa (Walmart) / Similar (Amazon)
- Bathroom mirror
- Purple throw blanket (out of stock)
- Bathroom shelves
- Bathroom sign
- Bathroom hooks
- Pillow cover (mauve)
- Terrazzo wallpaper
- On/Off switch
- Pink pillow cover
- Leather pillow cover
- Double light fixture
- 12 Volt Edison bulbs
Paint Colors
- Cabinet color: Behr “Underground Garden”
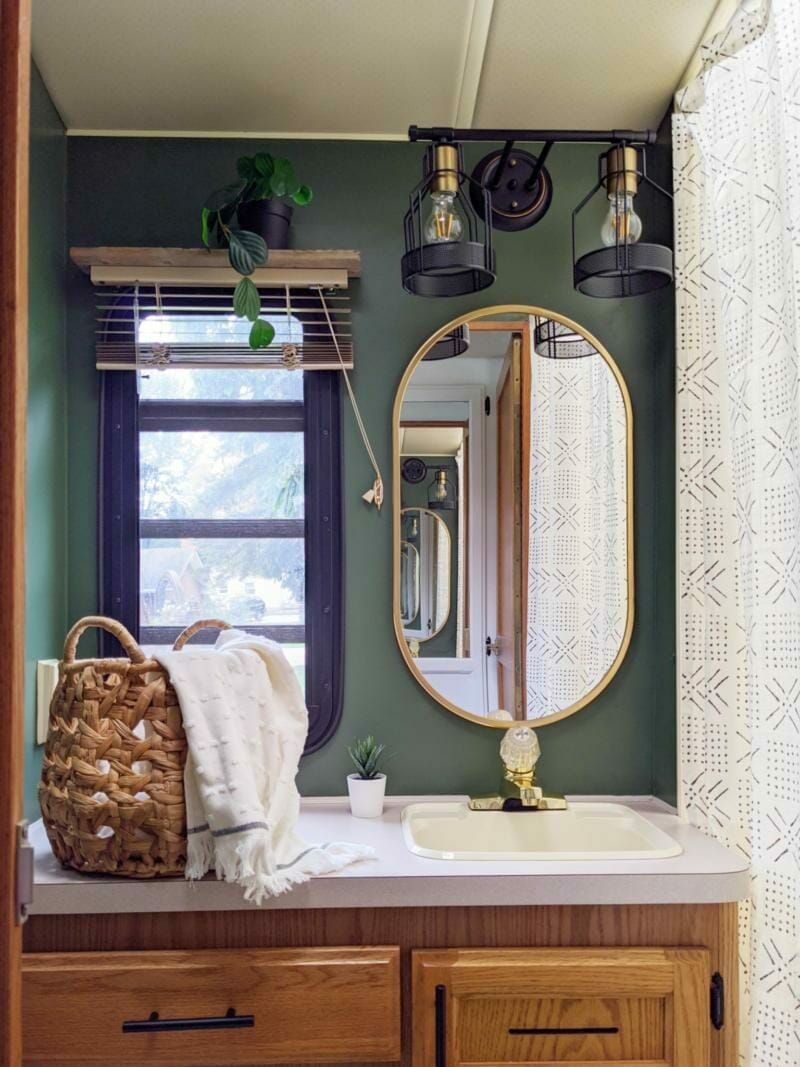
- Bathroom: Benjamin Moore “Backwoods”
What We Did
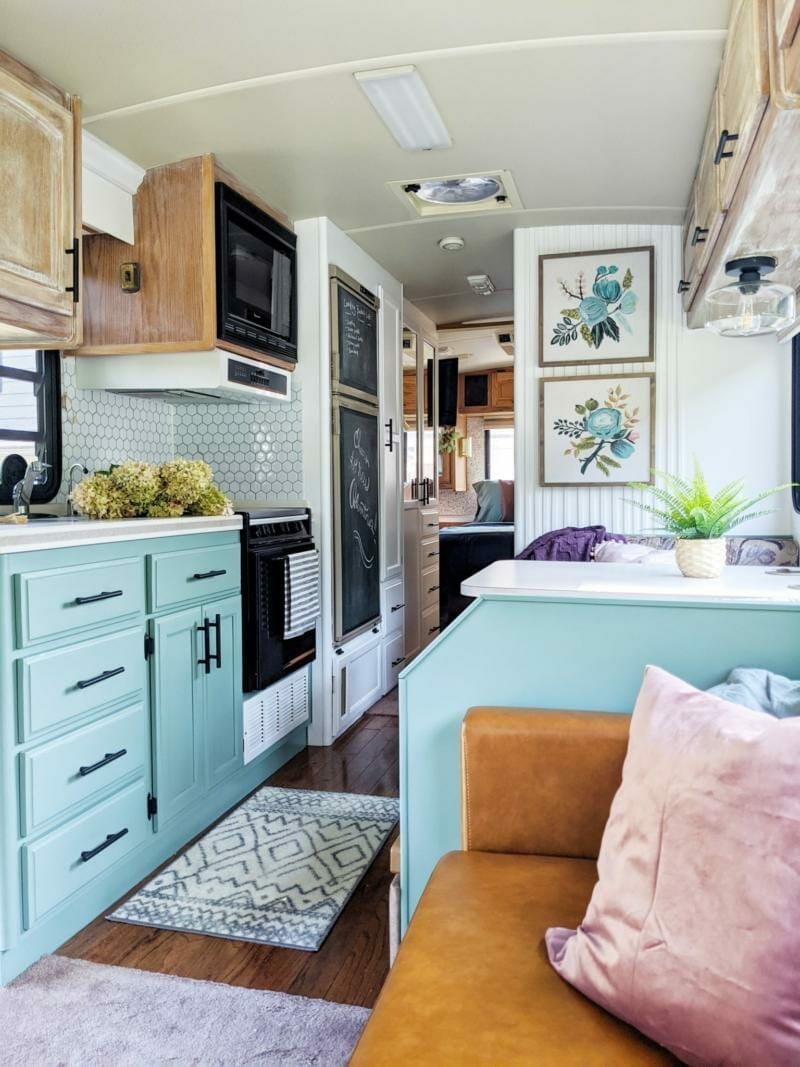
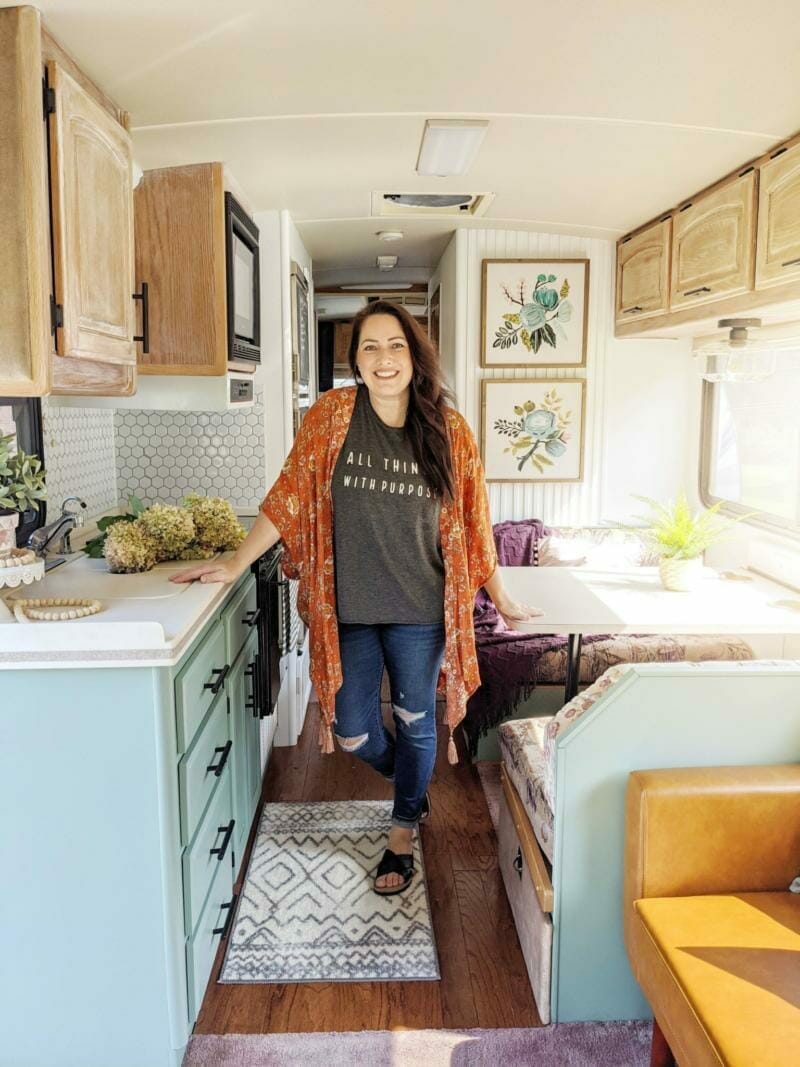
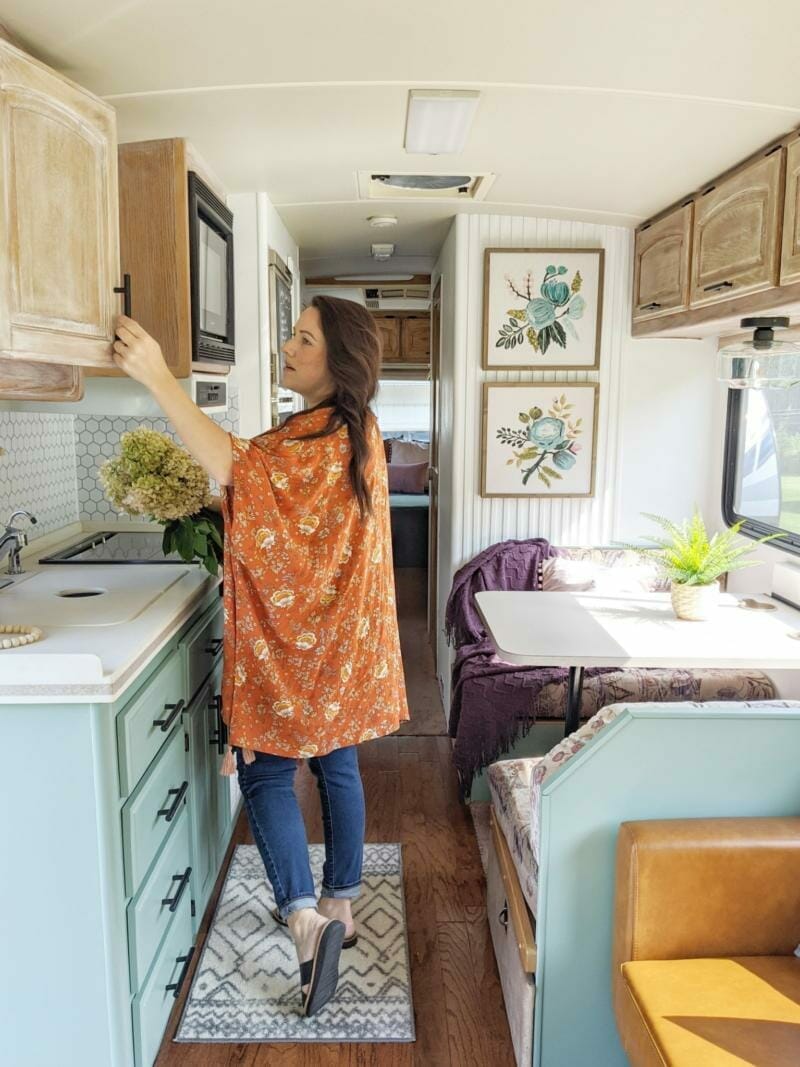
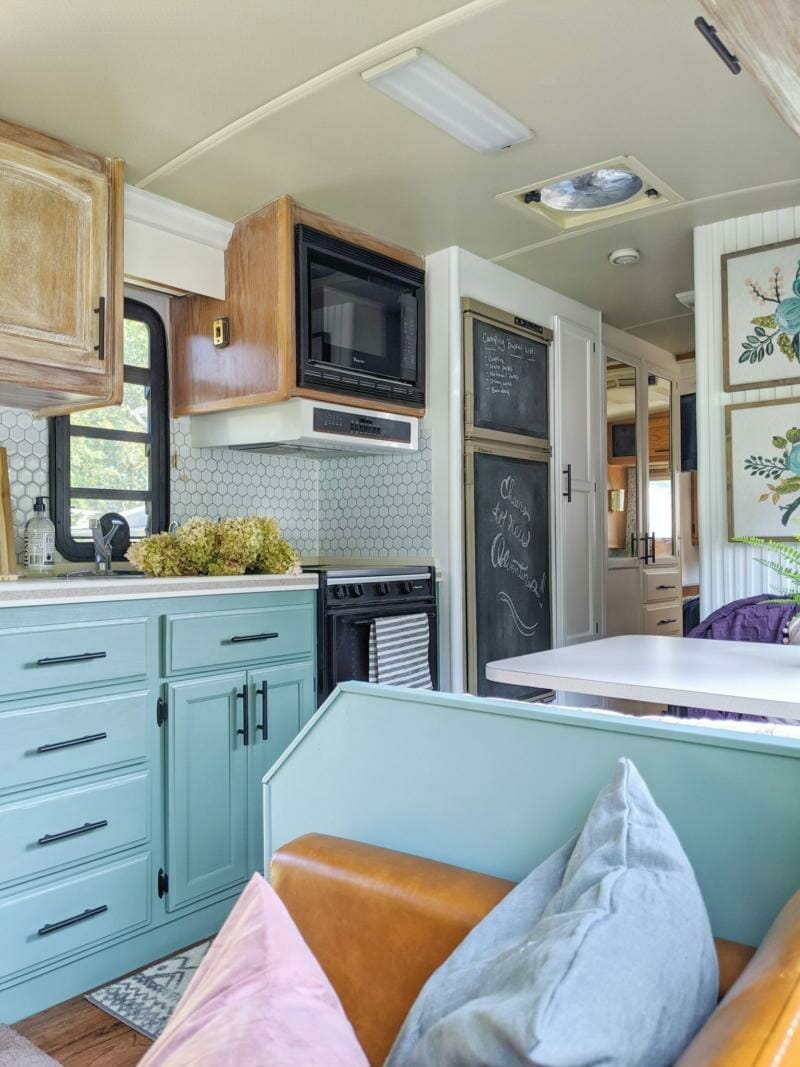
After lots of deliberation, I finally settled on a plan. I wanted to do something different from what I always do, so I tried a different technique on the cabinets. For the sake of trying something new, I sanded them down, bleached them and did a white wash to create an aged, farmhouse look. I also switched out the cabinet hardware and handles. I like how this toned down the orange look of the oak, without covering up the wood look. I painted the lower cabinets in the kitchen, and left he original oak in the bedroom and bathroom.
Here’s a list of the things we upgraded or repaired:
- White washed cabinets
- Changed all cabinet hinges and handles from gold to black
- Replaced cassette tape deck with Bluetooth CD player
- Installed new microwave
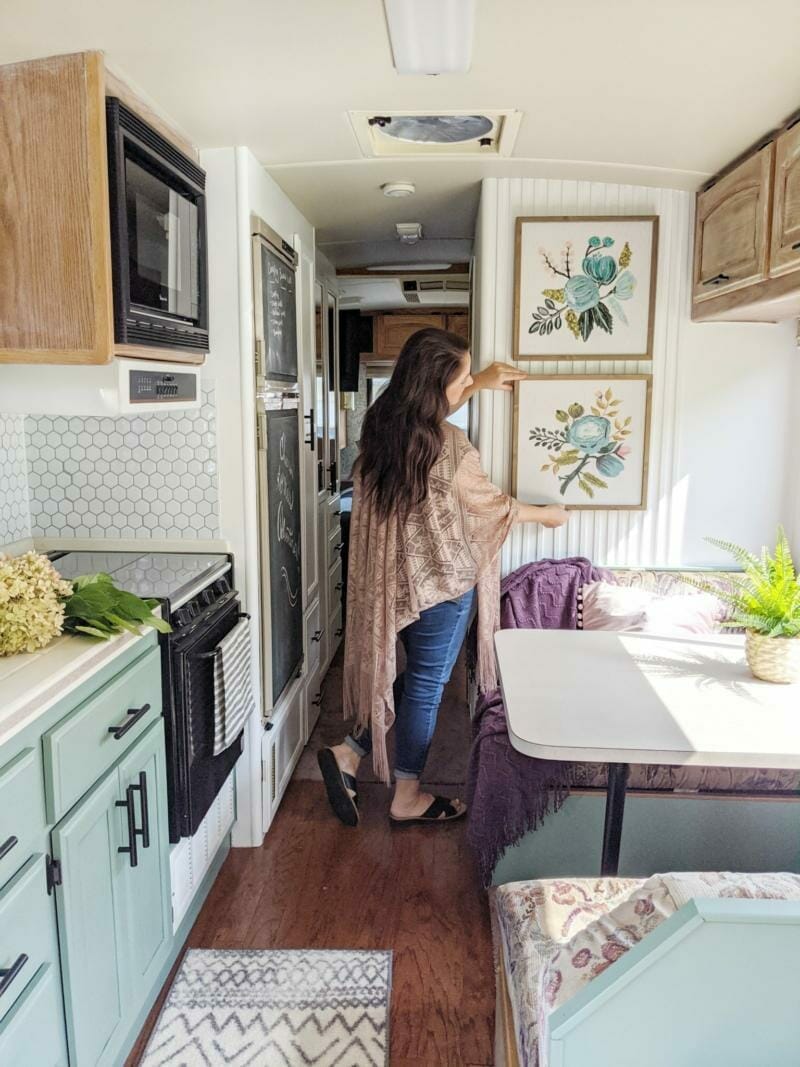
- Painted walls white
- Added wood slat feature wall
- Removed heavy window boxes around windows, but reused original blinds
- Hung new flat screen TV
- Installed new 12v convertor
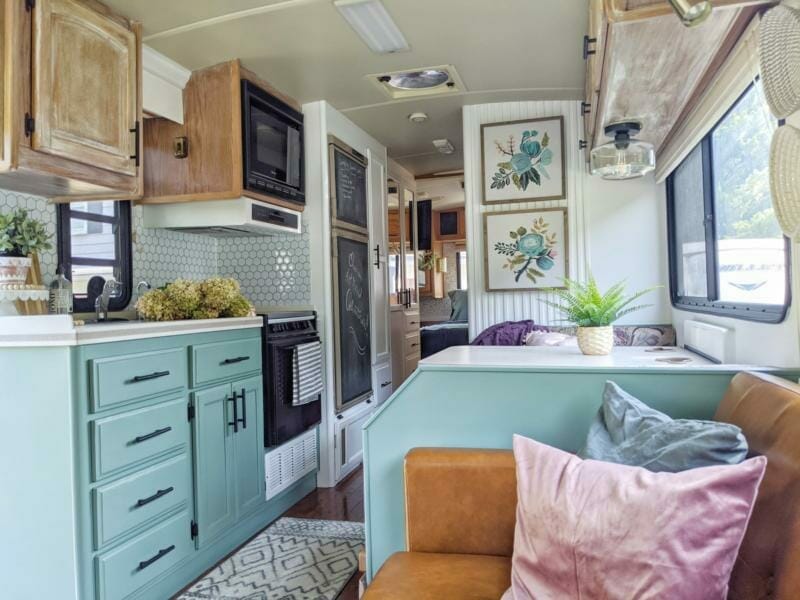
- Installed Tic Tac Tile backsplash
- Removed original couch and replaced with new futon sofa bed
- Replaced one light fixture and kept the rest
- Hung pictures and other décor
Special Care with Older RVs
Because this particular RV had sat for a long time, there were a few things on our checklist to inspect. It had been stored in a heated facility, so the exterior was beautiful, there were no signs of water leaks or mice. The owners had the tires replaced a few years ago, and it hadn’t been moved since. This could be a good or a bad thing, but after inspecting them, they looked great! The concern was the gas in the tank. Because the gas hadn’t been changed in so many years, it needed to be siphoned out and removed before starting the RV. We also had to replace all three batteries before anything would fire up.


What We Salvaged
I have a soft spot for utilizing everything I think I can work with. I hate getting rid of things if they can be upcycled or repurposed. If something is in great condition, it kills me to get rid of it – BUT I will do it if I think it will make a big impact to switch it out for something else. It’s a fine line. If I can paint it or reuse it, I will. Here are the things we kept for this project:
- All original flooring!
- The table top – I painted the leg black.
- Dinette cushions – I worked them into the design!
- Most light fixtures – I only switched out one.
- Original speakers, awning, stereo, toilet, a many other things were still in good working order.
Sally McNulty
HI – This is such a pretty makeover – we are redoing a houseboat. I don’t see the color you painted the lower cabinets. Can you please tell me what that is? Thanks so much!
Rick
Any pic of the flat screen location?
Great job on the reno !!
Rebekah
Can you tell me the brand of futon?
Frank
Thanks you hAve me wanting to tear out that God awful interior we got with our ‘94 PA .I took our the carpet and window boxes today. Thanks so much for the inspiration it was much needed. Just needed that little push.
Debbie
Can you please tell me the color of the kitchen cabinets
Ann Ricchini
Hello Sarah,
I was wondering if you have redone any of the the floors in your renovated RVs? My husband and I just bought a 2005 Triple E Commander and it has 3 different floorings. We would like to replace it with laminate or wood and are wondering if we should pay someone or try to do it ourselves. I am skeptical about our abilities and the timing and my husbands sees $$$ signs : )
Ann
Rebecca Payne
I could see my self living in there. Great job.
John and Sada
Hey Sarah!
Just found your site and I am loving it! How long does it normally take you to complete a renovation like this?
My wife and I are looking to do something similar and want to know what to realistically expect.
Thanks for all that you do!
John and Sada
Jason Fender
I would like to see some videos of this if you have some of how you did things do you have a YouTube channel