• Skip to main content
  • Skip to header left navigation
  • Skip to header right navigation
  • Skip to after header navigation
  • Skip to site footer
  • Start Here
    • About
    • Contact
    • Work with Me
    • Member Area
  • Blog
    • All Posts
    • Natalie
    • Taylor
    • Carissa
All Things with Purpose

All Things with Purpose

RV Renovations and Family Travel

  • Shop
    • My Store
    • Amazon
    • RVs For Sale
    • Shop My RV
  • At Home
    • Crafts & Sewing
      • Doll Clothes
    • Decor & DIY
    • Homeschooling
    • Lifestyle
    • Parties & Seasonal Celebrations
    • Recipes
  • RV Renovating
    • For Sale
    • How To
    • Tours
  • ON THE GO
    • Theme Parks
      • Ride Guides
      • Universal Studios
      • Disney World
      • SeaWorld Orlando
      • Cedar Point
    • Travel Tips
    • Camping
    • Cruises
    • Florida
    • Michigan
    • California
    • Hawaii
    • NYC
  • Popular Posts
    • How To Paint RV Walls
    • How Much Does it Cost to Renovate an RV
    • Basic Dress Pattern for American Girl Dolls
    • Our Favorite Spots in Northern Michigan
Home › Blog › DIY Geometric Diamond Art (Contributor Post)

DIY Geometric Diamond Art (Contributor Post)

Avatar photoGuest Contributoron September 8, 2014(updated April 26, 2015)776
FacebookPinTweetYummlyPrintEmail

DIY Geometric Diamond Art

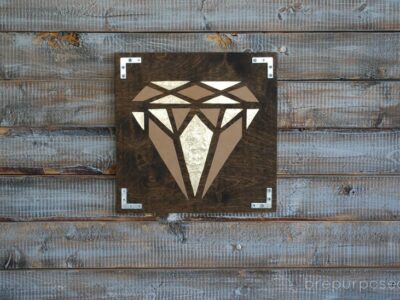
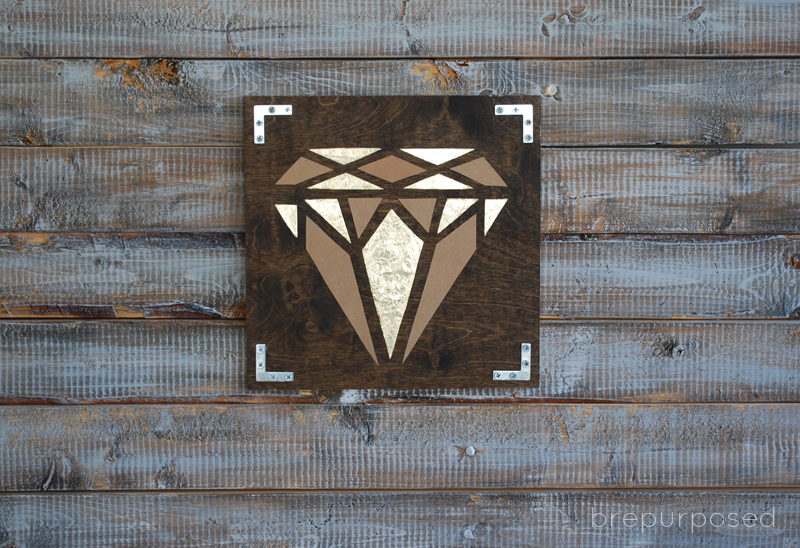
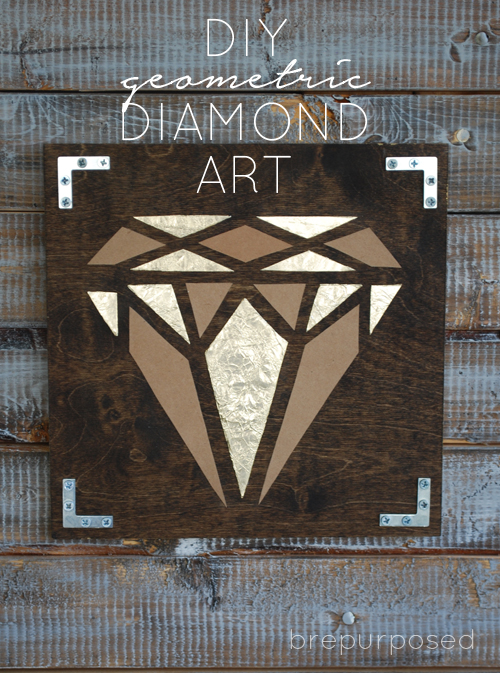
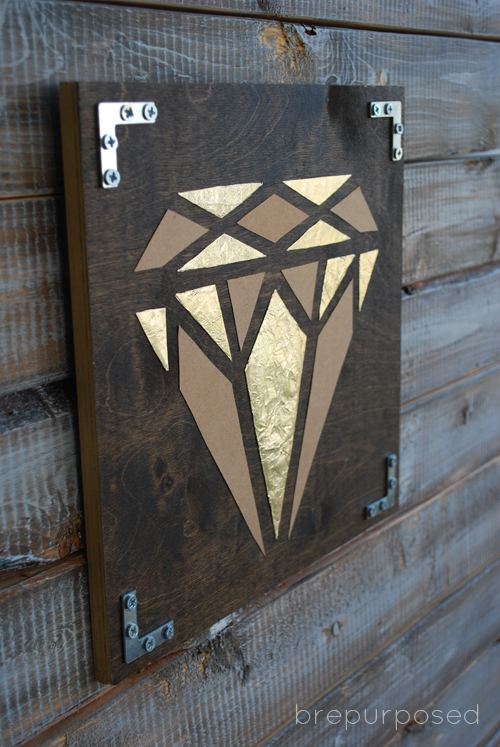
Hi everyone! It’s Bre from Brepurposed back with another contributor post! If you’re new here, you can find me posting on every second Monday of the month :) Although furniture makeovers are usually my go to, I can’t deny my love for all things DIY. Plus I needed some new art to use when staging my photos. So today I’m here to show you how to make this super easy DIY Geometric Diamond Art!
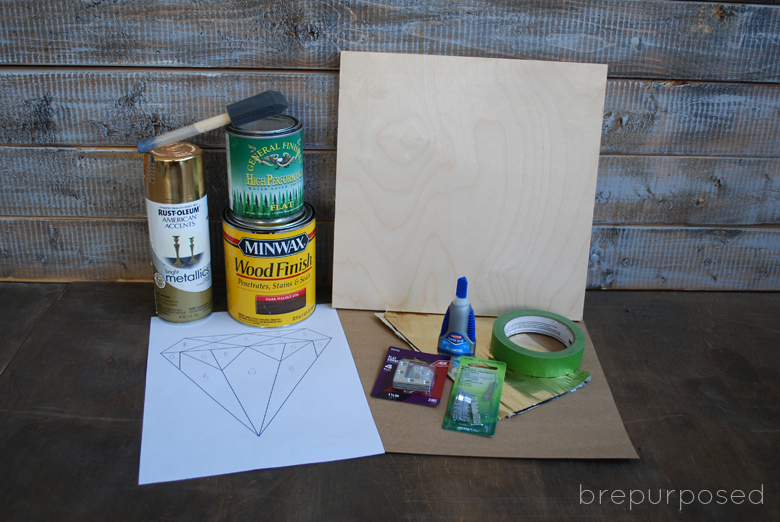
DIY Geometric Diamond Art

 SUPPLIES
:: One 12×12 piece of Birch Plywood (found at Michael’s)
:: Stain in the color of your choice
:: Topcoat/Polyurethane
:: Gold Spray Paint
:: Frog Tape
:: Super Glue
:: Gold Tin Foil
:: Corner Braces
:: Picture Hanger
:: 1 Sheet of Brown Kraft Paper
:: Diamond Template (print out here)

DIY Geometric Diamond Art

STEP ONE

Stain your wood. I used two coats of my favorite color, Dark Walnut.
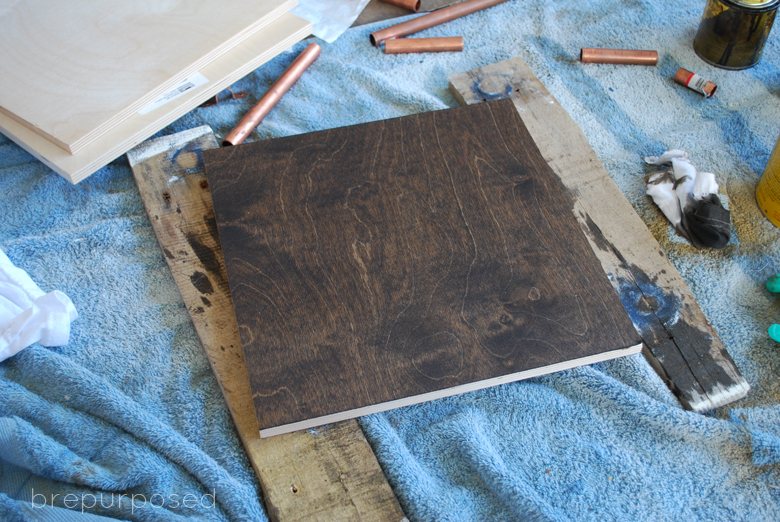
DIY Geometric Diamond Art

STEP TWO

Once dry, apply your top coat. I love General Finishes Flat Topcoat, but you could also use a Polyurethane.
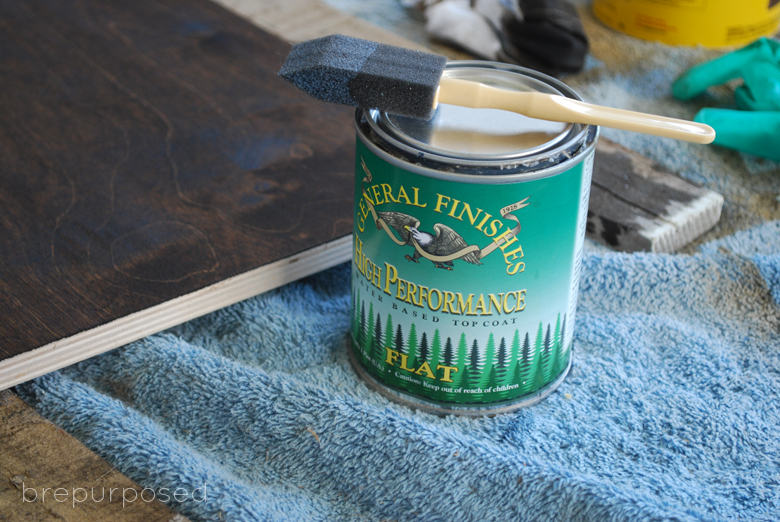
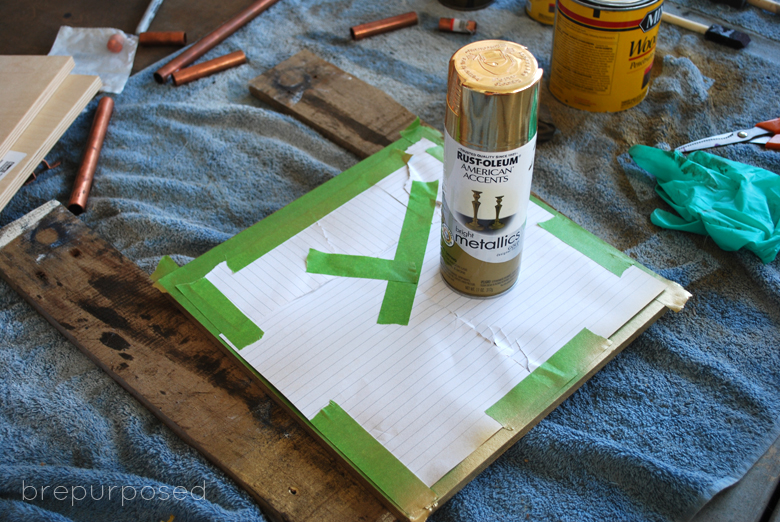
DIY Geometric Diamond Art

STEP THREE

Spray paint the edges gold. Once your topcoat is dry, tape your board so you leave the edges exposed. I covered the entire top surface, just to make sure the spray paint didn’t seep through.
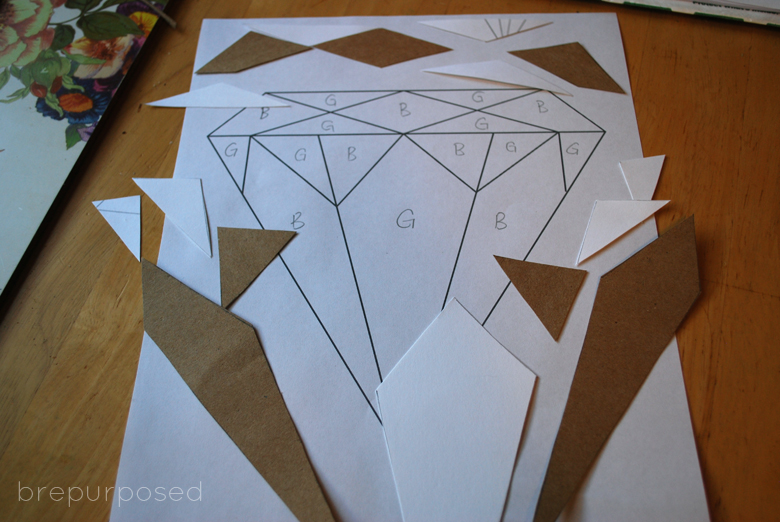
DIY Geometric Diamond Art

STEP FOUR

Check this out! You may also like…

My $300 Kitchen Makeover with Painted Cabinets (4 Years Later!)

Stenciled Floor

How to Paint and Stencil Over an Ugly Linoleum Floor (Update: How Well it Has Held Up 2 Years Later!)

Faux Shiplap Backsplash with Peel ‘n Stick Flooring

Faux Shiplap Fireplace and Custom Shelves 3

Faux Shiplap Fireplace and Custom Shelves

Easy DIY Wall Stencil with a Paint Pen

Get the Look: Wood Bead Chandelier DIY

Shared Girl’s Room Organizing Tips

Styling a Corner Cabinet for Summer

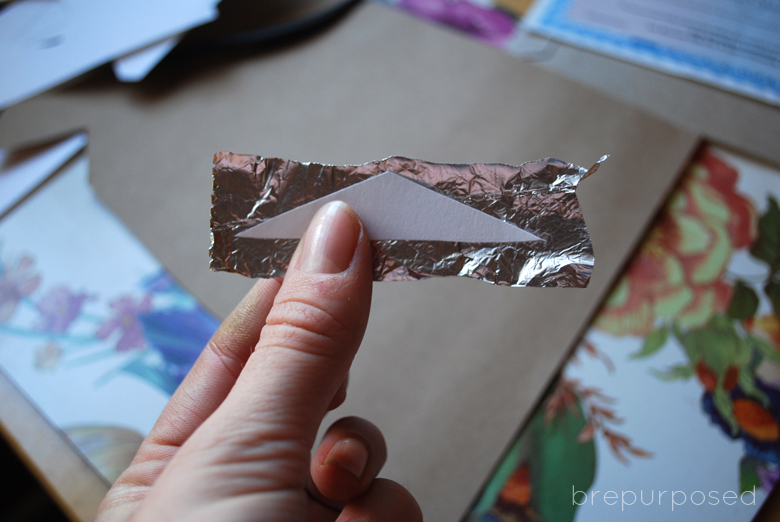
Cut out your shapes. I labeled mine so I knew which ones were going to be gold and which were going to be brown. You can print out the diamond template here. I then cut out the pieces and traced them onto the brown Kraft paper and some plain card stock.

DIY Geometric Diamond Art

STEP FIVE

Wrap your gold pieces in the gold tin foil.
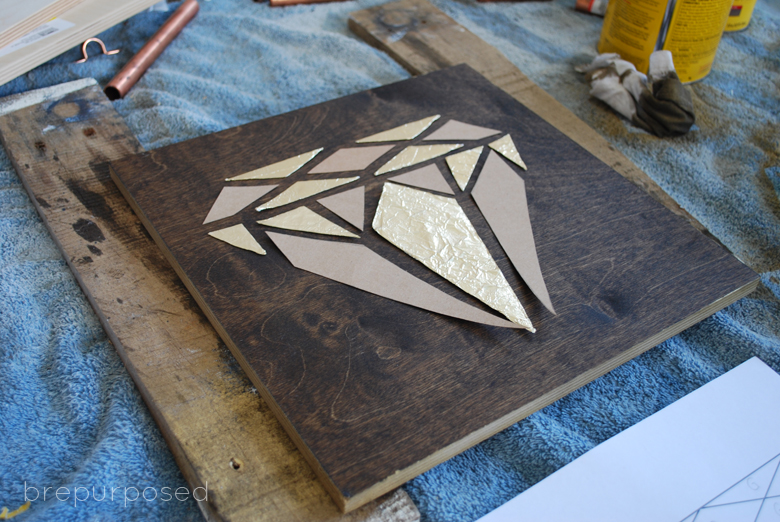
DIY Geometric Diamond Art

STEP SIX

Lay out your pieces on your board and attach them using super glue.
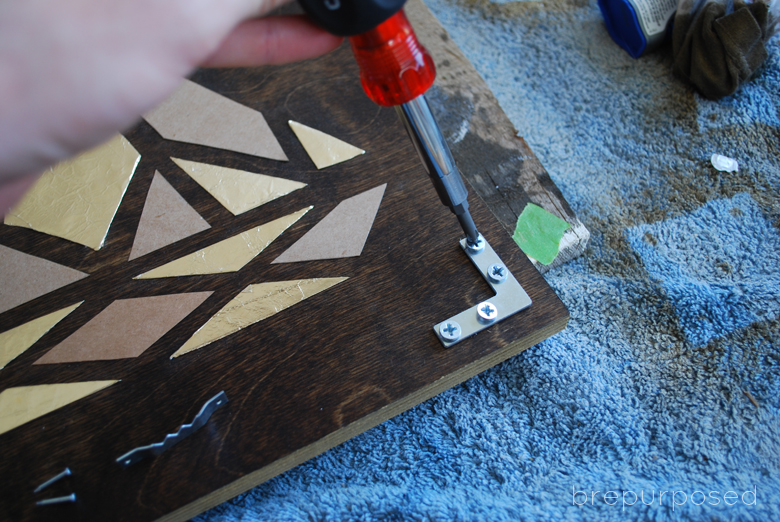
DIY Geometric Diamond Art

STEP SEVEN

Screw in your corner braces. I thought about spray painting these gold but I liked the contrast of the silver.
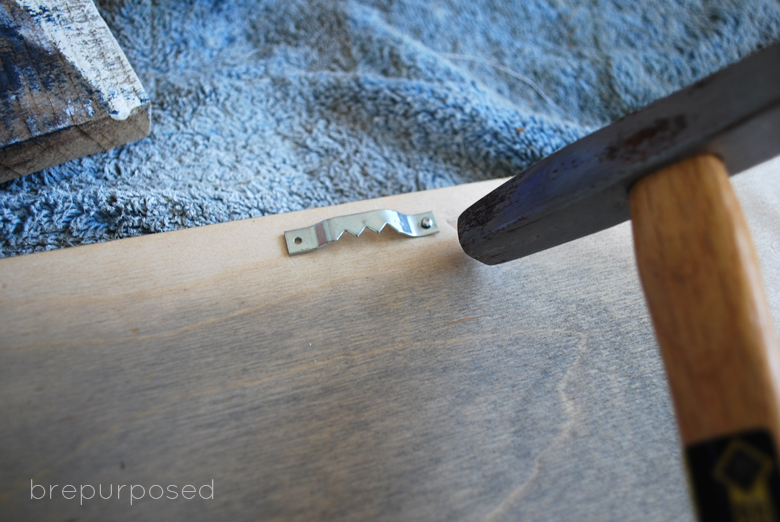
DIY Geometric Diamond Art

STEP EIGHT

Attach your frame hanger.

DIY Geometric Diamond Art

And that’s it! You now have a beautiful piece of art that you can hang anywhere :) I thought about just spray painting the gold pieces, but I love the texture that the tin foil adds.

DIY Geometric Diamond Art

I hope you guys enjoyed this tutorial! If you want to see more of my DIY Home Decor projects be sure to swing by Brepurposed and check them out!

Have a fabulous day everyone!

Category: Decor & DIY
FacebookPinTweetYummlyPrintEmail

Trending Posts

Check out my currently trending posts!

How to Paint the Interior Walls of an Old RV All Things with Purpose Sarah Lemp 3
21K+

How to Paint the Interior Walls of an Old RV

12K+

Before and After Pictures of our 1977 Vintage Camper

Cost Breakdown for Renovating a Camper All Things with Purpose Sarah Lemp 4
15K+

Cost Breakdown for Renovating a Camper

Renovated Class A Motorhome RV for Sale! All Things with Purpose Sarah Lemp 1
9K+

Painting the Exterior of an RV

Shop My RV All Things with Purpose Sarah Lemp 2
6K+

How to Paint RV Cabinets the Right Way

Forest River Wolf Pup Travel Trailer Remodel All Things with Purpose Sarah Lemp 13
7K+

Bold Boho Forest River Wolf Pup Travel Trailer Remodel

7K+

Our Class A RV Renovation

Our 90's RV Renovation All Things with Purpose Sarah Lemp 99
8K+

Our 90’s RV Renovation

Avatar photo

About Guest Contributor

We are honored to have a number of guest authors and contributors write for All Things with Purpose. Their opinions are their own and provide great variety to the perspectives reflected on All Things with Purpose.

Previous Post:DIY Sheet Music Song Lyric Wall Art (Contributor Post)
Next Post:Blueberry Lemonade Poke CakeBlueberry Lemonade Poke Cake All Things with Purpose Sarah Lemp 2

Reader Interactions

Comments

  1. Avatar photoElisha @ Pneumatic Addict Furniture

    September 18, 2014 at 1:09 am

    This is freaking fabulous! Love everything about it! You should come share it at the Outside [The Box] Link party!

    Reply
    • Avatar photoBreanna

      September 18, 2014 at 4:34 pm

      haha thank you Elisha!! I definitely will :)

      Reply
  2. Avatar photoAnam ( delicious and diy)

    September 16, 2014 at 9:24 am

    OMG so cute…Love it!

    Reply
    • Avatar photoBreanna

      September 18, 2014 at 4:33 pm

      Thank you so much Anam!!

      Reply
  3. Avatar photoErlene

    September 11, 2014 at 7:08 am

    This is so AWESOME! You’ve got me thinking of what shape I can make and where I can put it…lol.

    Reply
    • Avatar photoBreanna Bertolini

      September 11, 2014 at 11:14 am

      Thank you so much! The possibilities are endless :) I almost did a heart at first!

      Reply
  4. Avatar photoKristi

    September 8, 2014 at 6:02 pm

    LOVE it! You are just so crazy creative! SO cool!

    Reply
    • Avatar photoBreanna Bertolini

      September 9, 2014 at 8:59 pm

      Aw thanks girl!! Glad you like it :)

      Reply

Leave a Reply Cancel reply

Your email address will not be published. Required fields are marked *

Recipe Rating (Optional)


Sidebar

Shop my RVs

Shop My RV All Things with Purpose Sarah Lemp 1

I wrote a book!

Follow on Instagram

Sarah Lemp smiling with coffee

MORE ABOUT SARAH

Sarah is a second generation homeschooling mom. She lives in Metro Detroit with her husband Jay and 5 kids. They love staying active as a family and going on trips in their renovated camper. Sarah loves to sing, make pretty things and eat pizza.

COPYRIGHT & DISCLOSURE

All content on this site is copyright Sarah Lemp. Many of my posts contain affiliate links. If you click on an affiliate link and buy something, I may receive a small commission. Read more on my DISCLOSURE PAGE.

All Things With Purpose logo
  • Facebook
  • Instagram
  • Pinterest
  • Twitter
  • YouTube
  • My Account
  • Work with Me
  • Privacy Policy
  • Become an Affiliate
  • Affiliate Dashboard

Copyright © 2023 · All Things with Purpose · All Rights Reserved · Powered by Mai Theme