• Skip to main content
  • Skip to header left navigation
  • Skip to header right navigation
  • Skip to after header navigation
  • Skip to site footer
  • Start Here
    • About
    • Contact
    • Media Kit
  • Blog
    • All Posts
    • Natalie
    • Taylor
    • Carissa
All Things with Purpose

All Things with Purpose

RV Renovations and Family Travel

  • Shop
    • Amazon Storefront
    • My Online Store
  • At Home
    • Crafts & Sewing
      • Doll Clothes
    • Decor & DIY
    • Homeschooling
    • Lifestyle
    • Parties & Seasonal Celebrations
    • Recipes
  • RV Renovating
    • Renovated RVs For Sale
    • How To
    • Tours
  • ON THE GO
    • Theme Parks
      • Ride Guides
      • Universal Studios
      • Disney World
      • SeaWorld Orlando
      • Cedar Point
    • Travel Tips
    • Camping
    • Cruises
    • Florida
    • Michigan
    • California
    • Hawaii
    • NYC
  • Popular Posts
    • How To Paint RV Walls
    • How Much Does it Cost to Renovate an RV
    • Basic Dress Pattern for American Girl Dolls
    • Our Favorite Spots in Northern Michigan
Home › Blog › Easy Christmas & Winter Reversible Table Runner (Contributor Post)

Easy Christmas & Winter Reversible Table Runner (Contributor Post)

Guest Contributoron December 1, 2014(updated July 26, 2022)469

Easy Christmas & Winter Reversible Table Runner

Happy December! Stacy here, visiting from Flights of Delight, where I blog DIY projects, natural health & home care, and joyful & intentional living by God’s grace. Come visit me sometime!

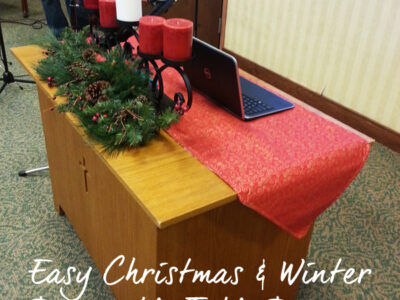
Today, I’m going to show you how to make a reversible table runner to include in your Christmas decor and last through your winter decor, as well. It’s easy, and even beginners can complete this project in less than an hour.

Easy Christmas & Winter Reversible Table Runner

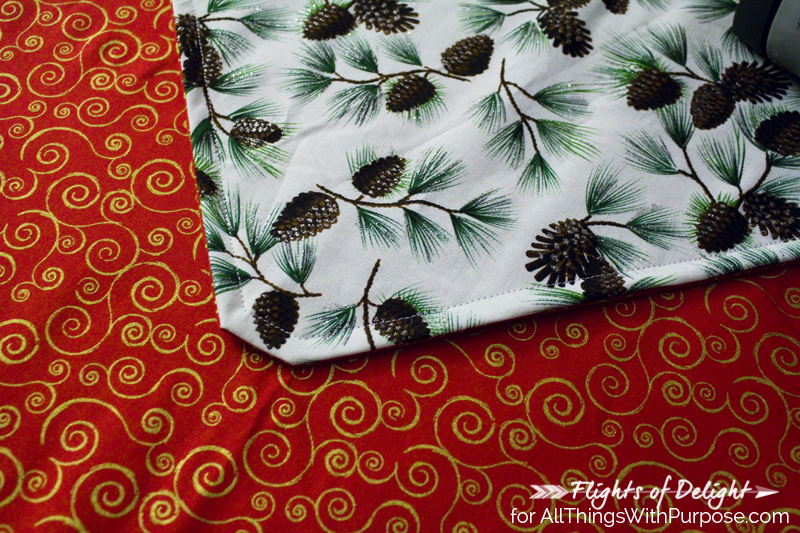
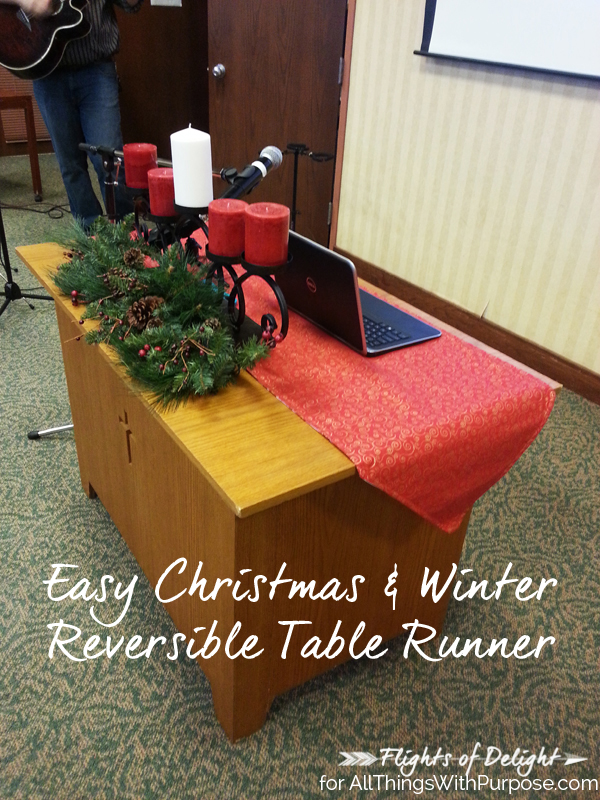
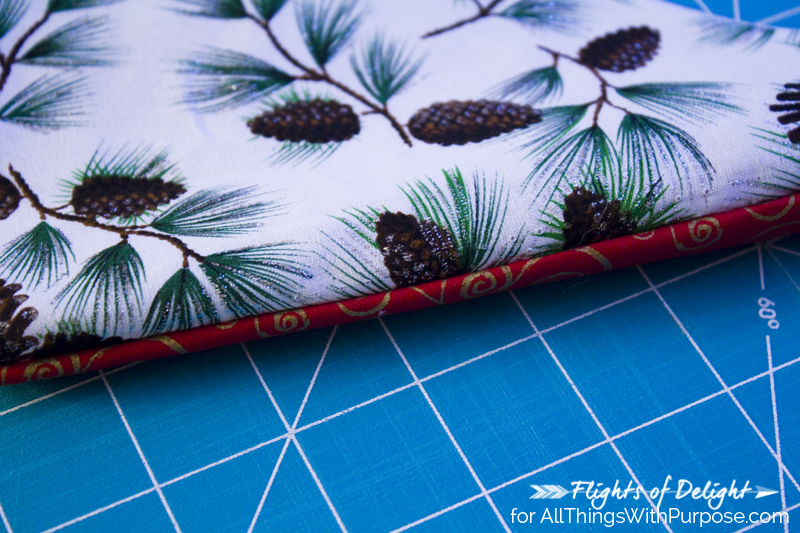
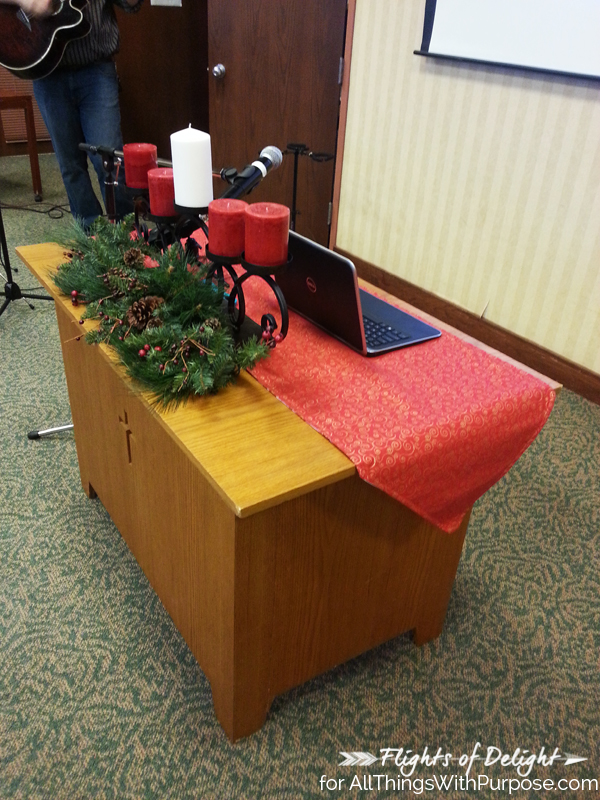
As you can see I have a red & gold fabric on one side, and a pretty white pine & pine cone fabric on the other (yes, it has glitter!). I created this for my church, as it is our first Christmas, and we needed a festive table runner for our podium. The red fabric matched with our advent candles, and the pine print will be lovely throughout the winter season.

Let’s get started!

Reversible Table Runner Tutorial

Here are the supplies you will need to complete this project:
– 2 yards each of two fabrics of your choice
– 2 yards medium weight stabilizer
– Sewing Machine
– Scissors
– Thread
– Iron

To start, you need to decide what size you want your finished runner to be. Mine is six feet long, and about 21 inches wide. My stabilizer came in about a 22 inch width, so I decided to make that the width (minus seam allowances) to save myself some cuts.

Next, cut your fabrics to size. I cut them to the same size as the stabilizer. However, if you want your runner to be 18 inches wide when it’s finished, cut the fabric to 19 inches to allow for a 1/2 inch seam allowance on each side.

Easy Christmas & Winter Reversible Table Runner

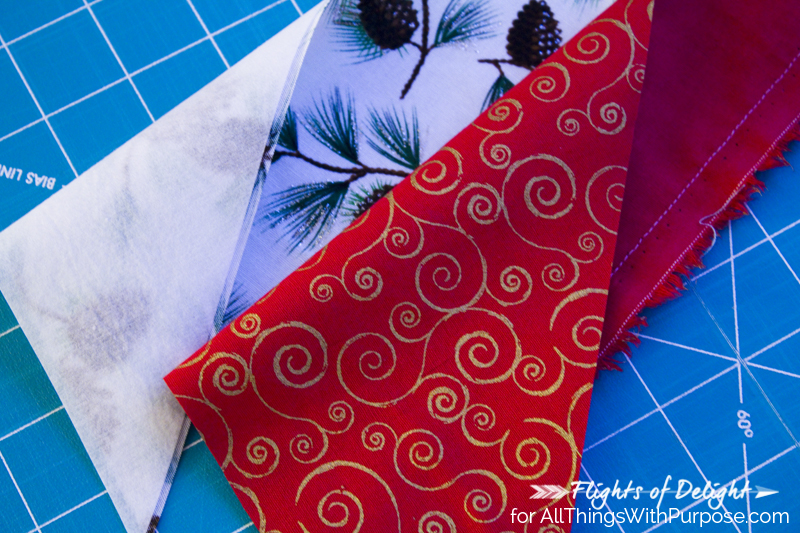
Once your fabrics are cut, place your two print fabrics right sides together (face to face), then the stabilizer goes on top of one or the other- it doesn’t matter which one- and pin in place. If you wish to have a “v” shape or angled corners on the ends of your runner, cut them now. Then, sew a straight 1/2 inch seam all of the way around, except for a 6- 8 inch gap on one end.

Easy Christmas & Winter Reversible Table Runner

Through the gap that you left, turn the runner right side out, now. The stabilizer should be on the inside, and you should see your pretty prints on each side.

At this point, you can iron your seams flat, if that helps. With the stabilizer, I find that I don’t need to take the extra step. However, you will want probably want to fold in the unfinished edges at your gap and iron them so that they match up.

Easy Christmas & Winter Reversible Table Runner

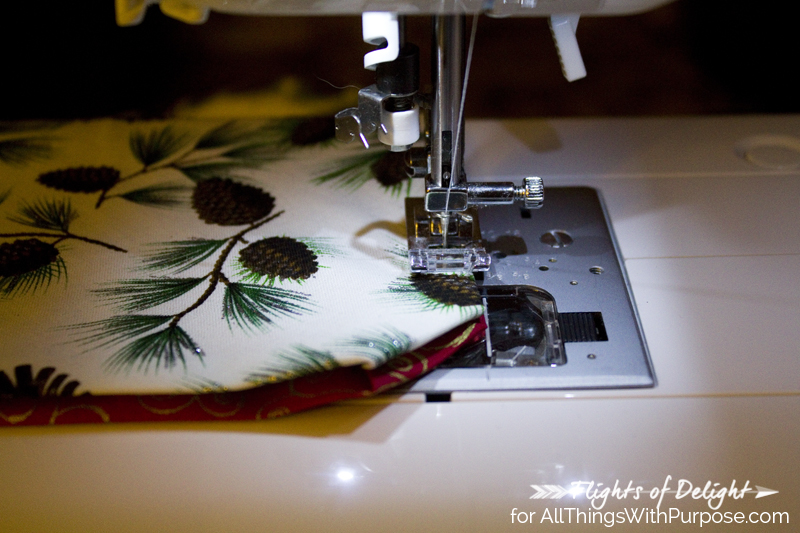
Now, sew your gap shut and continue sewing around the entire runner. Then, you’re finished! Enjoy your homemade reversible table runner through winter. Of course, you will want to make one for spring and summer, too!

Easy Christmas & Winter Reversible Table Runner

Thanks so much for stopping by All Things With Purpose today! I hope that you enjoyed my simple reversible table runner tutorial! Be sure to drop by and visit me at Flights of Delight and enjoy posts like my Photo Pillow DIY!

Category: At Home, Crafts & SewingTag: christmas
FacebookPinShare1

About Guest Contributor

We are honored to have a number of guest authors and contributors write for All Things with Purpose. Their opinions are their own and provide great variety to the perspectives reflected on All Things with Purpose.

Reader Interactions

Leave a Reply Cancel reply

Your email address will not be published. Required fields are marked *

Recipe Rating (Optional)


Sidebar

Hey, Friend!

We’re a big family on a small budget and we want to help YOU save money on your next Disney vacation! We’re excited to partner with Get Away Today for discount tickets, hotels and vacation packages. Click the link below or call 1-855-GET-AWAY and tell them I sent you!

Get Started
discount disney tickets

Follow on Instagram

follow me on instagram

MORE ABOUT SARAH

Sarah is a second generation homeschooling mom. Originally from Michigan, she now lives with her husband Jay and 5 kids in Florida. They love staying active as a family and going on trips in their renovated RV. Sarah loves to sing, make pretty things and eat pizza.

COPYRIGHT & DISCLOSURE

All content on this site is copyright Sarah Lemp. Many of my posts contain affiliate links. If you click on an affiliate link and buy something, I may receive a small commission. Read more on my DISCLOSURE PAGE.

  • Facebook
  • Instagram
  • Pinterest
  • YouTube
  • TikTok
  • Amazon
  • My Account
  • Media Kit
  • Privacy Policy

Copyright © 2025 · All Things with Purpose · All Rights Reserved · Powered by Mai Theme