• Skip to main content
  • Skip to header left navigation
  • Skip to header right navigation
  • Skip to after header navigation
  • Skip to site footer
  • Start Here
    • About
    • Contact
    • Work with Me
    • Member Area
  • Blog
    • All Posts
    • Natalie
    • Taylor
    • Carissa
All Things With Purpose logo

All Things with Purpose

RV Renovations and Family Travel

  • Shop
    • My Store
    • Amazon
    • RVs For Sale
    • Shop My RV
  • At Home
    • Crafts & Sewing
      • Doll Clothes
    • Decor & DIY
    • Homeschooling
    • Lifestyle
    • Parties & Seasonal Celebrations
    • Recipes
  • RV Renovating
    • For Sale
    • How To
    • Tours
  • ON THE GO
    • Theme Parks
      • Ride Guides
      • Universal Studios
      • Disney World
      • SeaWorld Orlando
      • Cedar Point
    • Travel Tips
    • Camping
    • Cruises
    • Florida
    • Michigan
    • California
    • Hawaii
    • NYC
  • Popular Posts
    • How To Paint RV Walls
    • How Much Does it Cost to Renovate an RV
    • Basic Dress Pattern for American Girl Dolls
    • Our Favorite Spots in Northern Michigan
Home › Blog › Faux Marble Painted Countertops

Faux Marble Painted Countertops

Sarah Lemp smiling with coffeeSarah Lempon February 5, 2016(updated December 1, 2018)23K+
FacebookPinTweetYummlyPrintEmail

FAUX MARBLE COUNTERTOPS DIY

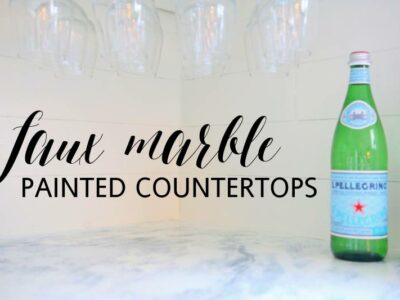
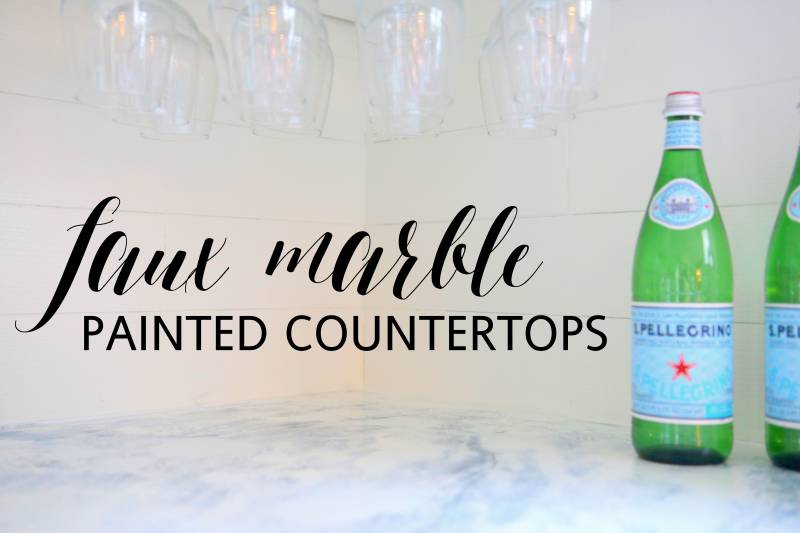
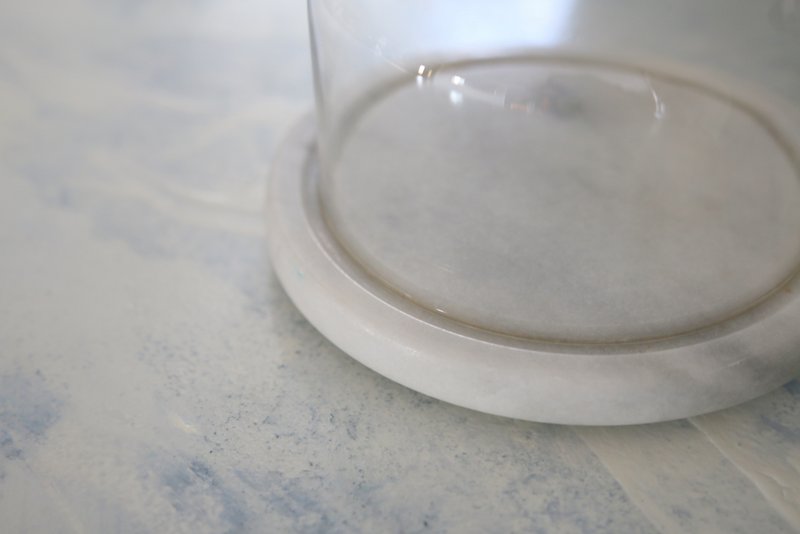
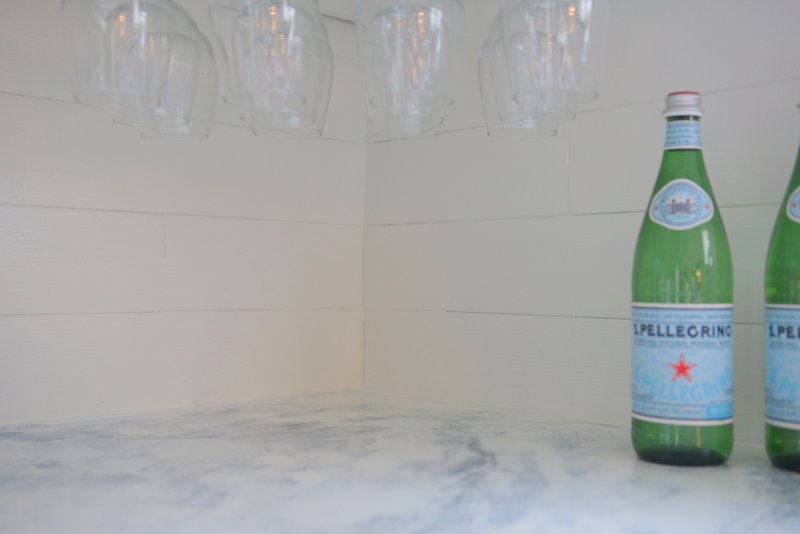
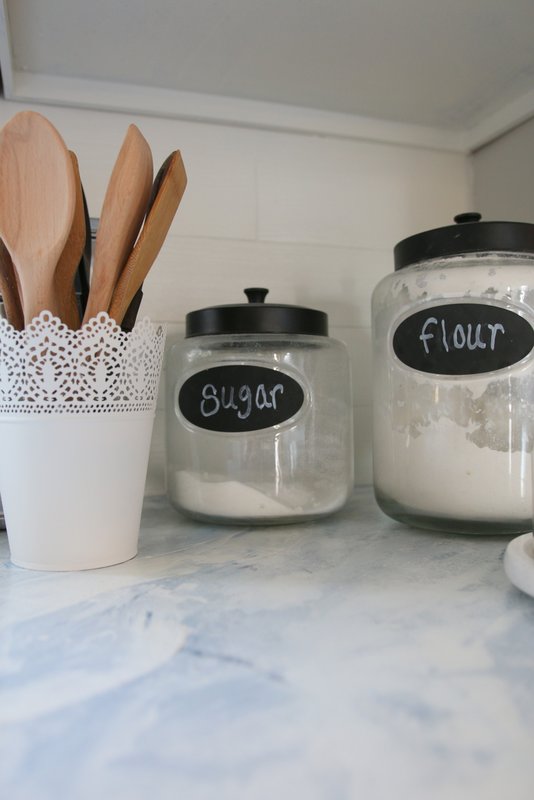
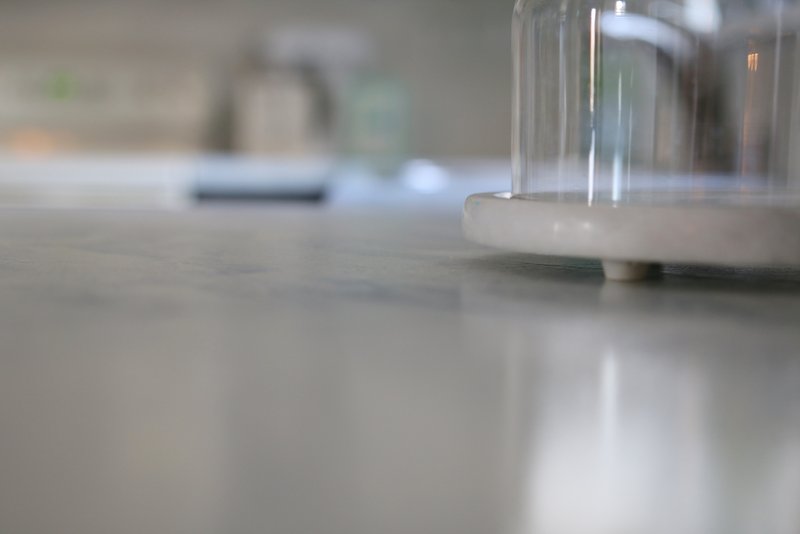
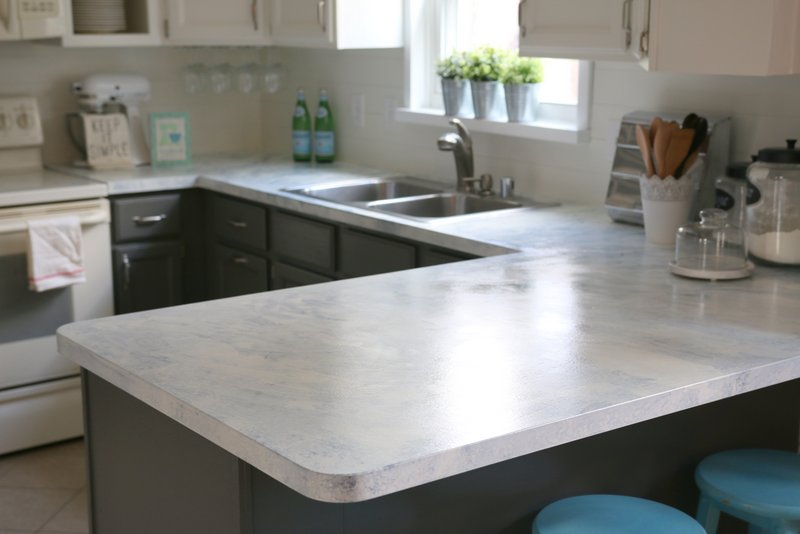
I am super excited to share the details with you today about how I created my faux marble countertops!

You may remember from one of my home tour posts, I’ve painted countertops before. But in the past, I’ve sanded them down and used an oil based enamel. This time, I went with latex paint and Giani brand top coat!

how to paint faux marble countertops

IMG_9934

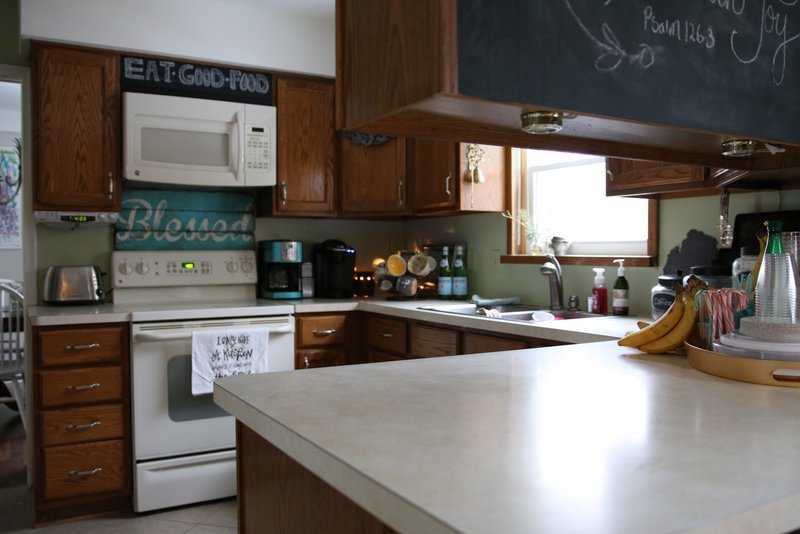
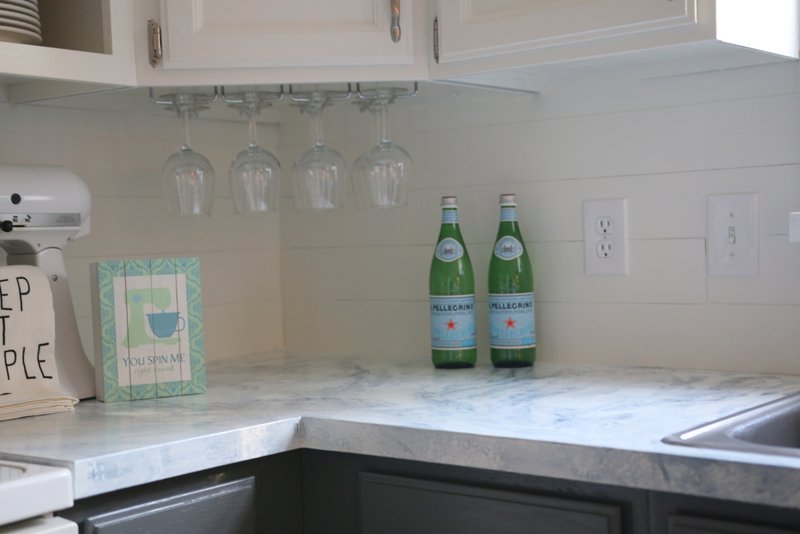
The above picture is a before shot of the countertops. They weren’t terrible, but they were a little worn out. They were 26 year old laminate countertops with plenty of little dings and scratches. They’ve done well over the years, but I was ready for an update! Completely replacing them with granite or even a new piece of laminate would cost upwards of several hundred dollars. I spent $25!

IMG_0222

This post contains affiliate links for your convenience. 

IMG_0200

Why did I go with latex paint and the Giani top coat
instead of an epoxy or oil based enamel??

I had actually purchased a white oil based enamel and was planing on using it! I had researched every possible option, including using Ardex Feather finish to create faux concrete.

Here’s what and why I used what I did:

  • I already had Stix Waterborne Bonding Primer on hand from my kitchen cabinet project. I had read rave reviews about this stuff and heard from other people that used it, how much they loved it. It’s a urethane acrylic – which in big fancy scientific terms, means it’s an oil paint that acts like a latex… or a latex that acts like an oil paint. Just take my word for it, it’s good stuff! It can be applied directly to glossy surfaces like cabinets and even over the tile in your shower!! What??
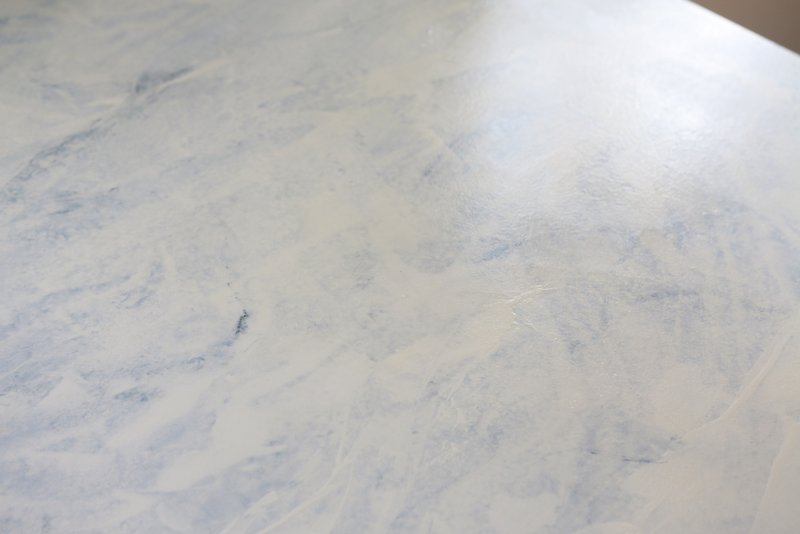
  • I already had latex white and black paint on hand, so there’s that. But with using latex, it was also possible to add water and use a spray bottle to achieve my desired effect.
  • The reviews I read about the Giani Countertop Kits BLEW ME AWAY! The complete granite and marble finish kits run around $100, but since I already had an awesome primer and paint, I figured I only needed their top coat which is the stuff that really had me intrigued.
    – The latex polyurethane top coat wont yellow over time like oil based paint does
    – It’s heat resistant up to 250 degrees
    – If it scratches or chips – just sand that spot down and apply a little topcoat
    – Easy soap and water clean up
    – Read more Q&A’s on their site!
  • It was my absolute cheapest option and seemed like the least messy option!

IMG_0208 IMG_0228

Supplies You’ll Need for a DIY Kit:

  • Liquid Sander 
  • Stix Primer – you won’t need much, so it’s best to buy this when you’ve got additional projects in mind!
  • White Paint
  • Black or Charcoal Paint – Only a small amount is needed. I actually used a tube of Master’s Touch acrylic paint in Raynes Grey from Hobby Lobby which produced a nice blue hue.
  • Foam Roller
  • Foam Brush 
  • Artist Brush
  • Sea Sponge
  • Giani Top Coat – The cans are small, but one can was enough for 2 coats in my kitchen. I bought a second for extra measure but have yet to use it.
  • Spray Bottle
  • Sanding Block
  • A Flat Stick or Paper Straw

OR You can just buy a complete kit from Giani with everything you need!
*Even if you do buy the complete kit, you can still follow my video and technique.

IMG_0187

  • See the rest of my kitchen here: Fixer Upper Inspired Kitchen Reveal!
  • See my tutorial for the faux shiplap backsplash here: Faux Shiplap Backsplash with Peel and Stick Vinyl Flooring

IMG_0137

Without further ado, here is my tutorial!


IMG_0135

Here are three other videos I found extremely helpful
depending on what look you are going for!

 Don’t miss my complete kitchen reveal post: here!!

Category: Decor & DIYTag: home tours
FacebookPinTweetYummlyPrintEmail

Trending Posts

Check out my currently trending posts!

Disney on a Dime All Things with Purpose Sarah Lemp 1
410K+

Disney on a Dime

25 Christmas Gifts Kids Can Make 25
238K+

25 Christmas Gifts Kids Can Make

Copycat DQ Ice Cream Cake
200K+

DQ Ice Cream Cake Recipe

185K+

Faux Shiplap Backsplash with Peel ‘n Stick Flooring

161K+

Realtor Thank You Gift

18" Doll PJ Pattern (Digital Download) All Things with Purpose Sarah Lemp
147K+

American Girl Doll PJ’s Pattern

113K+

Basic Dress Pattern for American Girl Dolls: Easy to Learn!

104K+

Fix Your American Girl Doll’s Hair without a Trip to the Doll Hospital

Sarah Lemp smiling with coffee

About Sarah Lemp

Sarah is a second generation homeschooling mom. She lives in Metro Detroit with her husband Jay, 5 kids and dog, Edison. They love staying active as a family and going on trips in their renovated RV’s. Sarah loves to sing, make pretty things and eat pizza.

Previous Post:My Fixer Upper Inspired Kitchen Reveal!
Next Post:Faux Shiplap Backsplash with Peel ‘n Stick Flooring

Reader Interactions

Comments

  1. Avatar photoJoJo Miner-Humphrey

    December 2, 2016 at 3:13 pm

    I can’t believe how good this looks. You did an awesome job. I’m seriously thinking of doing this after viewing your video. It turned out so good. Thanks for sharing your talent and expertise with us minions. Jojo

    Reply
  2. Avatar photoSilvia Bertin Nordstrand

    February 9, 2016 at 2:06 pm

    Sarah, awesome job! Do you think this method would work for the bathroom sink too?

    Reply
    • Sarah Lemp smiling with coffeeSarah Lemp

      February 9, 2016 at 2:25 pm

      Thanks, Silvia! Yes, I think it would work on the countertop in a bathroom, maybe not the sink it’s self. Is that what you meant? I would just be sure to seal it very good with the topcoat and seal around the sink with silicone.

      Reply

Leave a Reply Cancel reply

Your email address will not be published. Required fields are marked *

Recipe Rating (Optional)


Sidebar

Shop My RVs

I Wrote a Book!

Follow on Instagram

copyright & disclosure

All content on this site is copyright Sarah Lemp. Many of my posts contain affiliate links. If you click on an affiliate link and buy something, I may receive a small commission. Read more on my disclosure page.

Sarah Lemp smiling with coffee

MORE ABOUT SARAH

Sarah is a second generation homeschooling mom. She lives in Metro Detroit with her husband Jay and 5 kids. They love staying active as a family and going on trips in their renovated camper. Sarah loves to sing, make pretty things and eat pizza.

COPYRIGHT & DISCLOSURE

All content on this site is copyright Sarah Lemp. Many of my posts contain affiliate links. If you click on an affiliate link and buy something, I may receive a small commission. Read more on my DISCLOSURE PAGE.

All Things With Purpose logo
  • Facebook
  • Instagram
  • Pinterest
  • Twitter
  • YouTube
  • My Account
  • Work with Me
  • Privacy Policy
  • Become an Affiliate
  • Affiliate Dashboard

Copyright © 2023 · All Things with Purpose · All Rights Reserved · Powered by Mai Theme