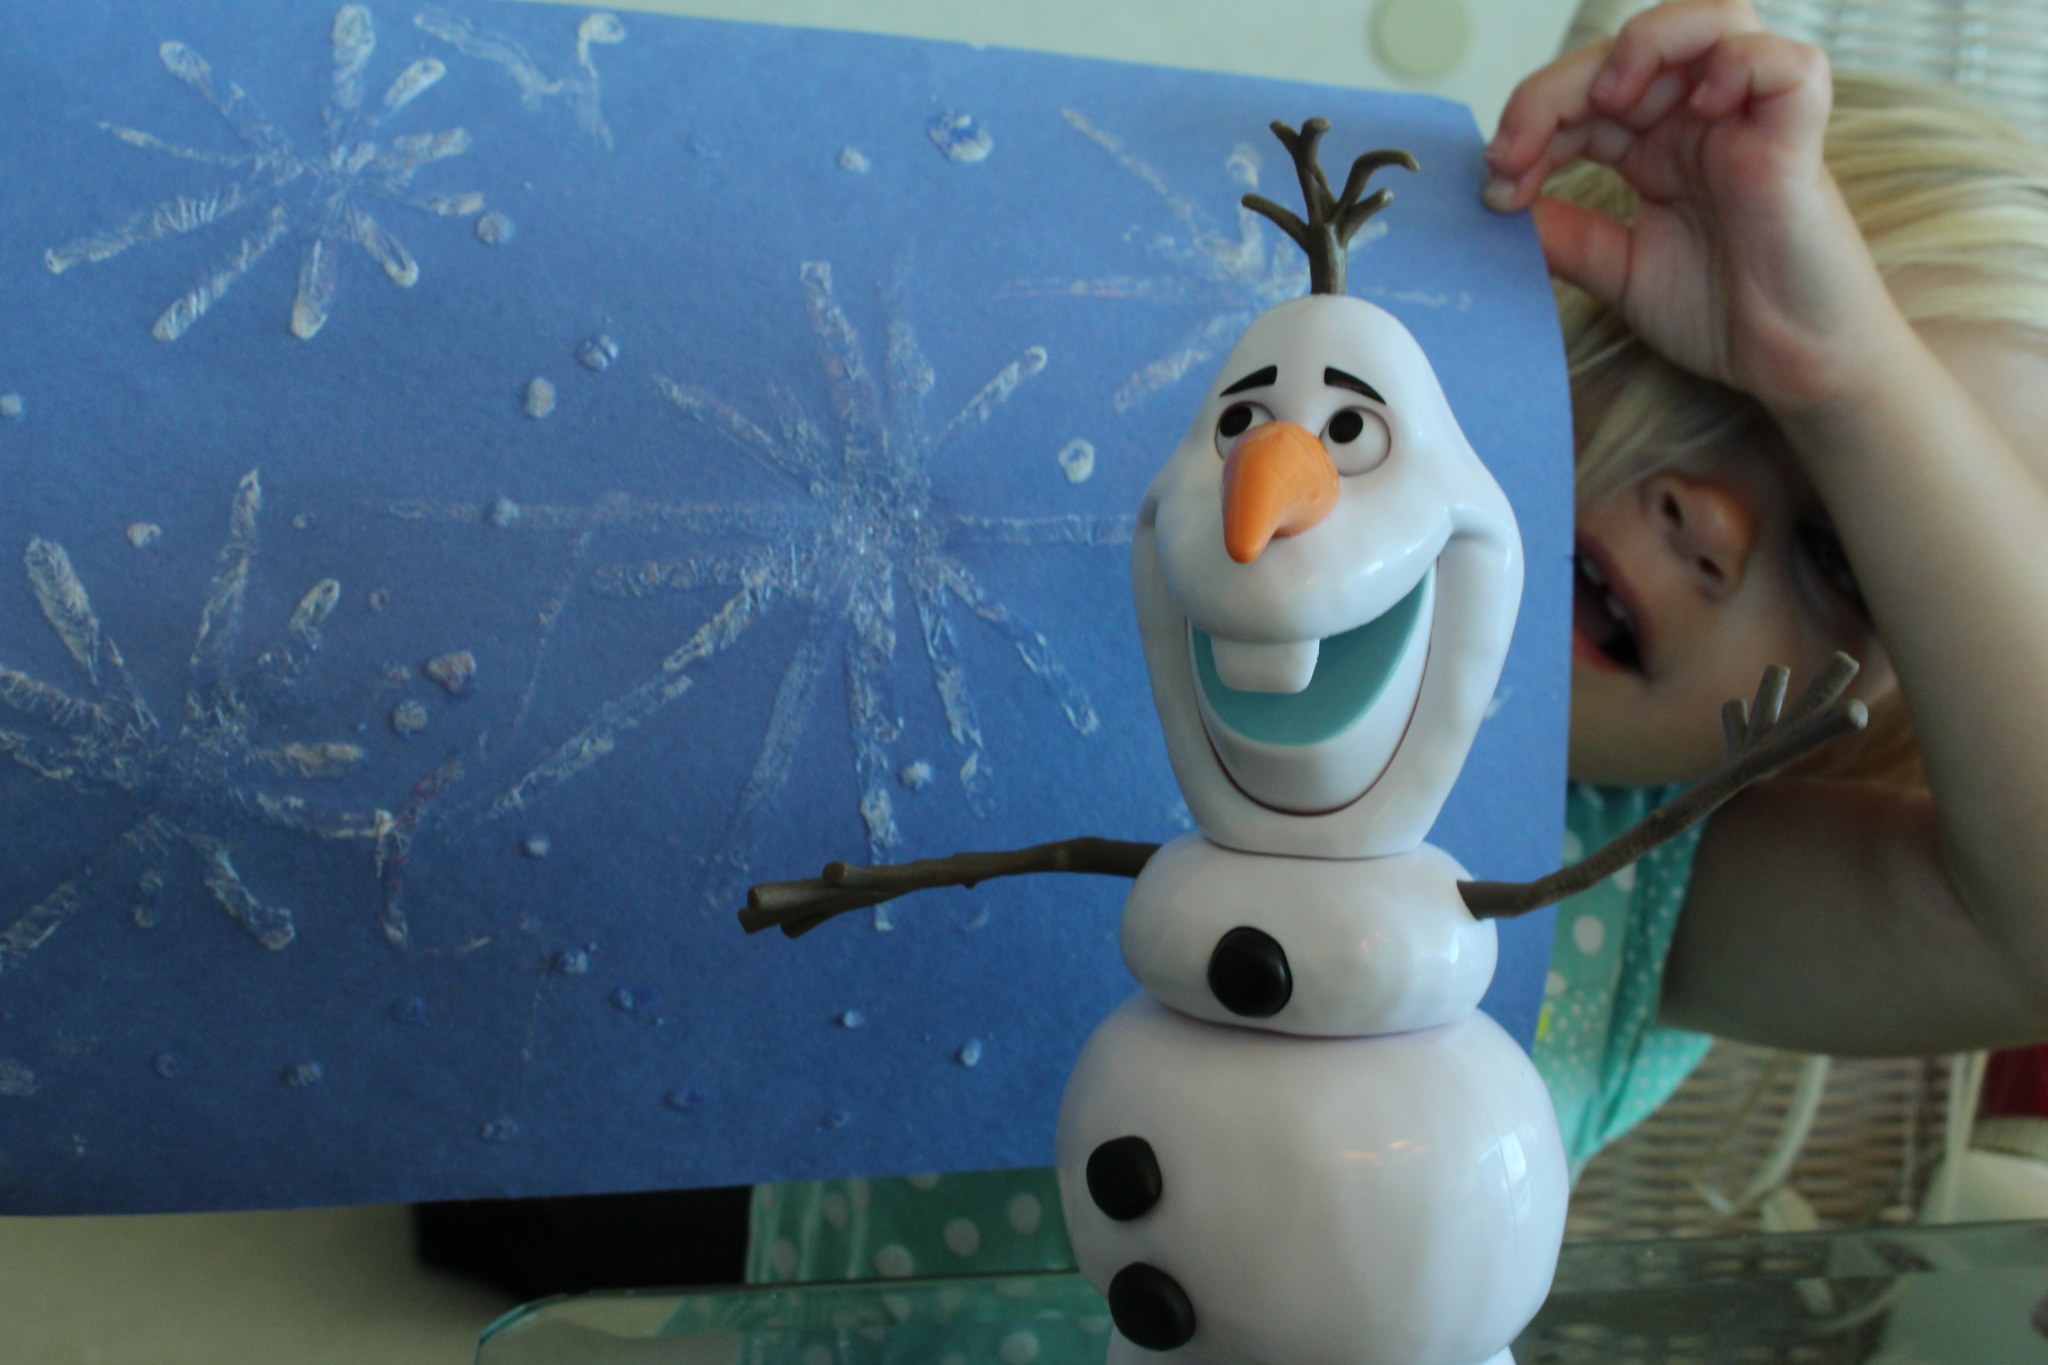
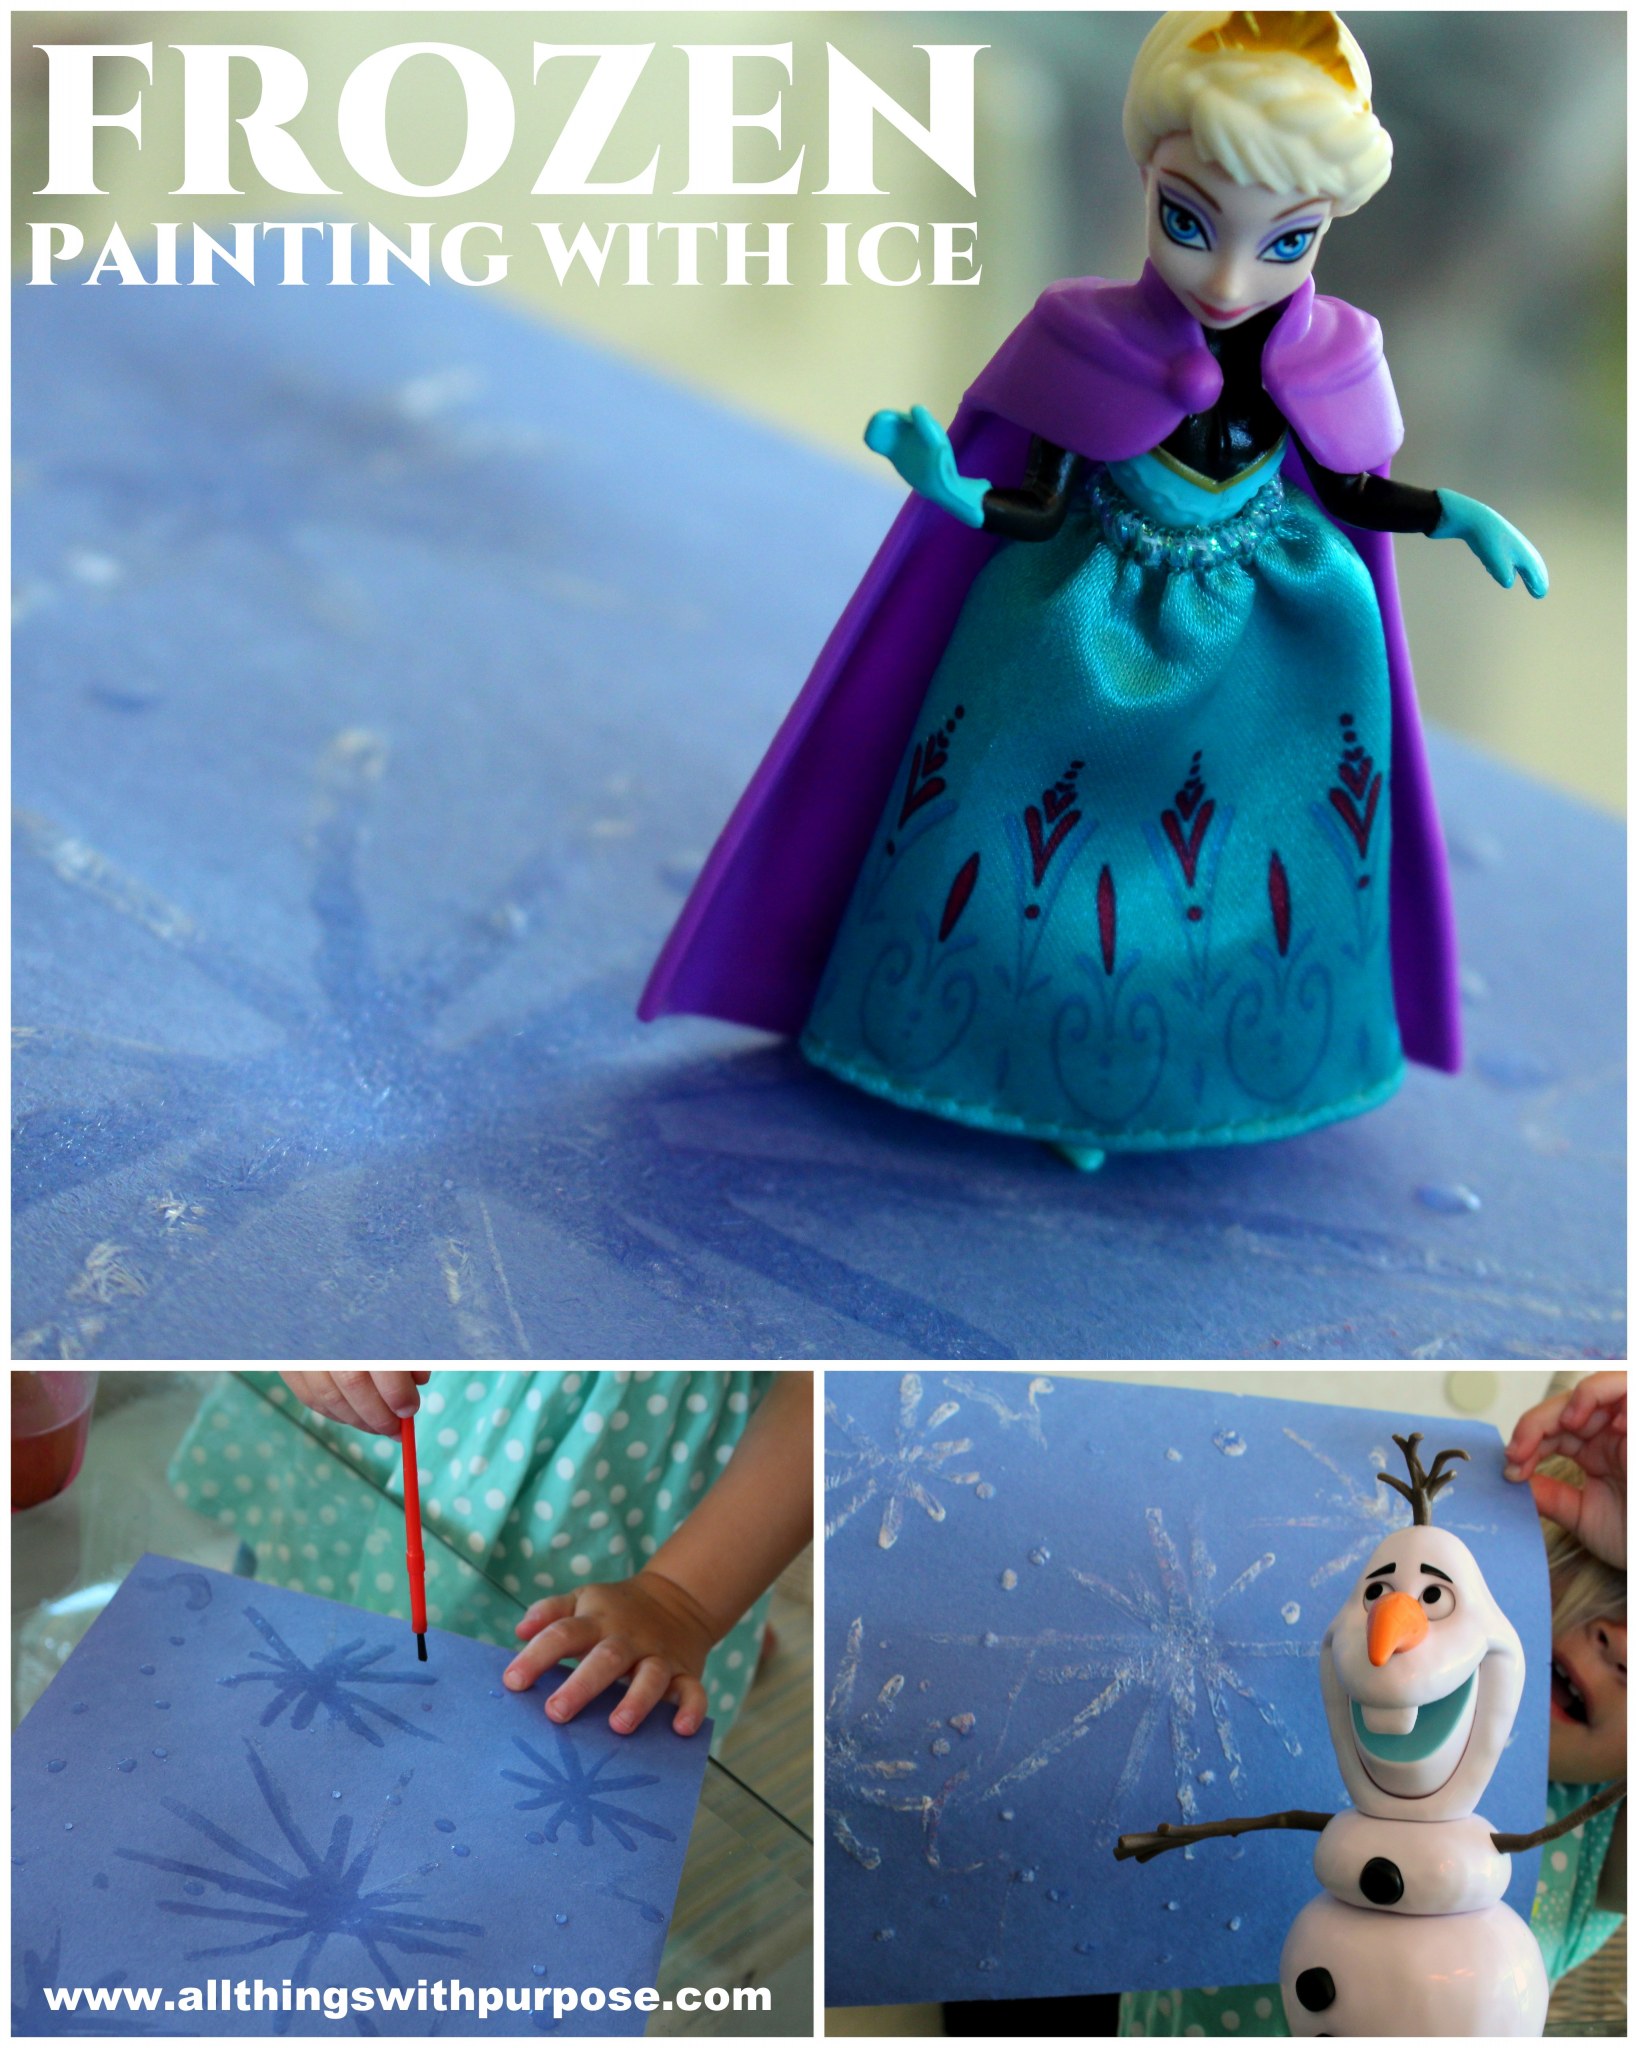
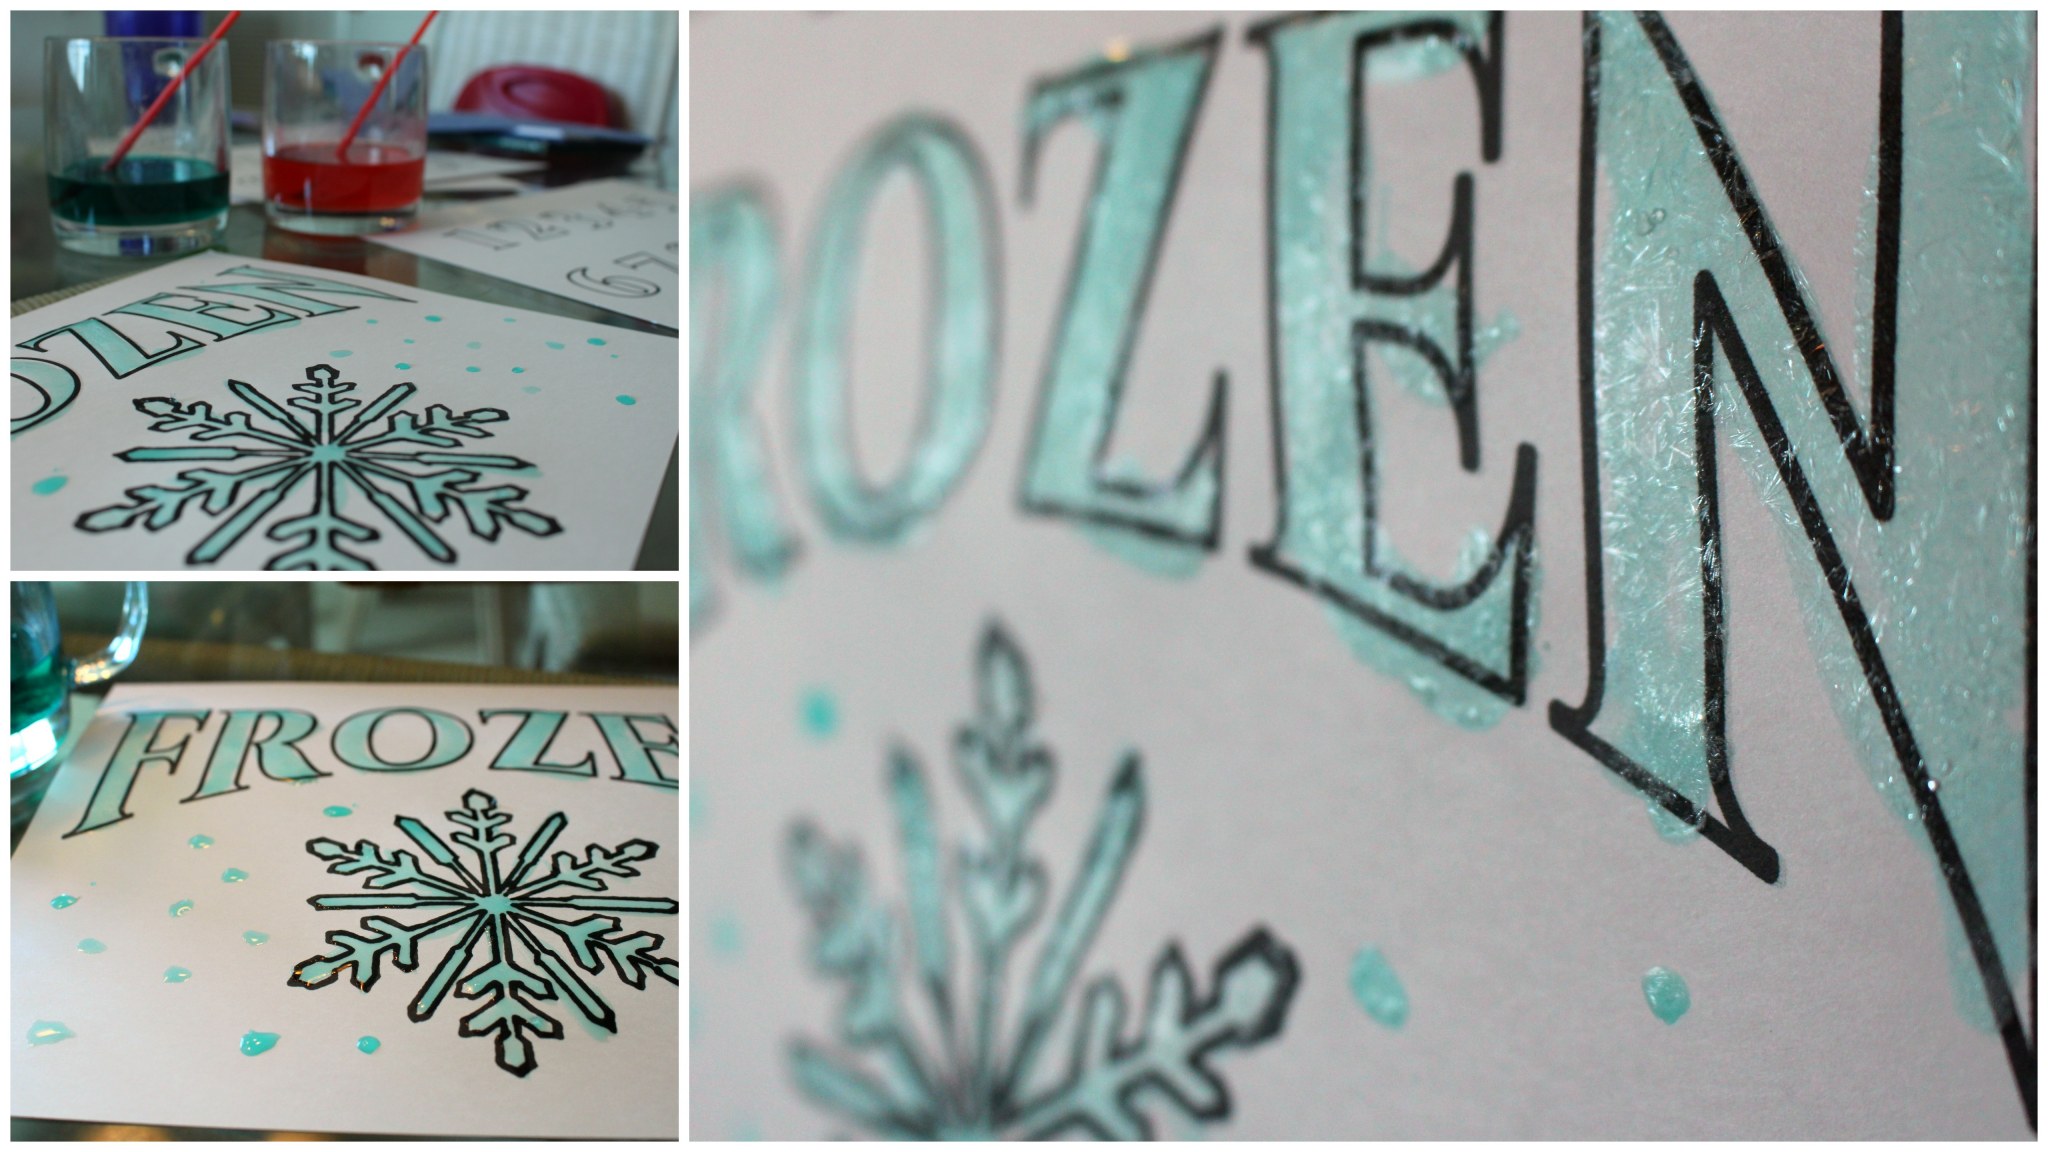
• Skip to main content
  • Skip to header left navigation
  • Skip to header right navigation
  • Skip to after header navigation
  • Skip to site footer
  • Start Here
    • About
    • Contact
    • Work with Me
    • Member Area
  • Blog
    • All Posts
    • Natalie
    • Taylor
    • Carissa
All Things With Purpose logo

All Things with Purpose

RV Renovations and Family Travel

  • Shop
    • My Store
    • Amazon
    • RVs For Sale
    • Shop My RV
  • At Home
    • Crafts & Sewing
      • Doll Clothes
    • Decor & DIY
    • Homeschooling
    • Lifestyle
    • Parties & Seasonal Celebrations
    • Recipes
  • RV Renovating
    • For Sale
    • How To
    • Tours
  • ON THE GO
    • Theme Parks
      • Ride Guides
      • Universal Studios
      • Disney World
      • SeaWorld Orlando
      • Cedar Point
    • Travel Tips
    • Camping
    • Cruises
    • Florida
    • Michigan
    • California
    • Hawaii
    • NYC
  • Popular Posts
    • How To Paint RV Walls
    • How Much Does it Cost to Renovate an RV
    • Basic Dress Pattern for American Girl Dolls
    • Our Favorite Spots in Northern Michigan
Home › Blog › Frozen Ice Painting with Epsom Salt

Frozen Ice Painting with Epsom Salt

Sarah Lemp smiling with coffeeSarah Lempon October 17, 2014(updated February 27, 2018)11K+
FacebookPinTweetYummlyPrintEmail

100CANON7This post was originally published over at Sugarbee Crafts! I wanted to share it here in case anyone missed how fun and easy this project is. It is practically mess free and fun for all ages. Brush on this “magical” frozen paint made out of Epsom salt, and watch how it literally “freezes” right before you eyes. Do this project on heavy paper or card stock. Use my free printable alphabet pages for an educational spin on things for your preschooler.

2aa

Here is what you need:

  1. Heavy paper or card stock – White or black/blue depending on your desired outcome
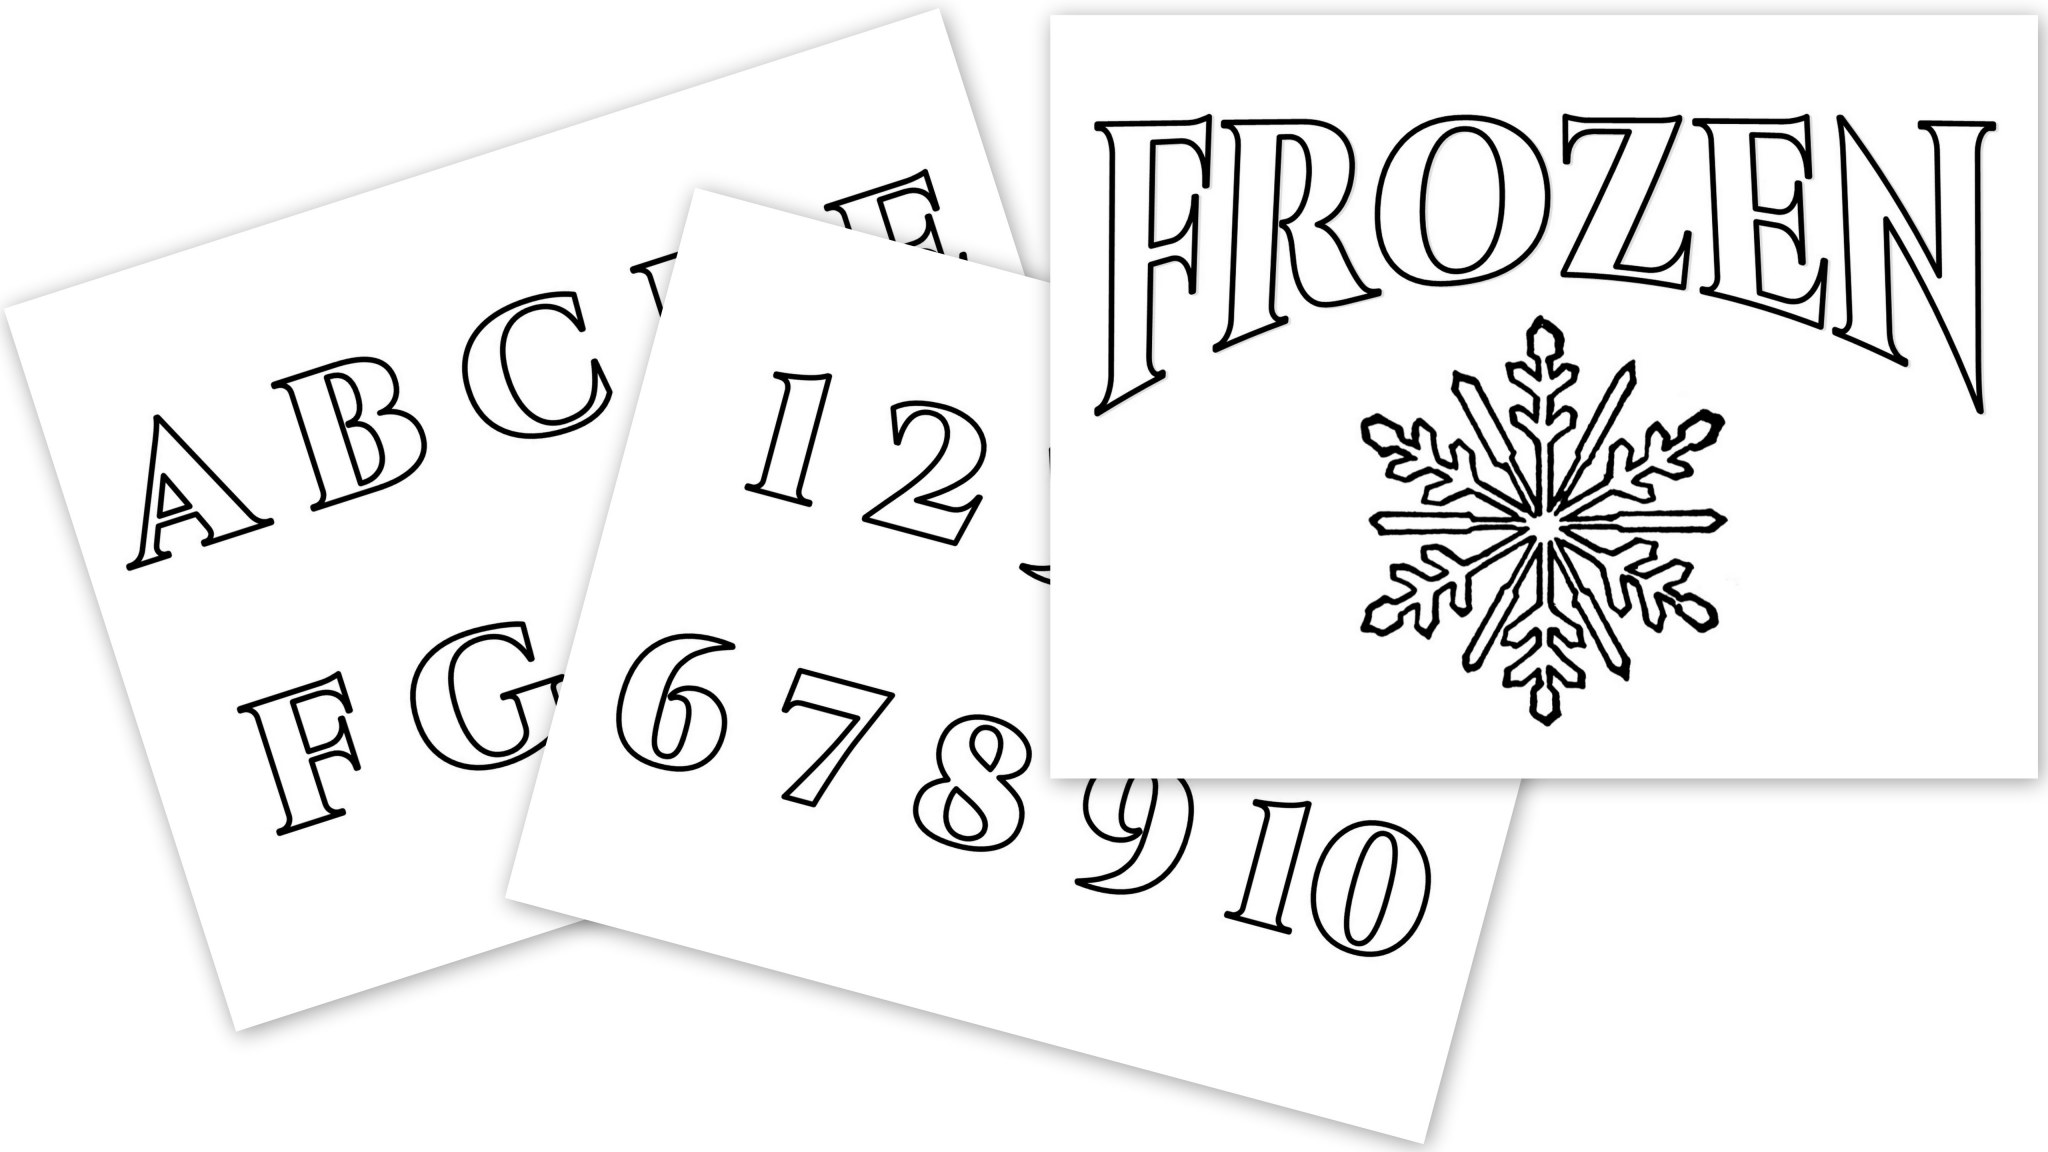
  2. OR use my free printable found here
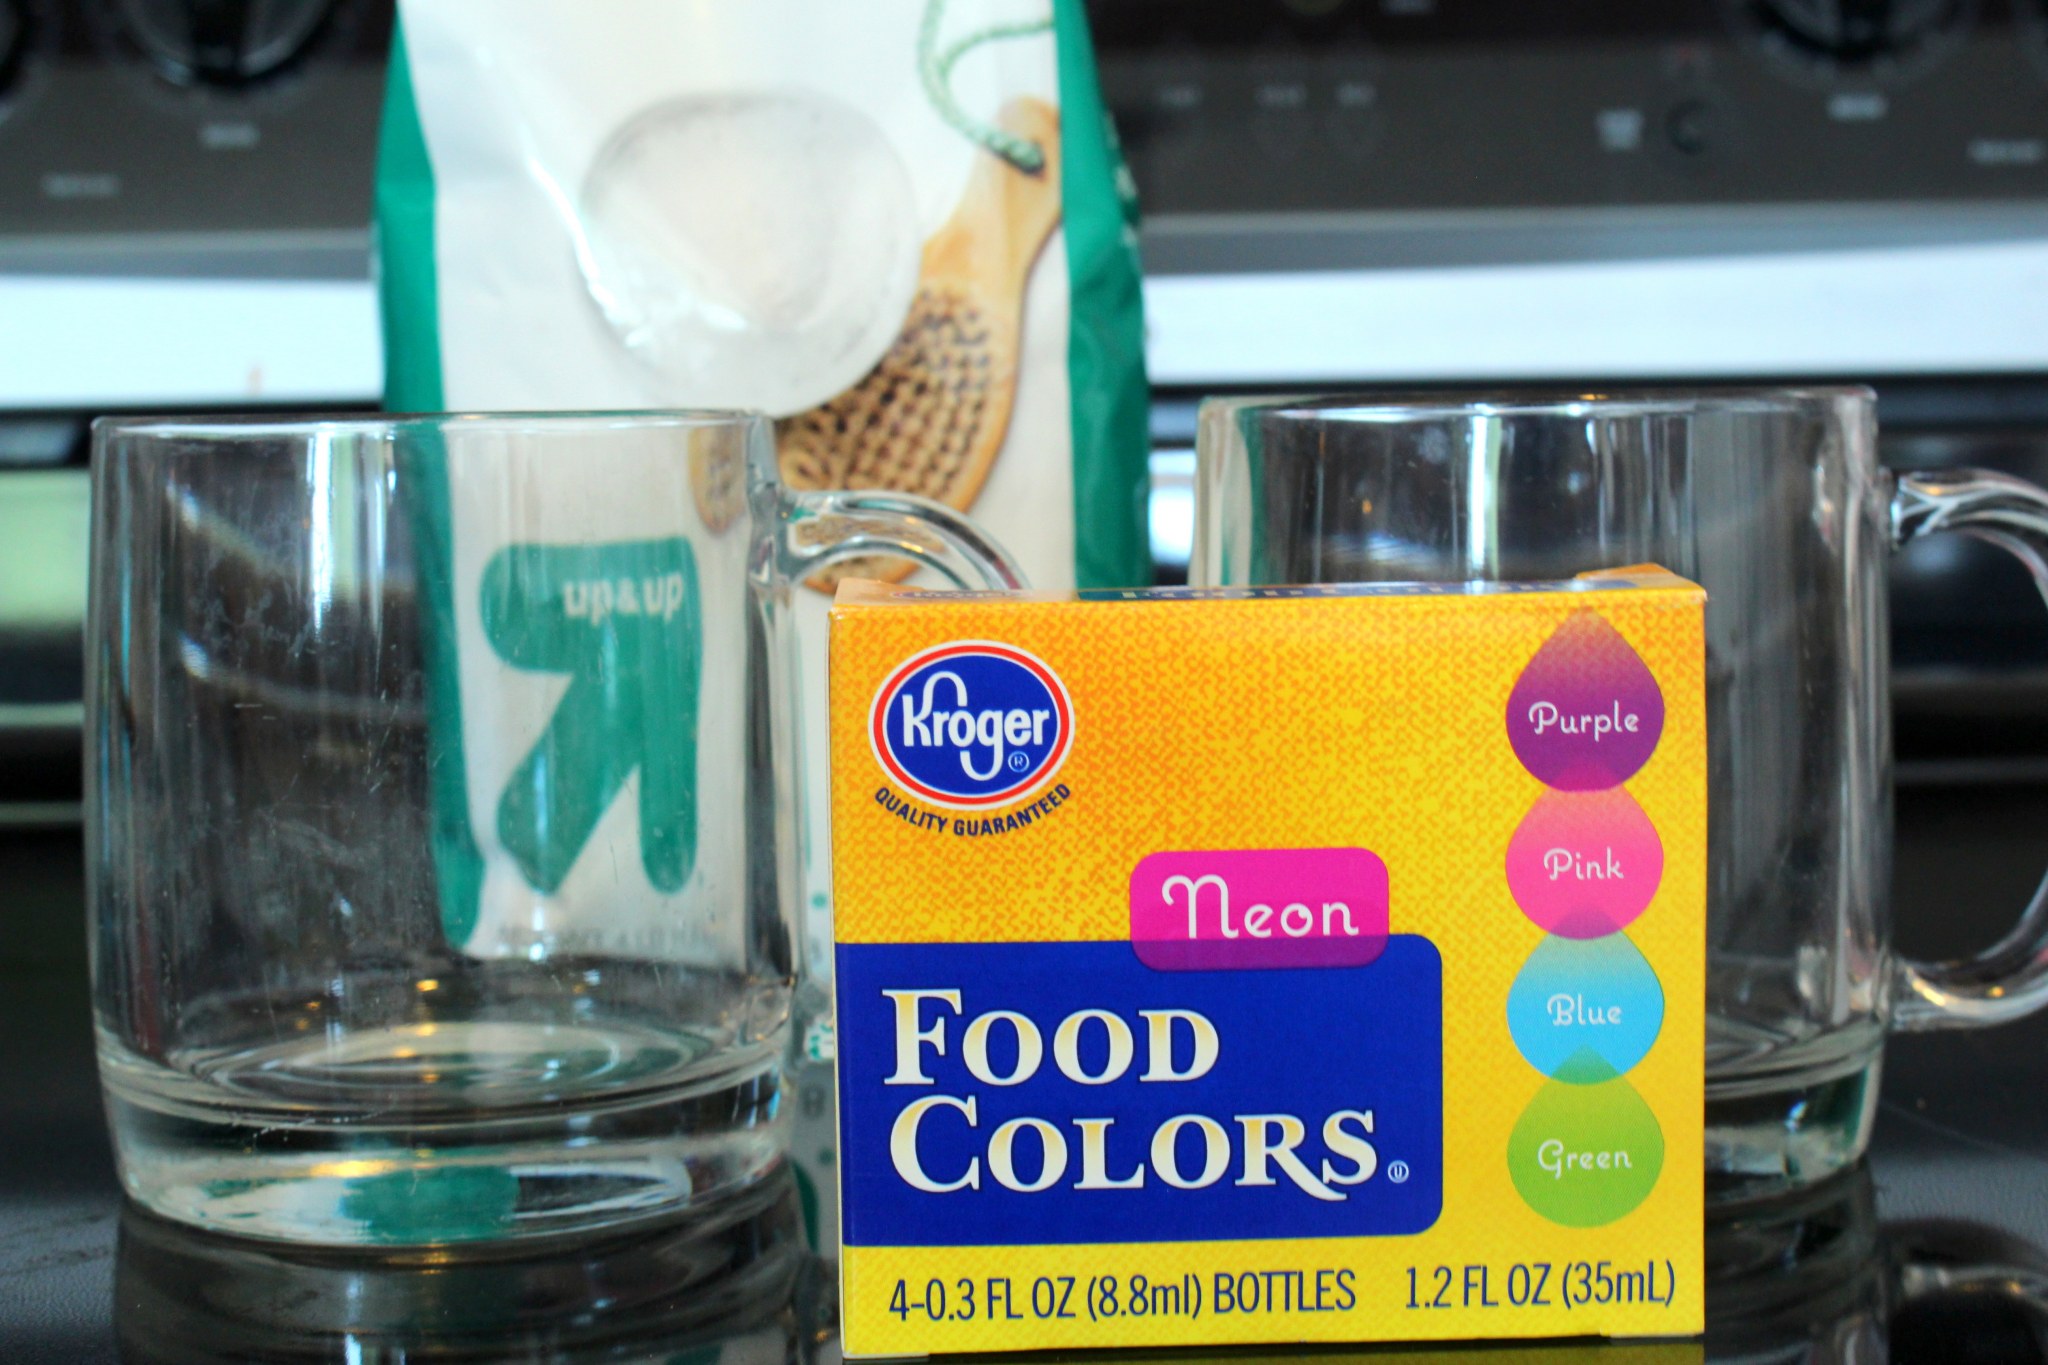
  3. A microwave safe measuring cup or bowl
  4. Epsom salt (find it in the drug store or personal care isle at the super market)
  5. Water
  6. Food coloring drops
  7. Paint brushes

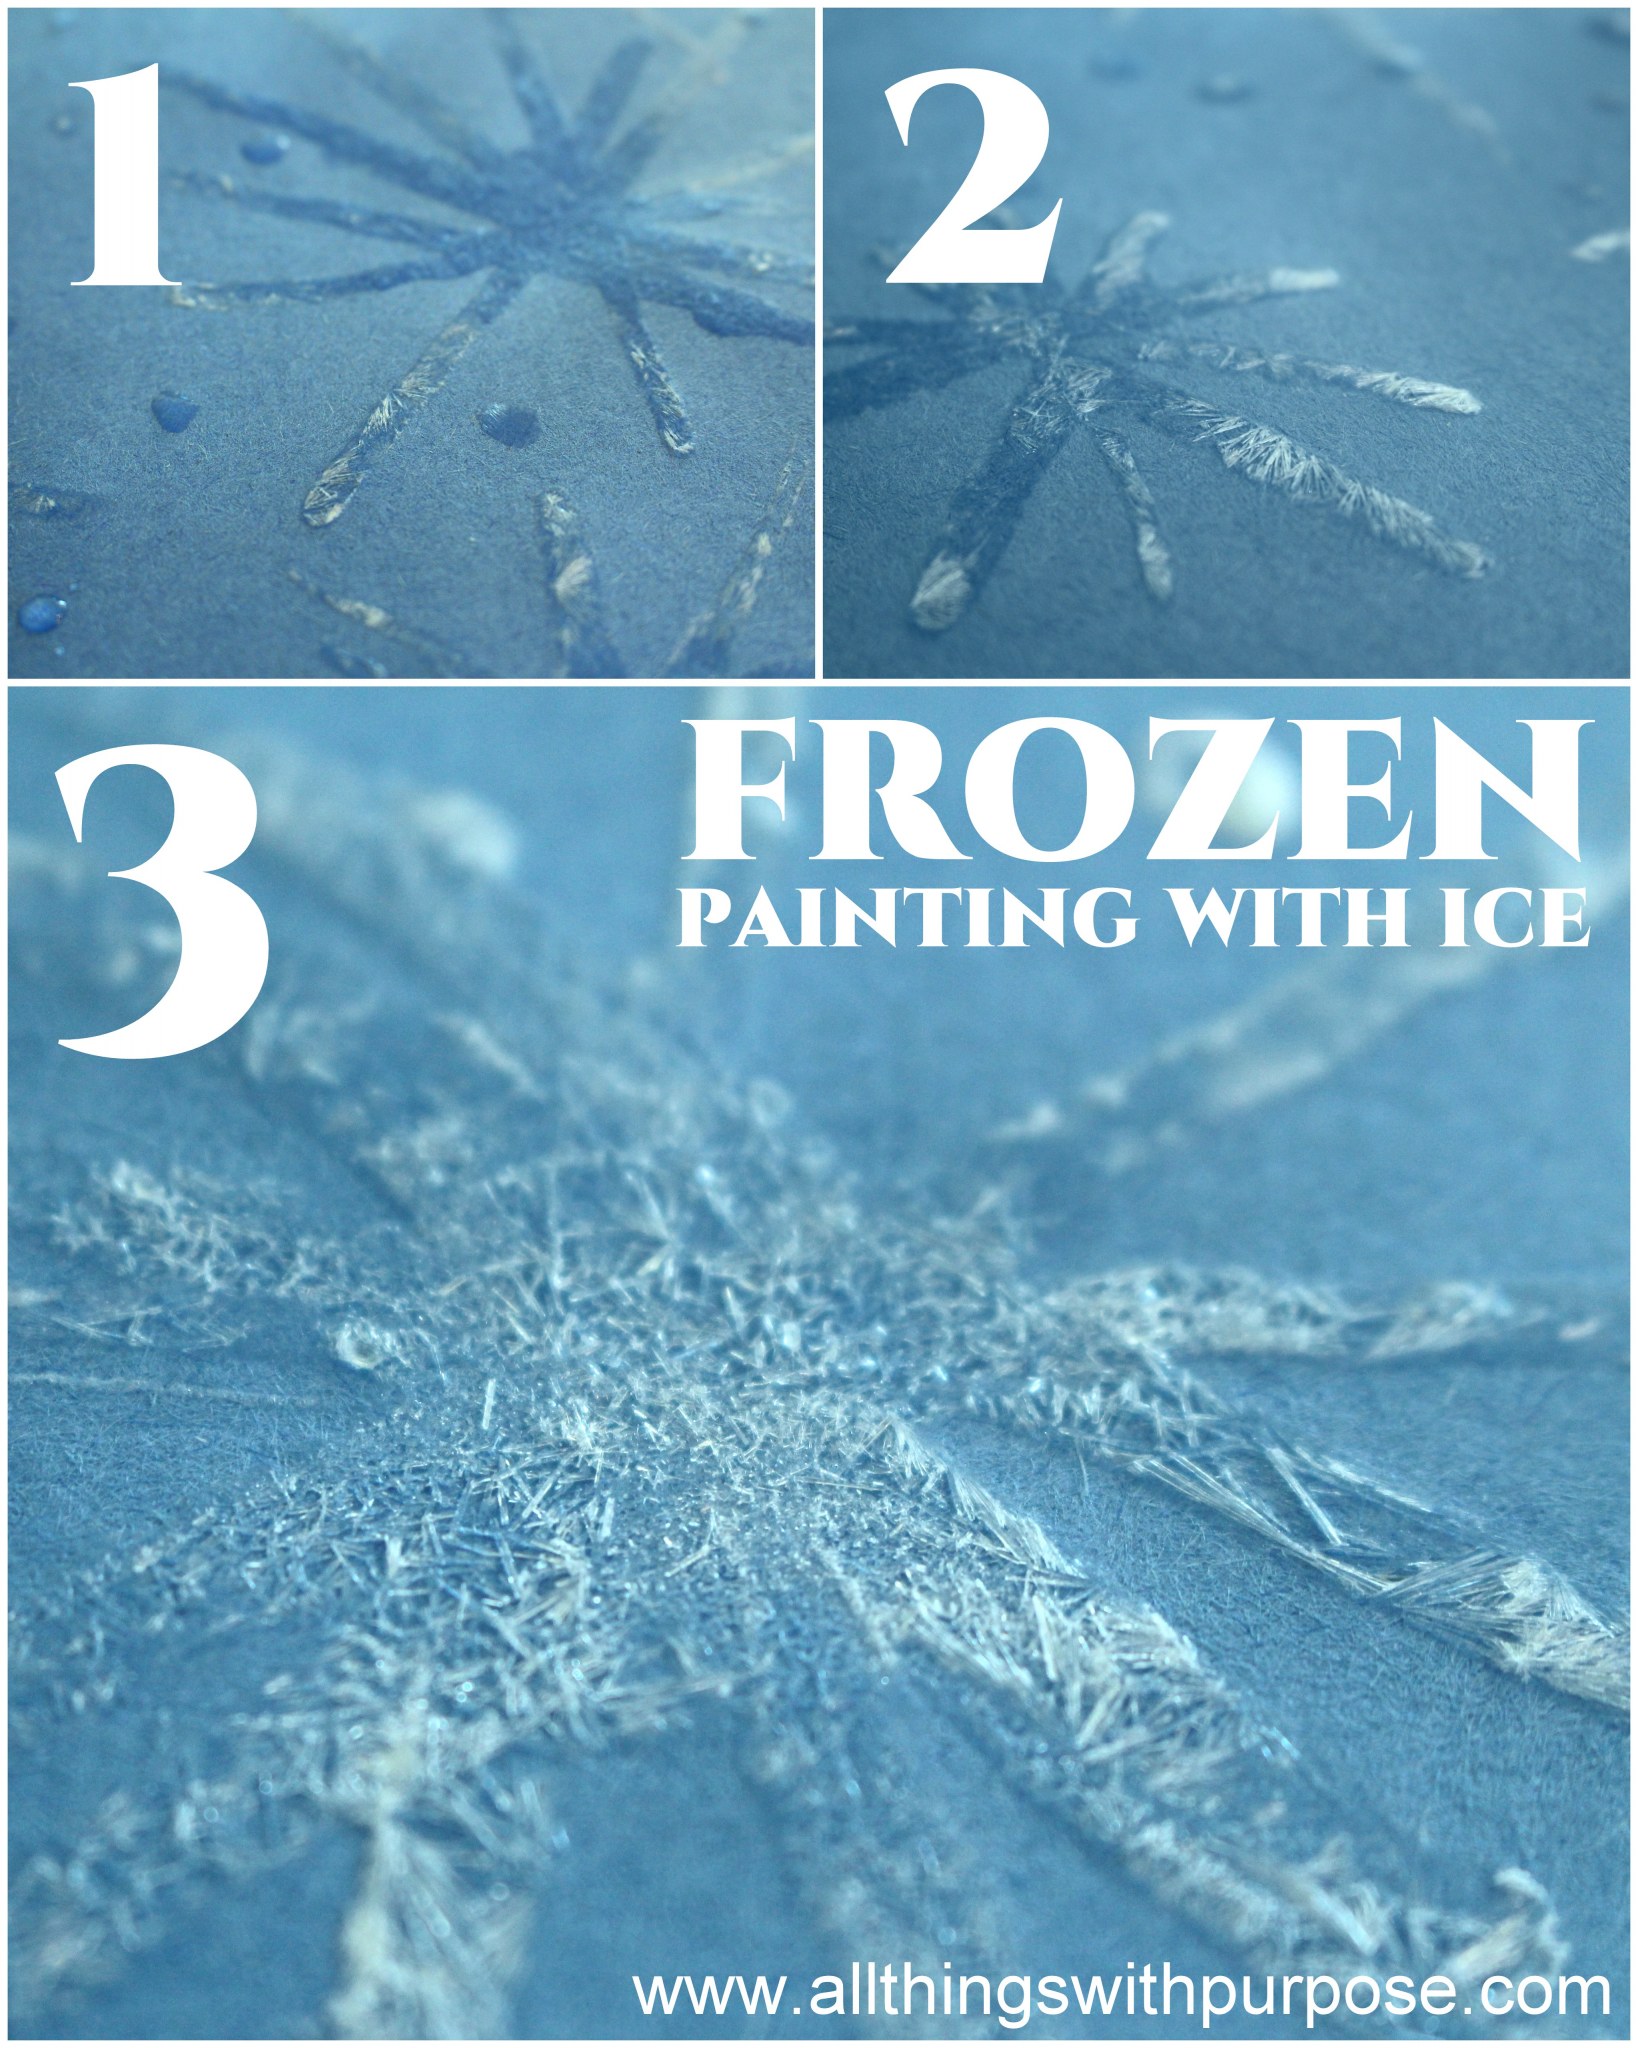
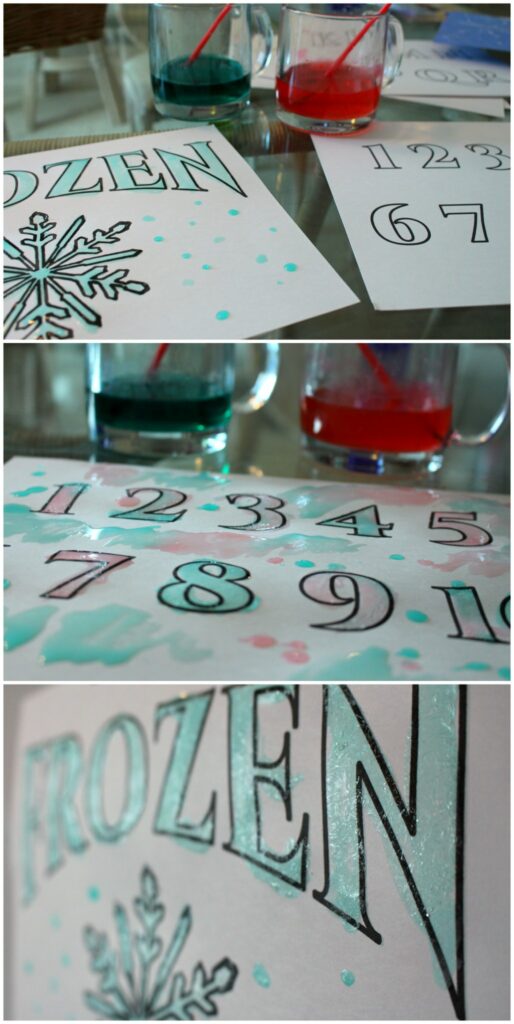
Heat water in the microwave until it is very hot (not necessarily boiling. I did 1/2 cup for about a minute). Mix an equal amount of Epsom salt in with the water. I did 1/2 cup water to 1/2 cup salt. Mix well then add a couple drops of food coloring to create the desired color. OR leave colorless (and completely mess free!) and paint onto the dark paper. Allow kids to paint. Then sit back and watch it dry. As the paint dries, it will crystallize and create the look of ice! How cool is that?!


IMG_8963

100CANON9

Recently Updated34

Category: Crafts & SewingTag: printable
FacebookPinTweetYummlyPrintEmail

Trending Posts

Check out my currently trending posts!

Disney on a Dime All Things with Purpose Sarah Lemp 1
410K+

Disney on a Dime

25 Christmas Gifts Kids Can Make 25
238K+

25 Christmas Gifts Kids Can Make

Copycat DQ Ice Cream Cake
200K+

DQ Ice Cream Cake Recipe

185K+

Faux Shiplap Backsplash with Peel ‘n Stick Flooring

161K+

Realtor Thank You Gift

18" Doll PJ Pattern (Digital Download) All Things with Purpose Sarah Lemp
147K+

American Girl Doll PJ’s Pattern

113K+

Basic Dress Pattern for American Girl Dolls: Easy to Learn!

104K+

Fix Your American Girl Doll’s Hair without a Trip to the Doll Hospital

Sarah Lemp smiling with coffee

About Sarah Lemp

Sarah is a second generation homeschooling mom. She lives in Metro Detroit with her husband Jay, 5 kids and dog, Edison. They love staying active as a family and going on trips in their renovated RV’s. Sarah loves to sing, make pretty things and eat pizza.

Previous Post:Podcast with a Mom in the MakingPodcast with a Mom in the Making
Next Post:A Fun Family Night at Disney on Ice!

Reader Interactions

Comments

  1. Avatar photoAM

    February 26, 2016 at 9:03 am

    Hi there. I’m planning this ice painting activity for an upcoming party. With your painted printable, did you have to use a laser printer so that the ink didn’t smear when painting? Or did you take it to a print shop? (Staples or elsewhere?) Thx!

    Reply
    • Sarah Lemp smiling with coffeeSarah Lemp

      February 27, 2016 at 8:44 pm

      That is a good question! I just used my printer at home – it’s an HP Inkjet – nothing fancy. I didn’t have any issues with the ink smearing. I printed on heavy cardstock instead of regular paper, so that may help as well. Best of luck!

      Reply

Leave a Reply Cancel reply

Your email address will not be published. Required fields are marked *

Recipe Rating (Optional)


Sidebar

Shop My RVs

I Wrote a Book!

Follow on Instagram

copyright & disclosure

All content on this site is copyright Sarah Lemp. Many of my posts contain affiliate links. If you click on an affiliate link and buy something, I may receive a small commission. Read more on my disclosure page.

Sarah Lemp smiling with coffee

MORE ABOUT SARAH

Sarah is a second generation homeschooling mom. She lives in Metro Detroit with her husband Jay and 5 kids. They love staying active as a family and going on trips in their renovated camper. Sarah loves to sing, make pretty things and eat pizza.

COPYRIGHT & DISCLOSURE

All content on this site is copyright Sarah Lemp. Many of my posts contain affiliate links. If you click on an affiliate link and buy something, I may receive a small commission. Read more on my DISCLOSURE PAGE.

All Things With Purpose logo
  • Facebook
  • Instagram
  • Pinterest
  • Twitter
  • YouTube
  • My Account
  • Work with Me
  • Privacy Policy
  • Become an Affiliate
  • Affiliate Dashboard

Copyright © 2023 · All Things with Purpose · All Rights Reserved · Powered by Mai Theme