• Menu
  • Skip to left header navigation
  • Skip to right header navigation
  • Skip to primary navigation
  • Skip to secondary navigation
  • Skip to main content
  • Skip to primary sidebar
  • Skip to footer

All Things with Purpose

RV Renovations and Family Travel

  • Start Here
    • About
    • Contact
    • Work with Me
    • Member Area
  • Blog
    • Natalie
    • Taylor
    • Carissa
  • Search
  • Shop
    • My Store
    • Amazon
    • RVs For Sale
    • Shop My RV
  • 0 items
  • Start Here
    • About
    • Contact
    • Work with Me
    • Member Area
  • Blog
    • Natalie
    • Taylor
    • Carissa
  • Search
  • Shop
    • My Store
    • Amazon
    • RVs For Sale
    • Shop My RV
  • 0 items
  • At Home
    • Crafts & Sewing
    • Decor & DIY
    • Homeschooling
    • Lifestyle
    • Parties & Seasonal Celebrations
    • Recipes
  • RV Renovating
  • Travel
    • Camping
    • Theme Parks
    • Michigan
    • Hawaii
    • Florida
    • California
    • NYC
  • My Account
  • Work with Me
  • Privacy Policy
  • Become an Affiliate
  • Affiliate Dashboard
  • At Home
    • Crafts & Sewing
    • Decor & DIY
    • Homeschooling
    • Lifestyle
    • Parties & Seasonal Celebrations
    • Recipes
  • RV Renovating
  • Travel
    • Camping
    • Theme Parks
    • Michigan
    • Hawaii
    • Florida
    • California
    • NYC

Home » Blog » Get the Look: Wood Bead Chandelier DIY

Get the Look: Wood Bead Chandelier DIY

 March 13, 2017     Sarah Lemp    1 Comment   This post contains affiliate links

Shares2.1kFacebookPinTweetYummlyPrintEmail


I’ve been eyeing some gorgeous wood bead chandeliers for a while now. I had been going around and around in my mind about whether I wanted to switch out my light fixture all together, buy a new one, paint this one, buy a thrifted one or just do something to my existing one.

I read several tutorials on how to create a wood beaded chandelier from scratch, but ultimately wanted something fast and cheap.


This post contains affiliate links for your convenience.


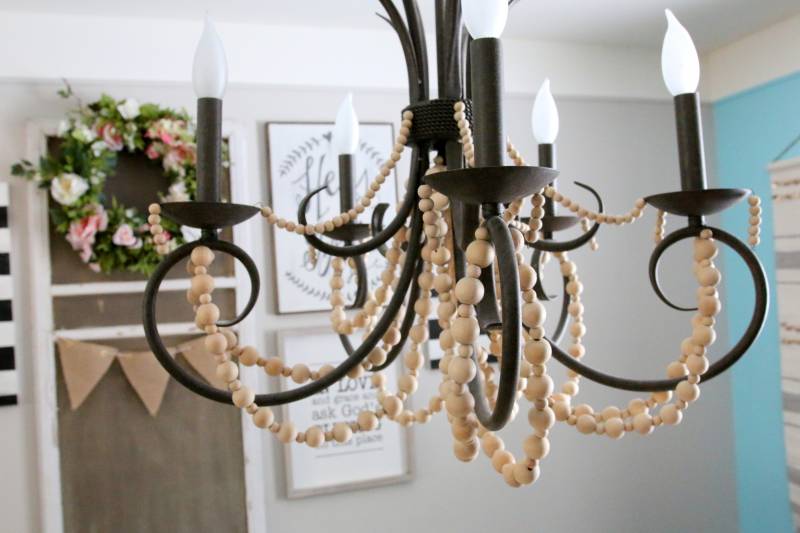
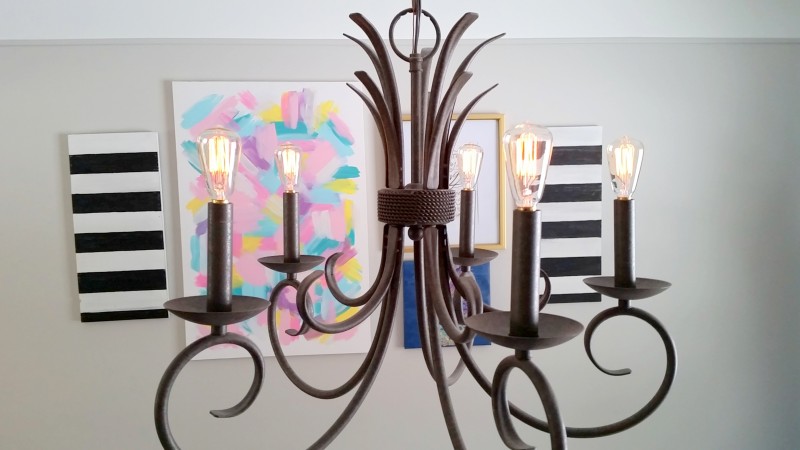
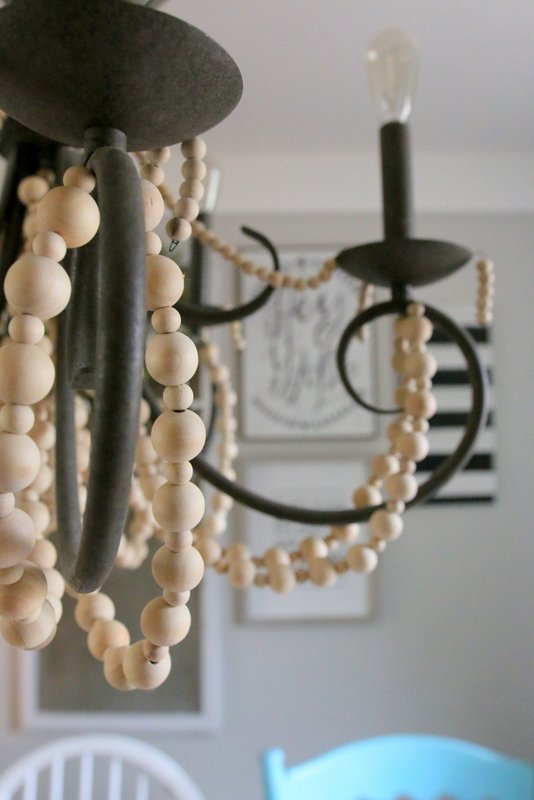
Here is the plain light fixture I was working with. I had removed the lamp shades and added Edison bulbs a while back. This fixture has lots of little “swirly-do’s” as I will technically refer to them. These spots made it super easy to twist and hook things to them.

For this project, I used the following supplies:

  • Large Wood Beads I used (1) 200 count bag of 20mm beads, but a second bag or 300 would have been ideal.
  • Small Wood Beads I used (2) 200 count bags of 10mm beads which was plenty.
  • Wire Cutters
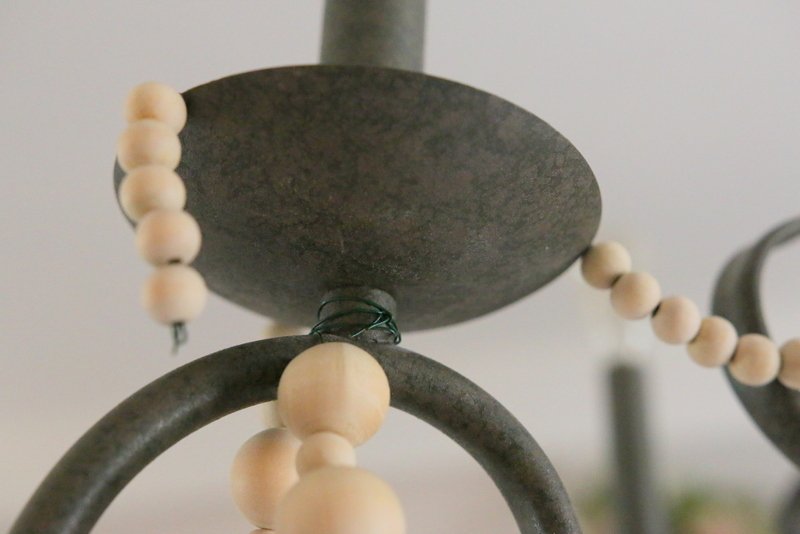
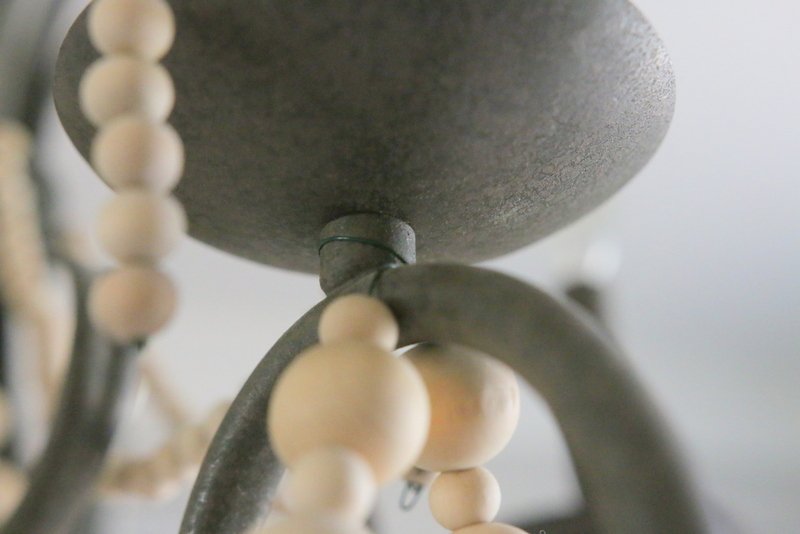
  • Wire 24-28 gauge is ideal. Pick a color of wire that will best blend in with your fixture. For  my fixture, I used green wire and you can’t see it!

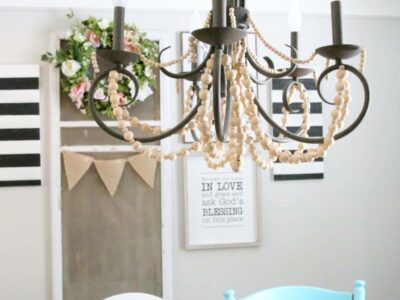
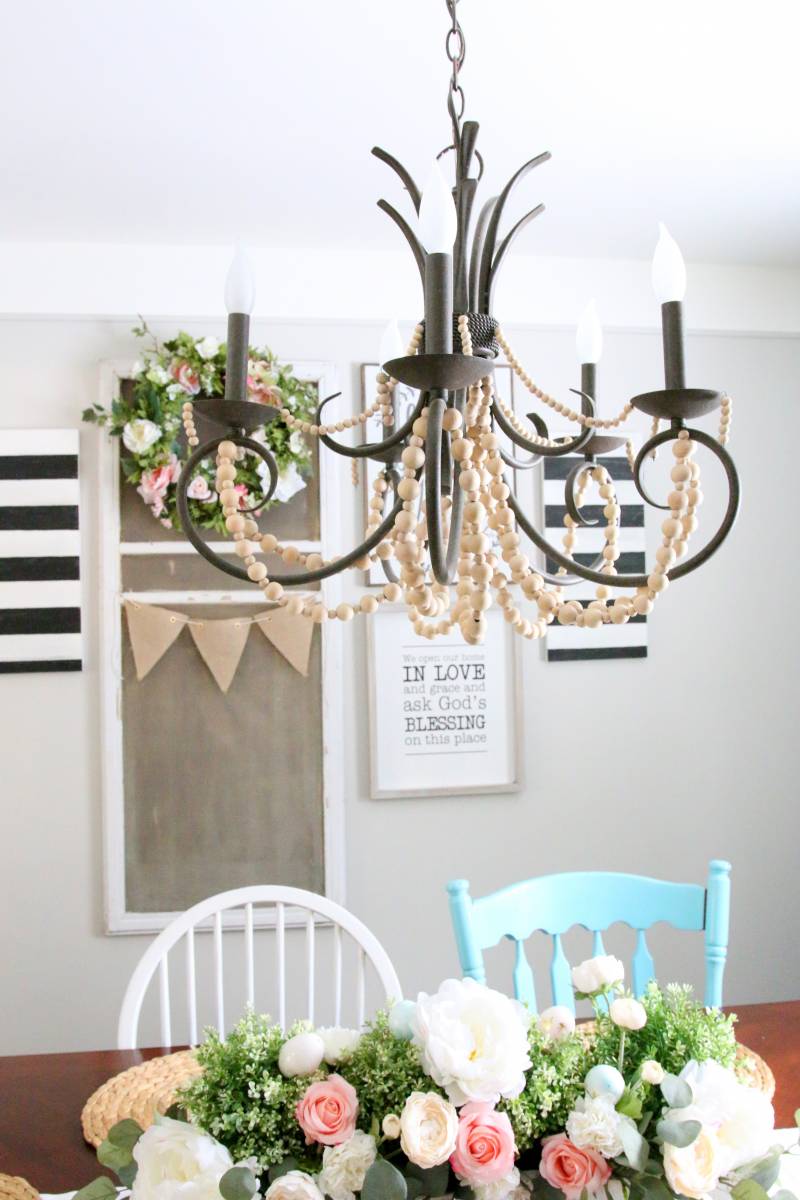
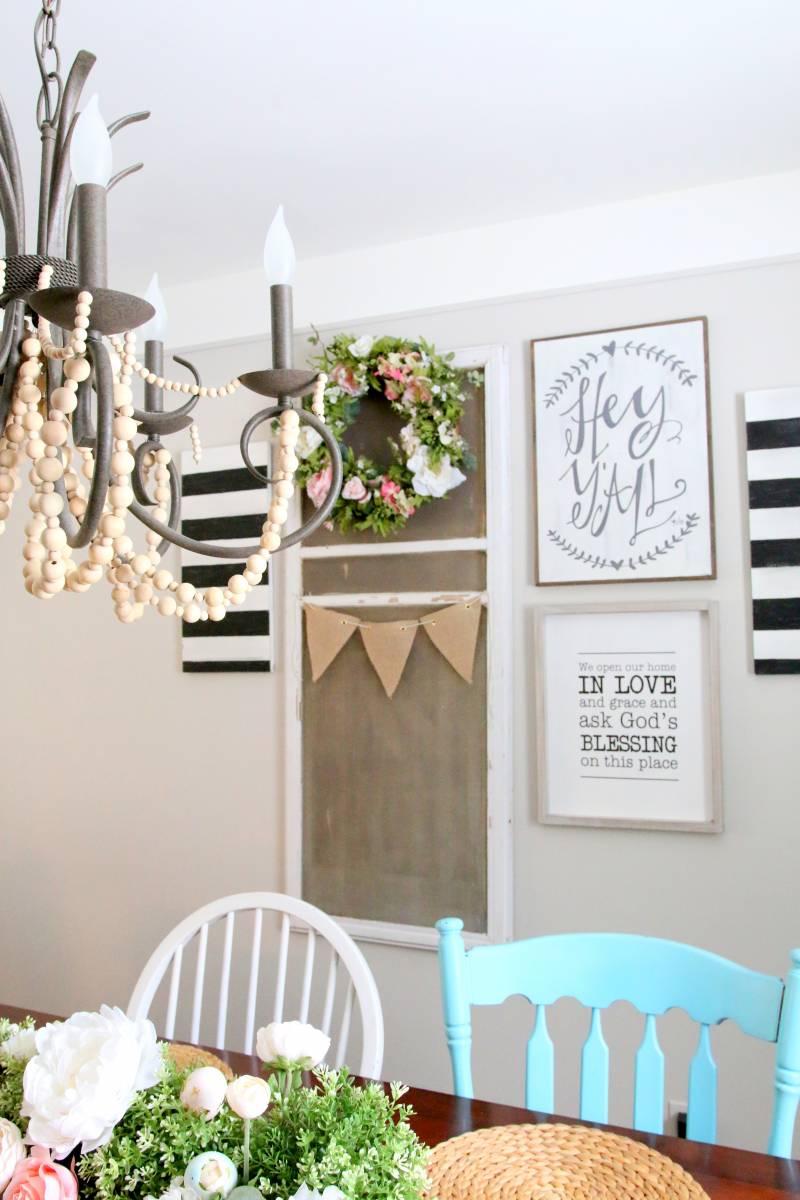
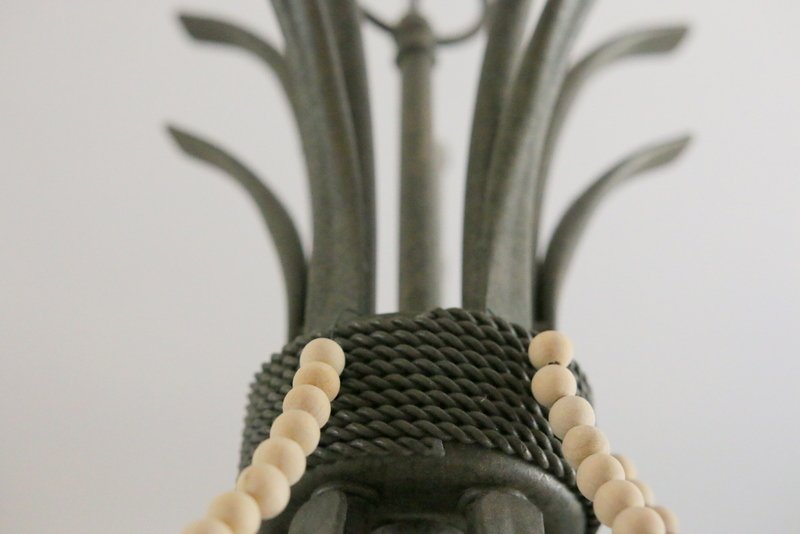
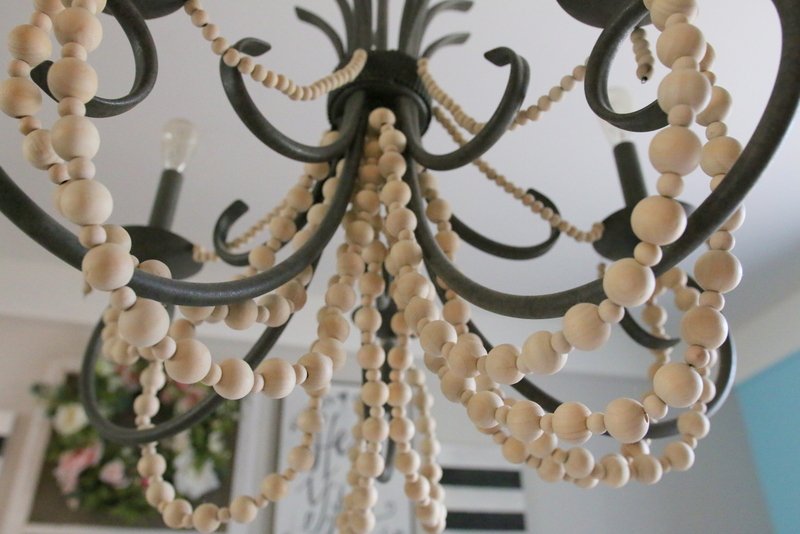
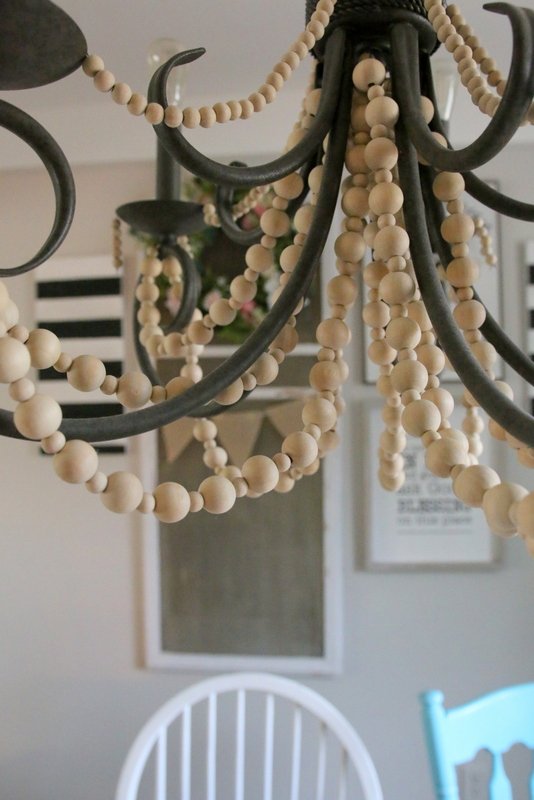
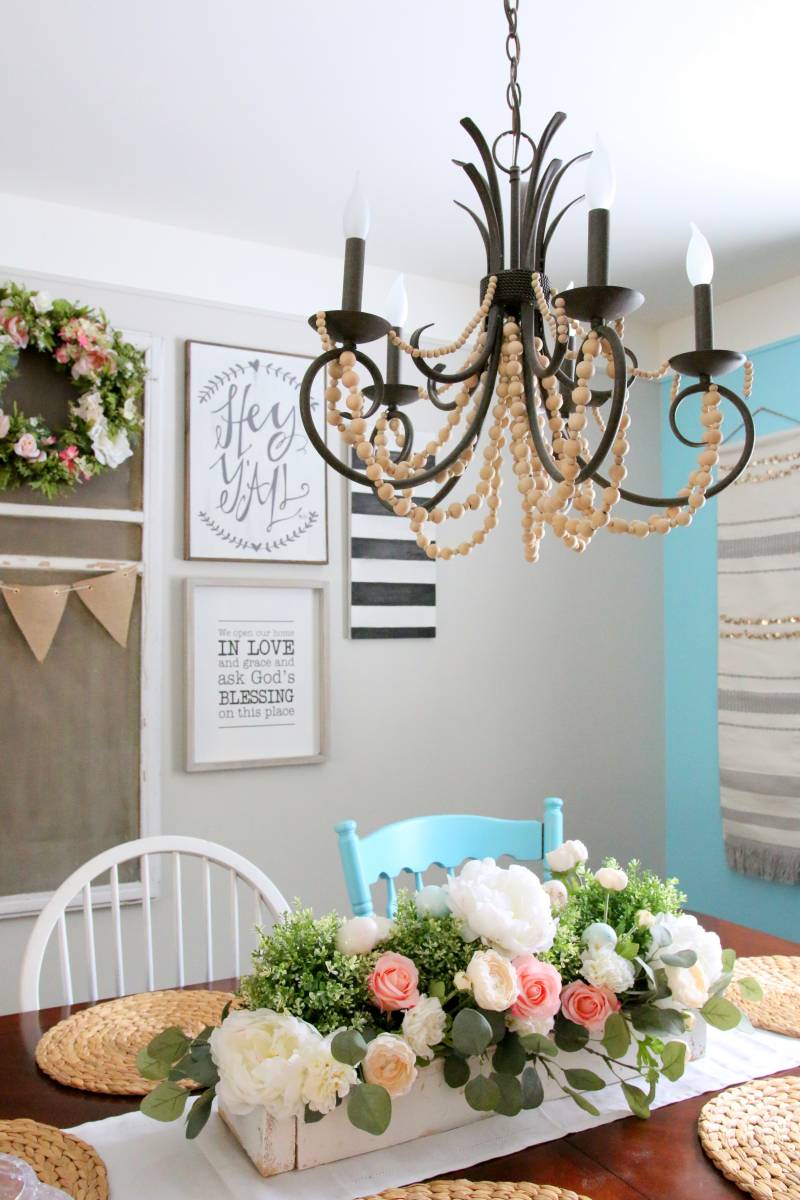
I began by stringing my beads on the wire using a large-small-large-small pattern. I created one continuous string of beads until I ran out. I had more small beads than large ones, so I did a few strands of small beads to accent other areas of the light. I made sure to leave lots of wiggle room for the beads to slide around as I positioned them. You can see in the pictures below, I just strung my beads across my light fixture to get the look I was going for. I twisted the wire around the different parts of the light to get them to stay. What’s nice is you really can’t see the wire!

This is a non-permanent update that will be easy to change once I get tired of this look! It’s also great for renters.

Pin-it for later!

Shares2.1kFacebookPinTweetYummlyPrintEmail

Category: Decor & DIYTag: featured decor

About Sarah Lemp

Sarah is a second generation homeschooling mom. She lives in Metro Detroit with her husband Jay, 5 kids and dog, Edison. They love staying active as a family and going on trips in their renovated RV's. Sarah loves to sing, make pretty things and eat pizza.

Connect with me on Instagram

Previous Post: «Advanced Sewing Class: Neapolitan Dress Pattern for American Girl Dolls All Things with Purpose Sarah Lemp 2 Advanced Sewing Class: Neapolitan Dress Pattern for American Girl Dolls
Next Post: An IKEA Floral Arrangement for Spring An IKEA Floral Arrangement for Spring 1»

Reader Interactions

Comments

  1. Deb

    September 21, 2019 at 10:24 pm

    Like you, I’ve been eyeing all those gorgeous beaded chandeliers for a while, but I just wasn’t ready to bite the bullet and buy one or buy a ton of beads and make one from scratch. Happily, you’ve come up with the perfect compromise! Can’t wait to try this myself! Thanks for the great inspiration, Sarah!

    Reply

Leave a Reply Cancel reply

Your email address will not be published. Required fields are marked *

Recipe Rating (Optional)


Primary Sidebar

Shop My RVs

I Wrote a Book!

Follow on Instagram

Featured By

Footer

More about Sarah

Sarah LempSarah is a second generation homeschooling mom. She lives in Metro Detroit with her husband Jay, 5 kids and dog, Edison. They love staying active as a family and going on trips in their renovated camper. Sarah loves to sing, make pretty things and eat pizza.

copyright & disclosure

All content on this site is copyright Sarah Lemp. Many of my posts contain affiliate links. If you click on an affiliate link and buy something, I may receive a small commission. Read more on my disclosure page.

  • Facebook
  • Instagram
  • Pinterest
  • Twitter
  • YouTube
  • My Account
  • Work with Me
  • Privacy Policy
  • Become an Affiliate
  • Affiliate Dashboard

Copyright © 2022 All Things with Purpose · All Rights Reserved · Powered by BizBudding Inc

Share this ArticleLike this article? Email it to a friend!

Email sent!