
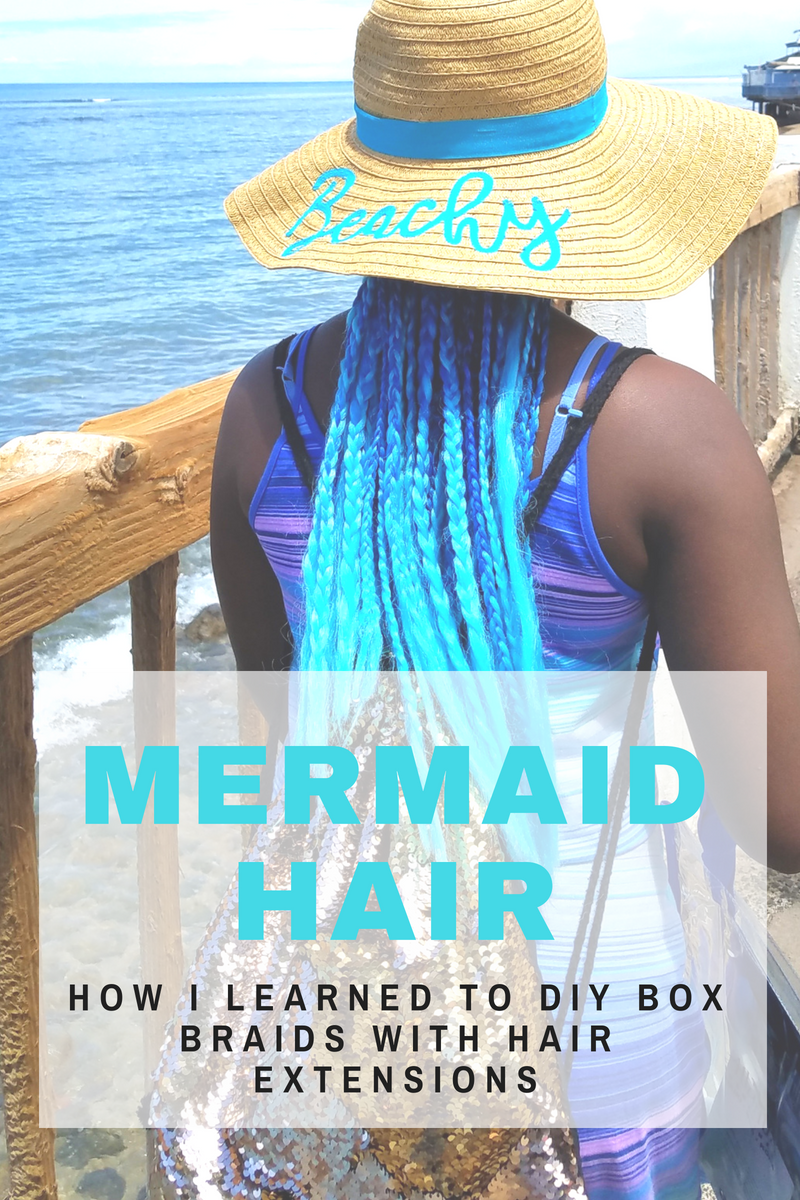
Box Braids with Hair Extensions
As a white adoptive momma, caring for a beautiful little girl with curly black hair, I have made it a priority to learn all I can about black hair care. I’ve sought to be teachable and gather as much info and insight from everyone I possibly can. There is so much to learn, but heading to the salon is just not in our budget.
I have received so many questions and comments about the extensions that we used for our trip to Hawaii, I thought I would share what we did. If you’ve never tried braiding on your own, maybe this will help inspire you! Find the extensions we used on Amazon: Blue Extensions 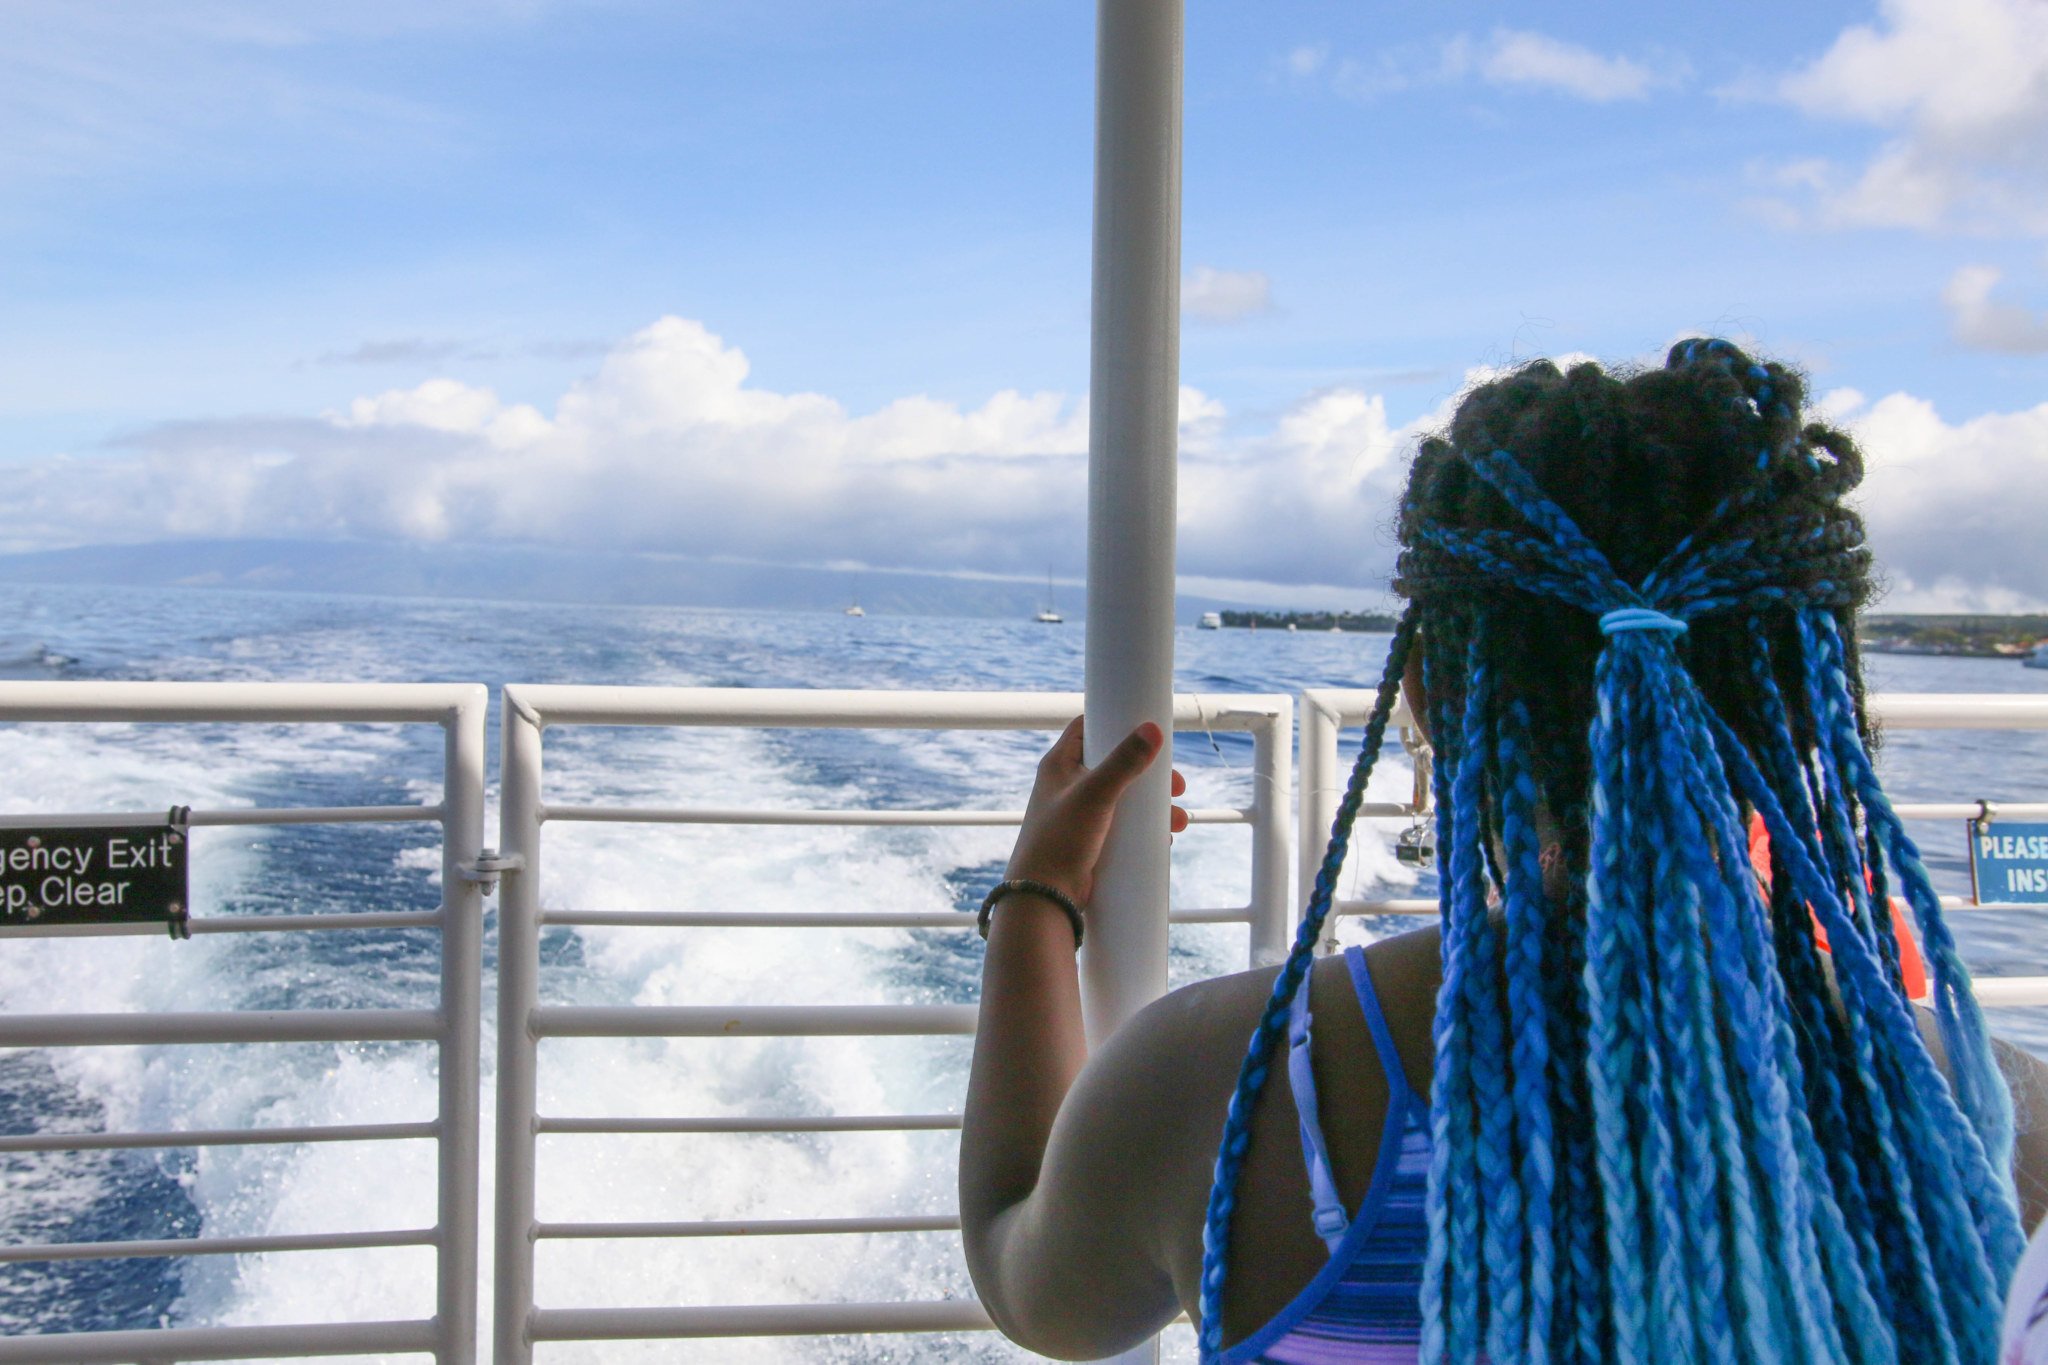
I’ve attempted to DIY almost everything else, why not try hair braiding and extensions?
I started by watching YouTube video after YouTube video. I watched videos for a few weeks before I finally worked up the courage to try it on my own! I had the numbers for a couple friends and a salon on hand as a back-up, just in case something went terribly wrong.
I had asked several friends what they thought I should do before heading to Hawaii (since we would be in the ocean and at the beach almost every day). Everyone I talked with highly recommended braids, so I knew this would be the goal. I am SO GLAD we went into the trip with fresh braids and was so relieved to discover they would last over a month!
Here’s a fun slow-motion video of how cool these braids looked in the water!
Supplies
Here’s what you’ll need! Make sure to gather all your supplies up front and have everything sitting within reach.
- Moisturizing shampoo and conditioner
- Black rubber bands
- 1-3 packs of hair extensions I used about 2 1/2 packs the first time and 1 1/2 the second. We liked how the first time turned out better because the braids were bigger.
- Large comb or wet brush for detangling
- Comb with pointy tip for parting the hair
- Spray bottle
- Hair Clips
- Edge control (we use a toothbrush with this to smooth edges)
- Twist and lock gel
- Hot water
- Olive oil (optional)
- Towels
Easy DIY Box Braids
I’m going to call this the easy way because after researching all the different ways to box braid, this seemed like the easiest! There are much more elaborate ways to do this, but because I’m a newbie, I wanted to keep it simple. Some people (with much more experience than me!) are able to braid and add extensions without using rubber bands.
HEADS UP: This whole process took me roughly 7 hours the first time and close to 4 the second time!
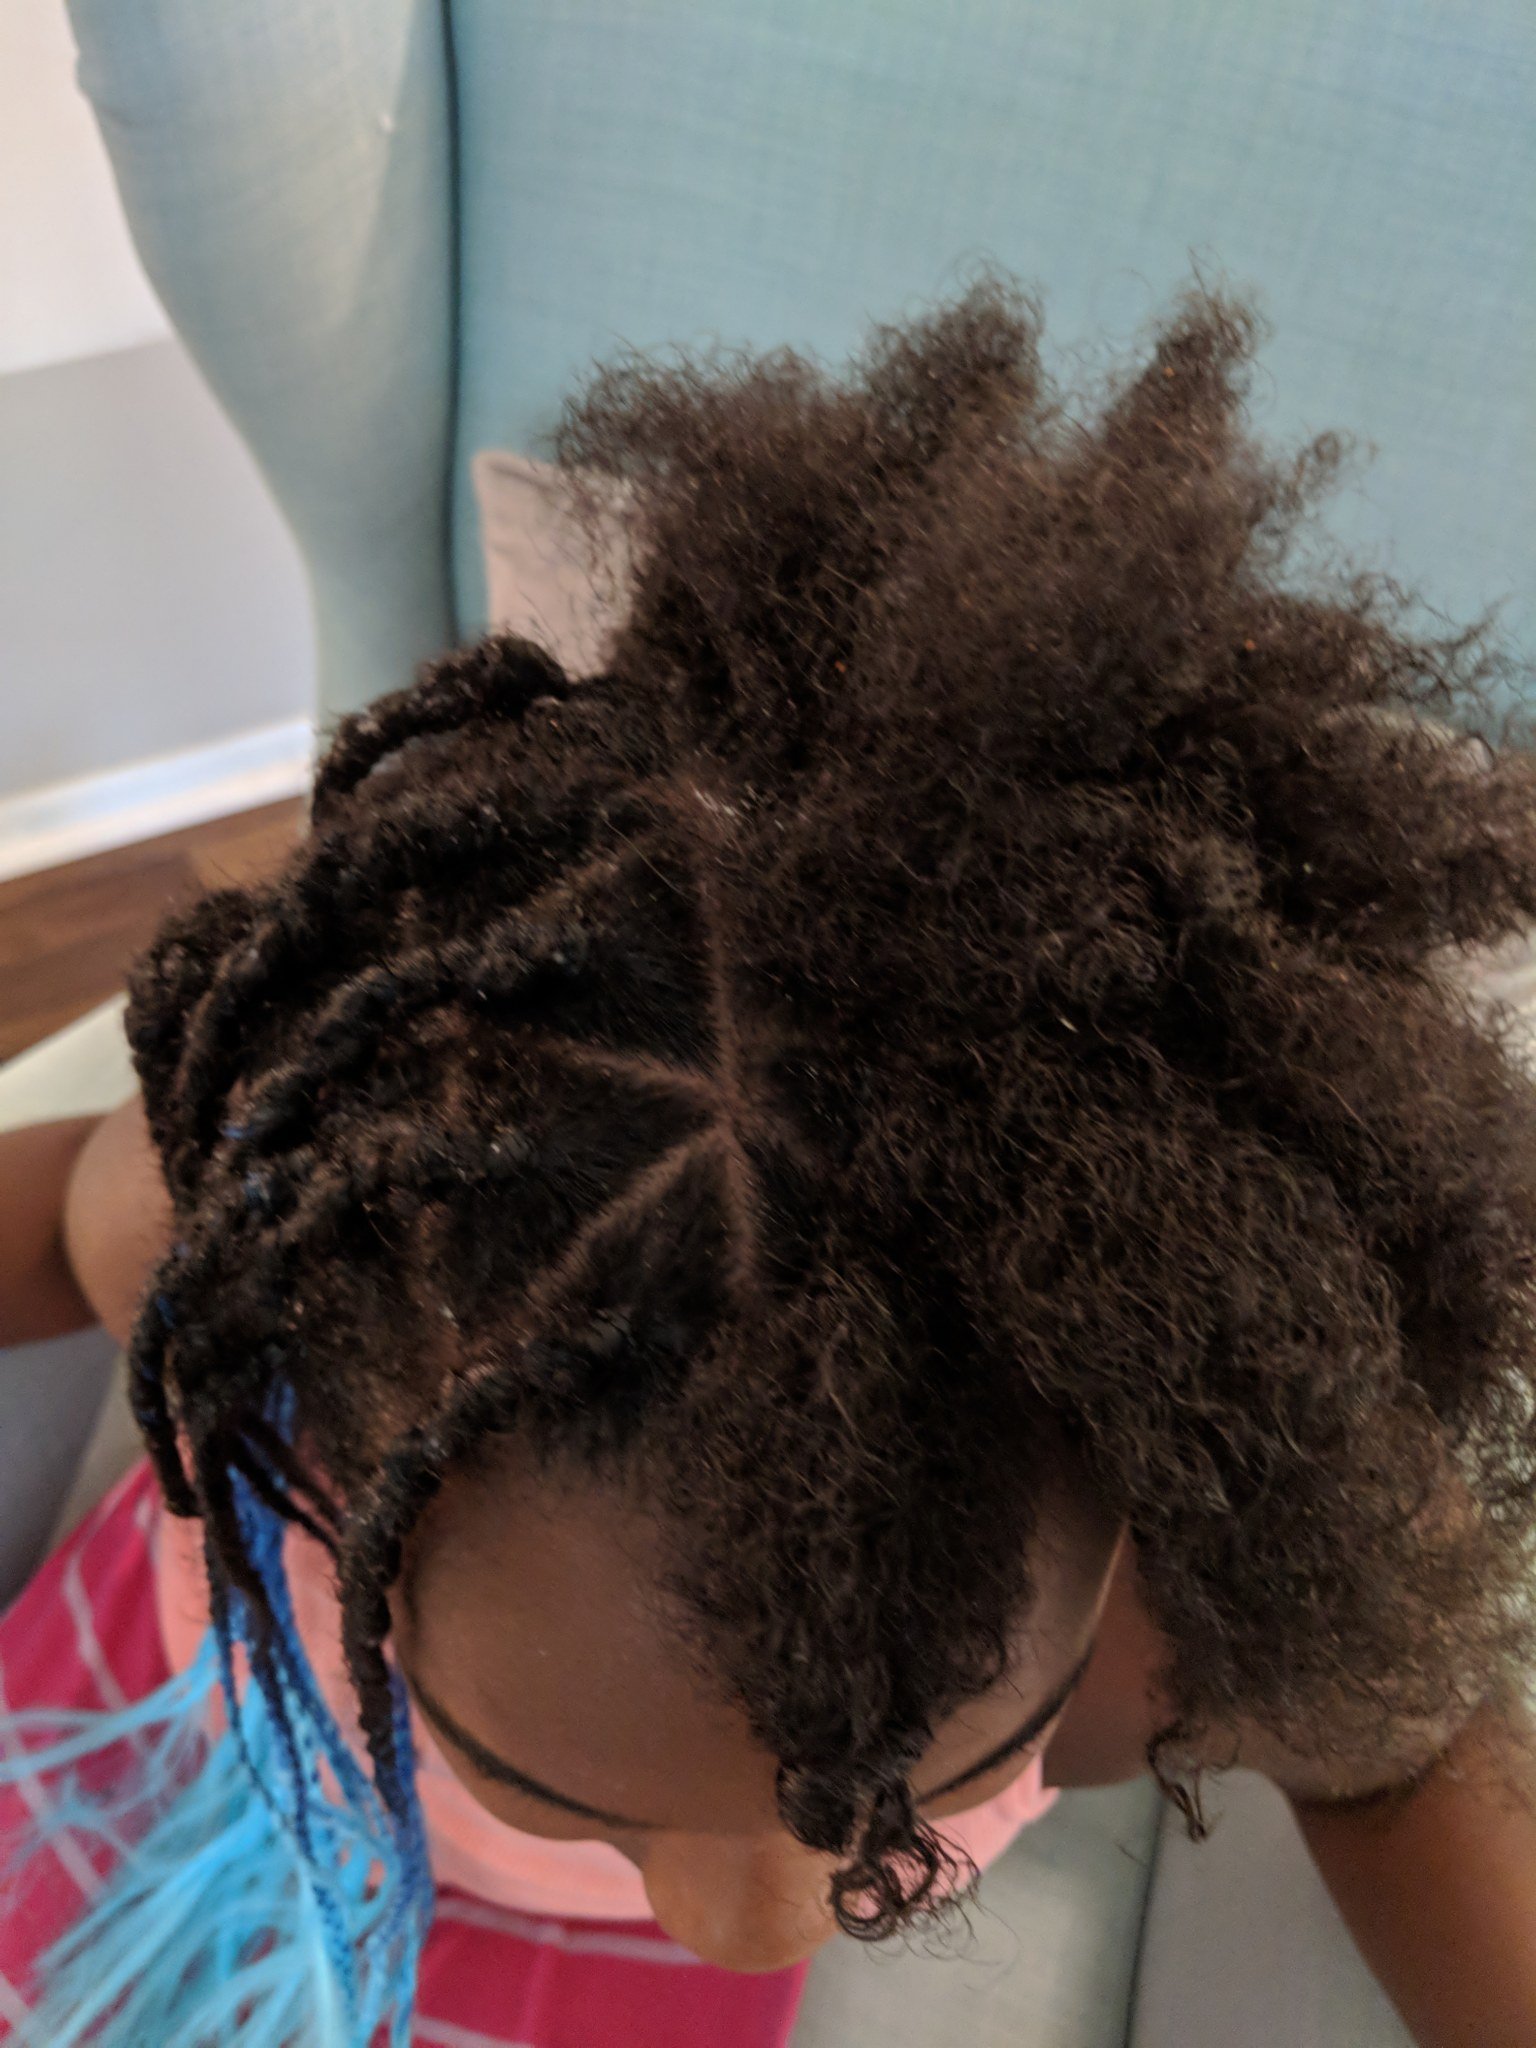
Step One: Sectioning the Hair
Start with a freshly washed head of hair. We like this shampoo and conditioner. Towel dry the hair and comb through. Use a leave in conditioner or oil to keep hair from frizzing and to condition the scalp. I like this twist and lock moisturizing gel.
Get comfortable! You’re going to be standing or sitting in this spot for a while, choose your spot wisely.
I like to start sectioning hair off right away while it is wet. I start by parting hair down the middle with a pointy comb. I part the hair into small, triangle shapes and pull sections into tight ponytails using the black rubber bands. The tighter you get this step, the better it will look and the longer it will last.
Tip: Keep a spray bottle on hand to keep hair moist while you work. Some people prefer a bowl of pure olive oil to keep strands of hair smooth and to condition the scalp.
Tip: Once hair is sectioned off, this is a good time to use the bathroom or stretch!!
Step 2: Braiding and Adding Extensions
Lay your extensions out so they are ready to go. I like to separate the strands into the size I want to use. This is preference if you want small or big braids. Keep hair moist as you work. I used the following YouTube video that explain how to add the extensions in.
Step 3: Sealing the Ends
Now, there are a few different ways you can seal your ends. Again, I used the following YouTube video for ideas. The particular extensions that I used did not respond super well to the hot water treatment or to burning them. I think certain types of synthetic hair will respond better than others. I used hot water, then some hair gel and I trimmed them a bit to make them look better.
Step 4: Upkeep
The beauty of these braids is that there really isn’t a whole lot you have to do on a daily basis! Instead of fighting knots in her hair every day after swimming in the ocean, the worst thing we dealt with was the sand!! After swimming, we had her rinse her hair out in the shower as best as she could. We used olive oil on her scalp and this edge control on some days to keep things smooth and to keep her head from itching. We had her wear a head wrap at night as often as we could and would also braid the hair or pull it back into a ponytail at night or before going on a hike.
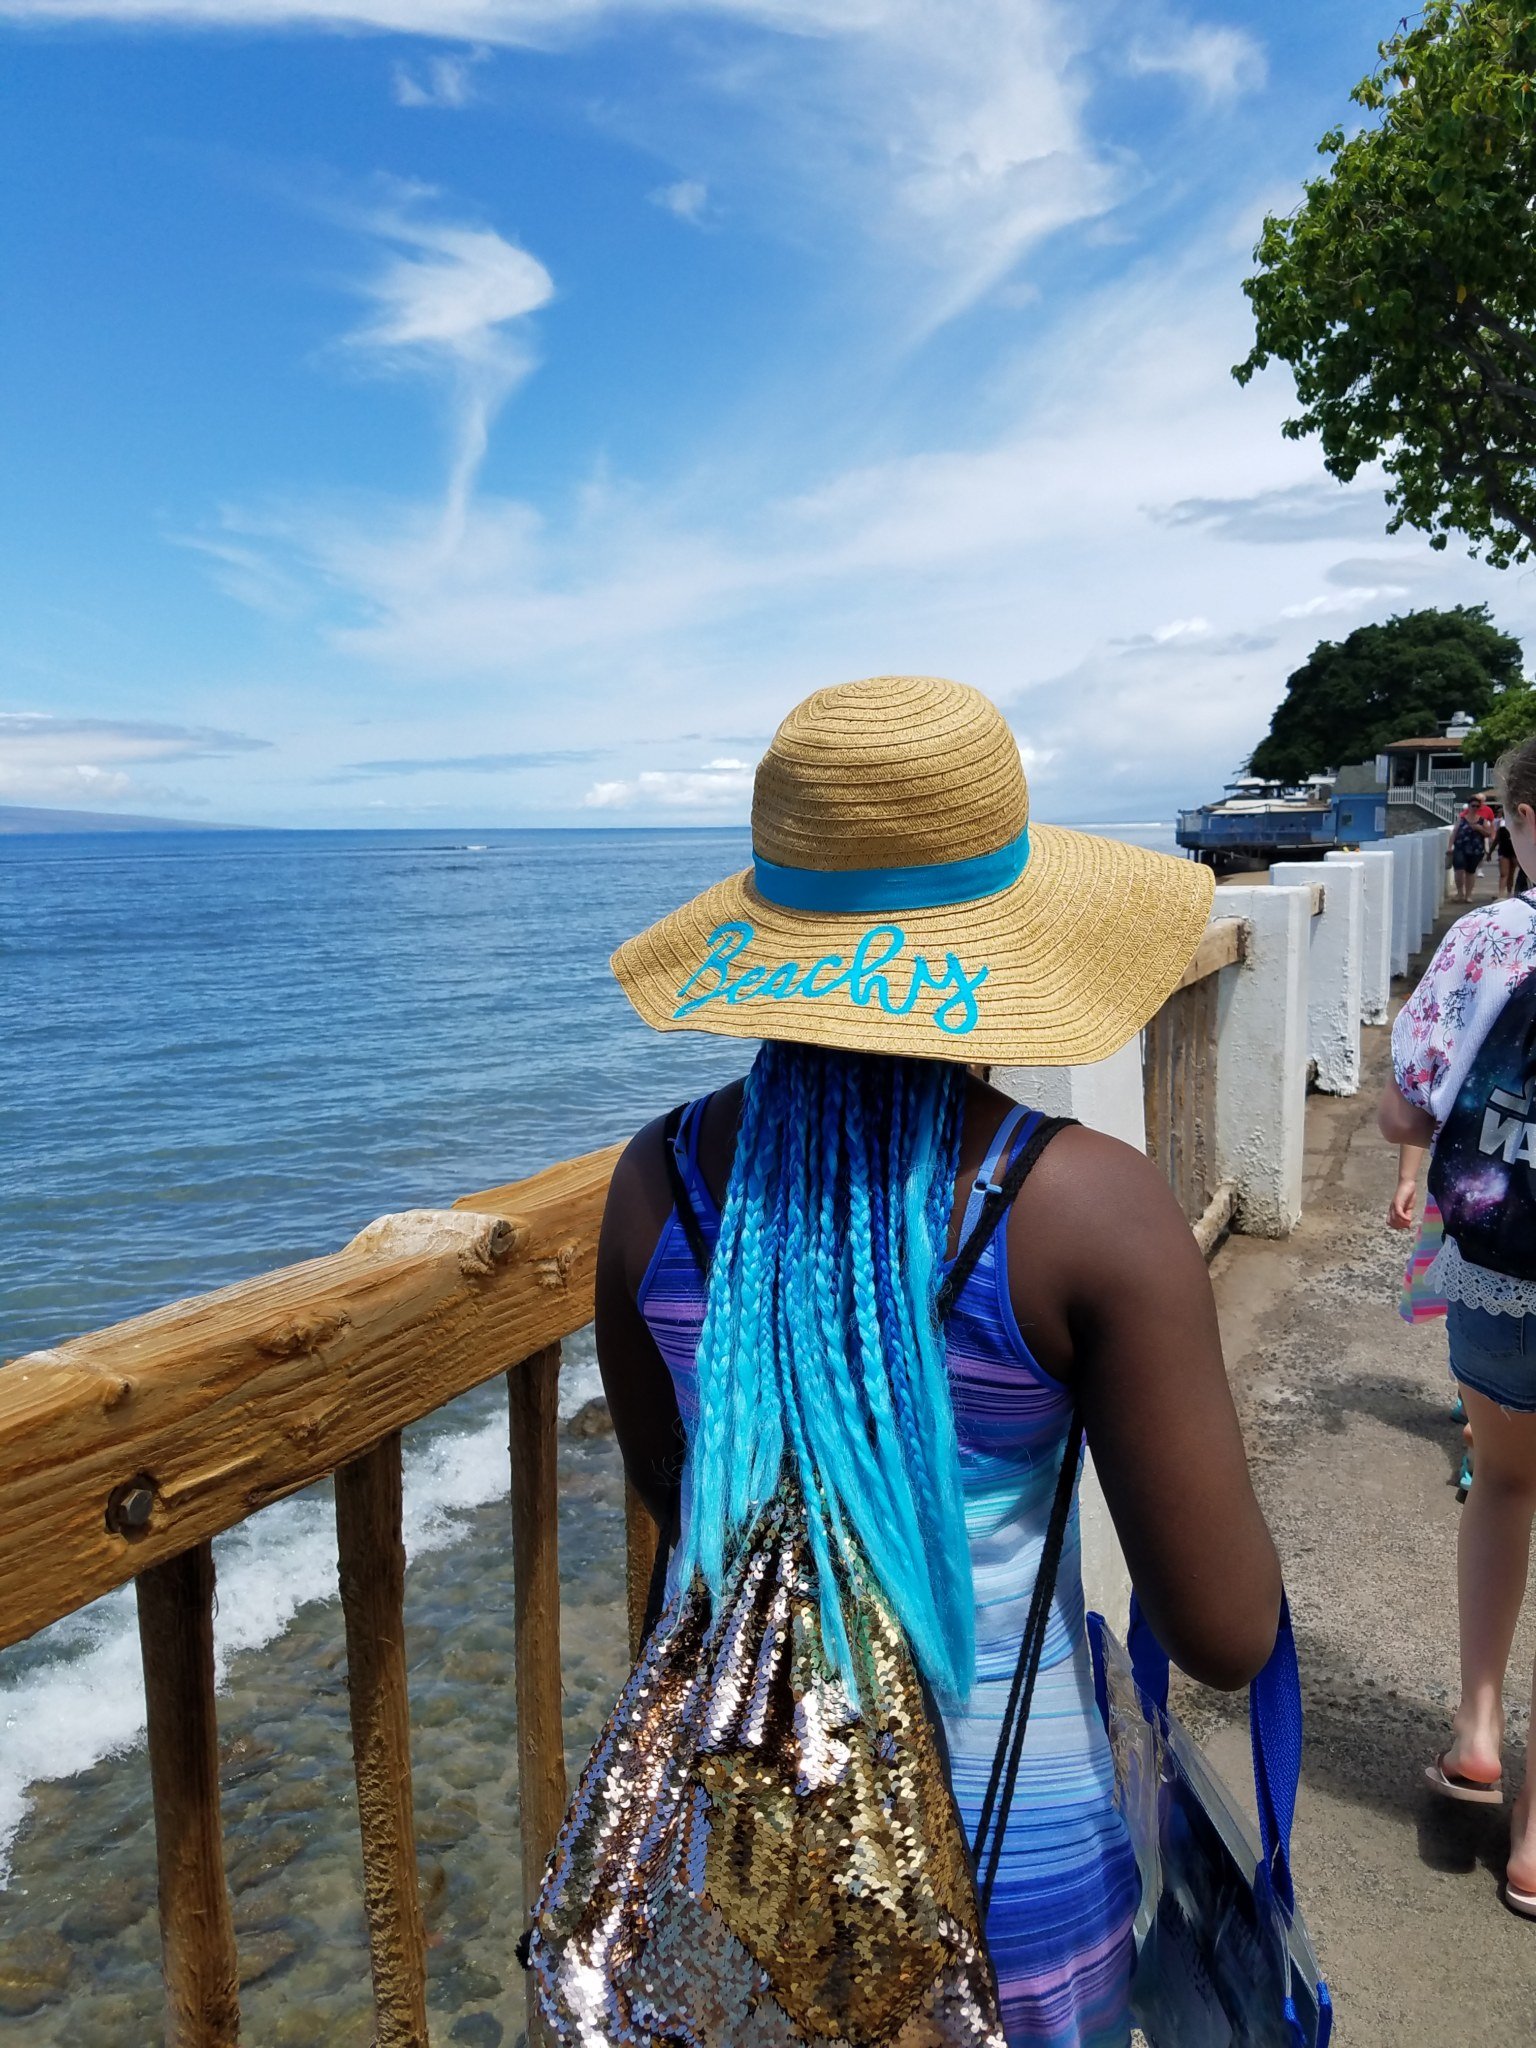
I think the braids held up pretty well for being in the ocean every single day for a month! They lasted well over a month and would have lasted longer had I done a better job of braiding tighter. Overall, it was well worth the 7 hours of standing on my feet and sore back the next day.

We got so many compliments on these braids while in Hawaii!
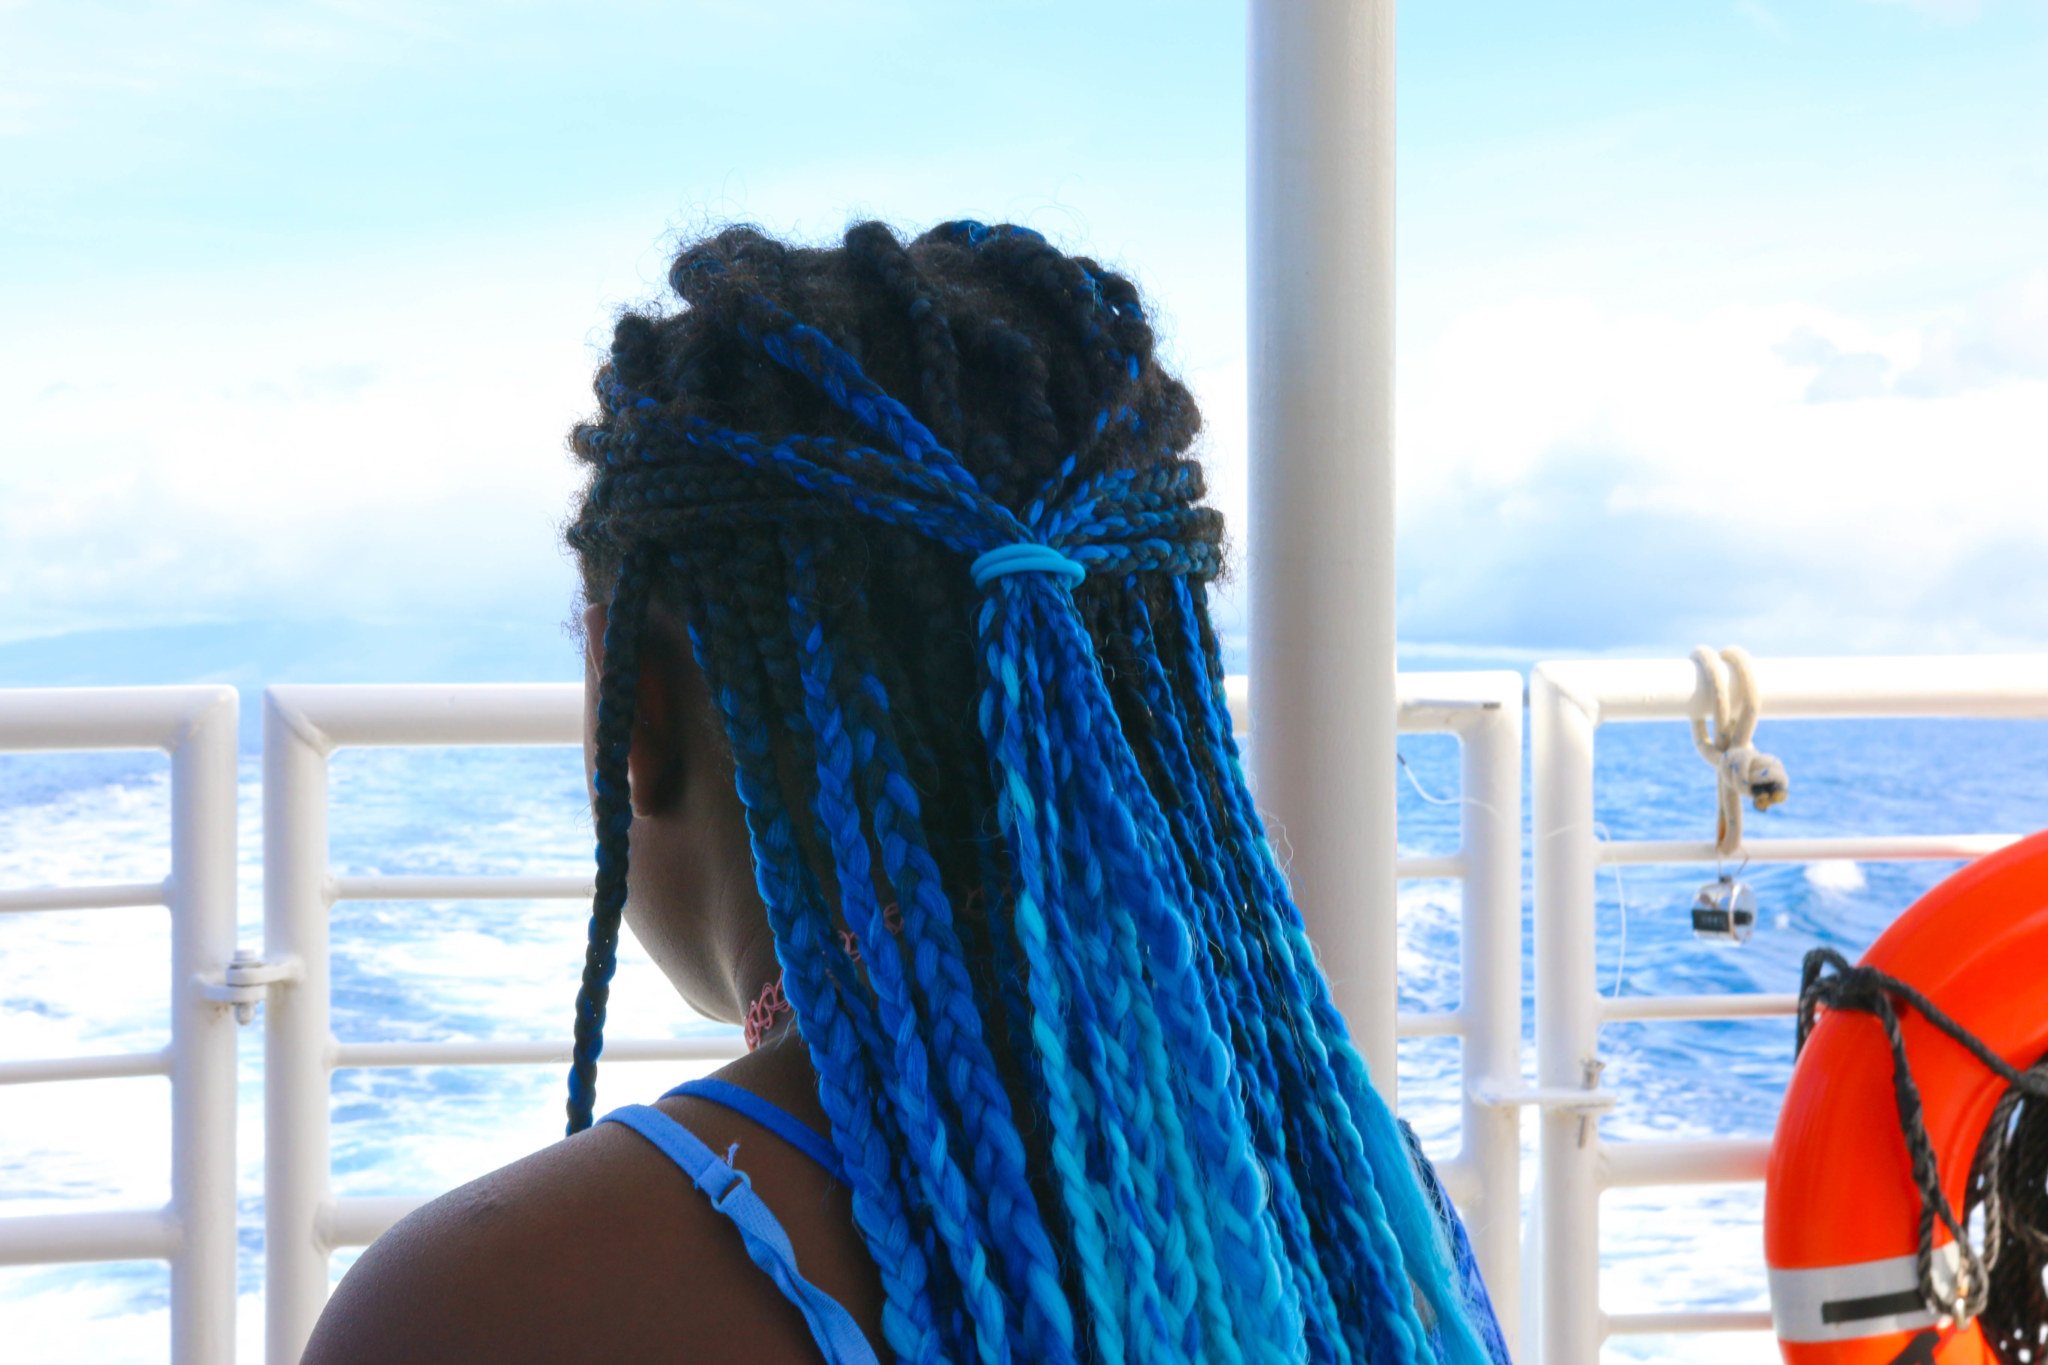
The blue color was gorgeous and only faded slightly. The first couple times
they got wet, there was a little bit of color that ran onto a towel.
Overall, we loved them!
You Might Also Like…
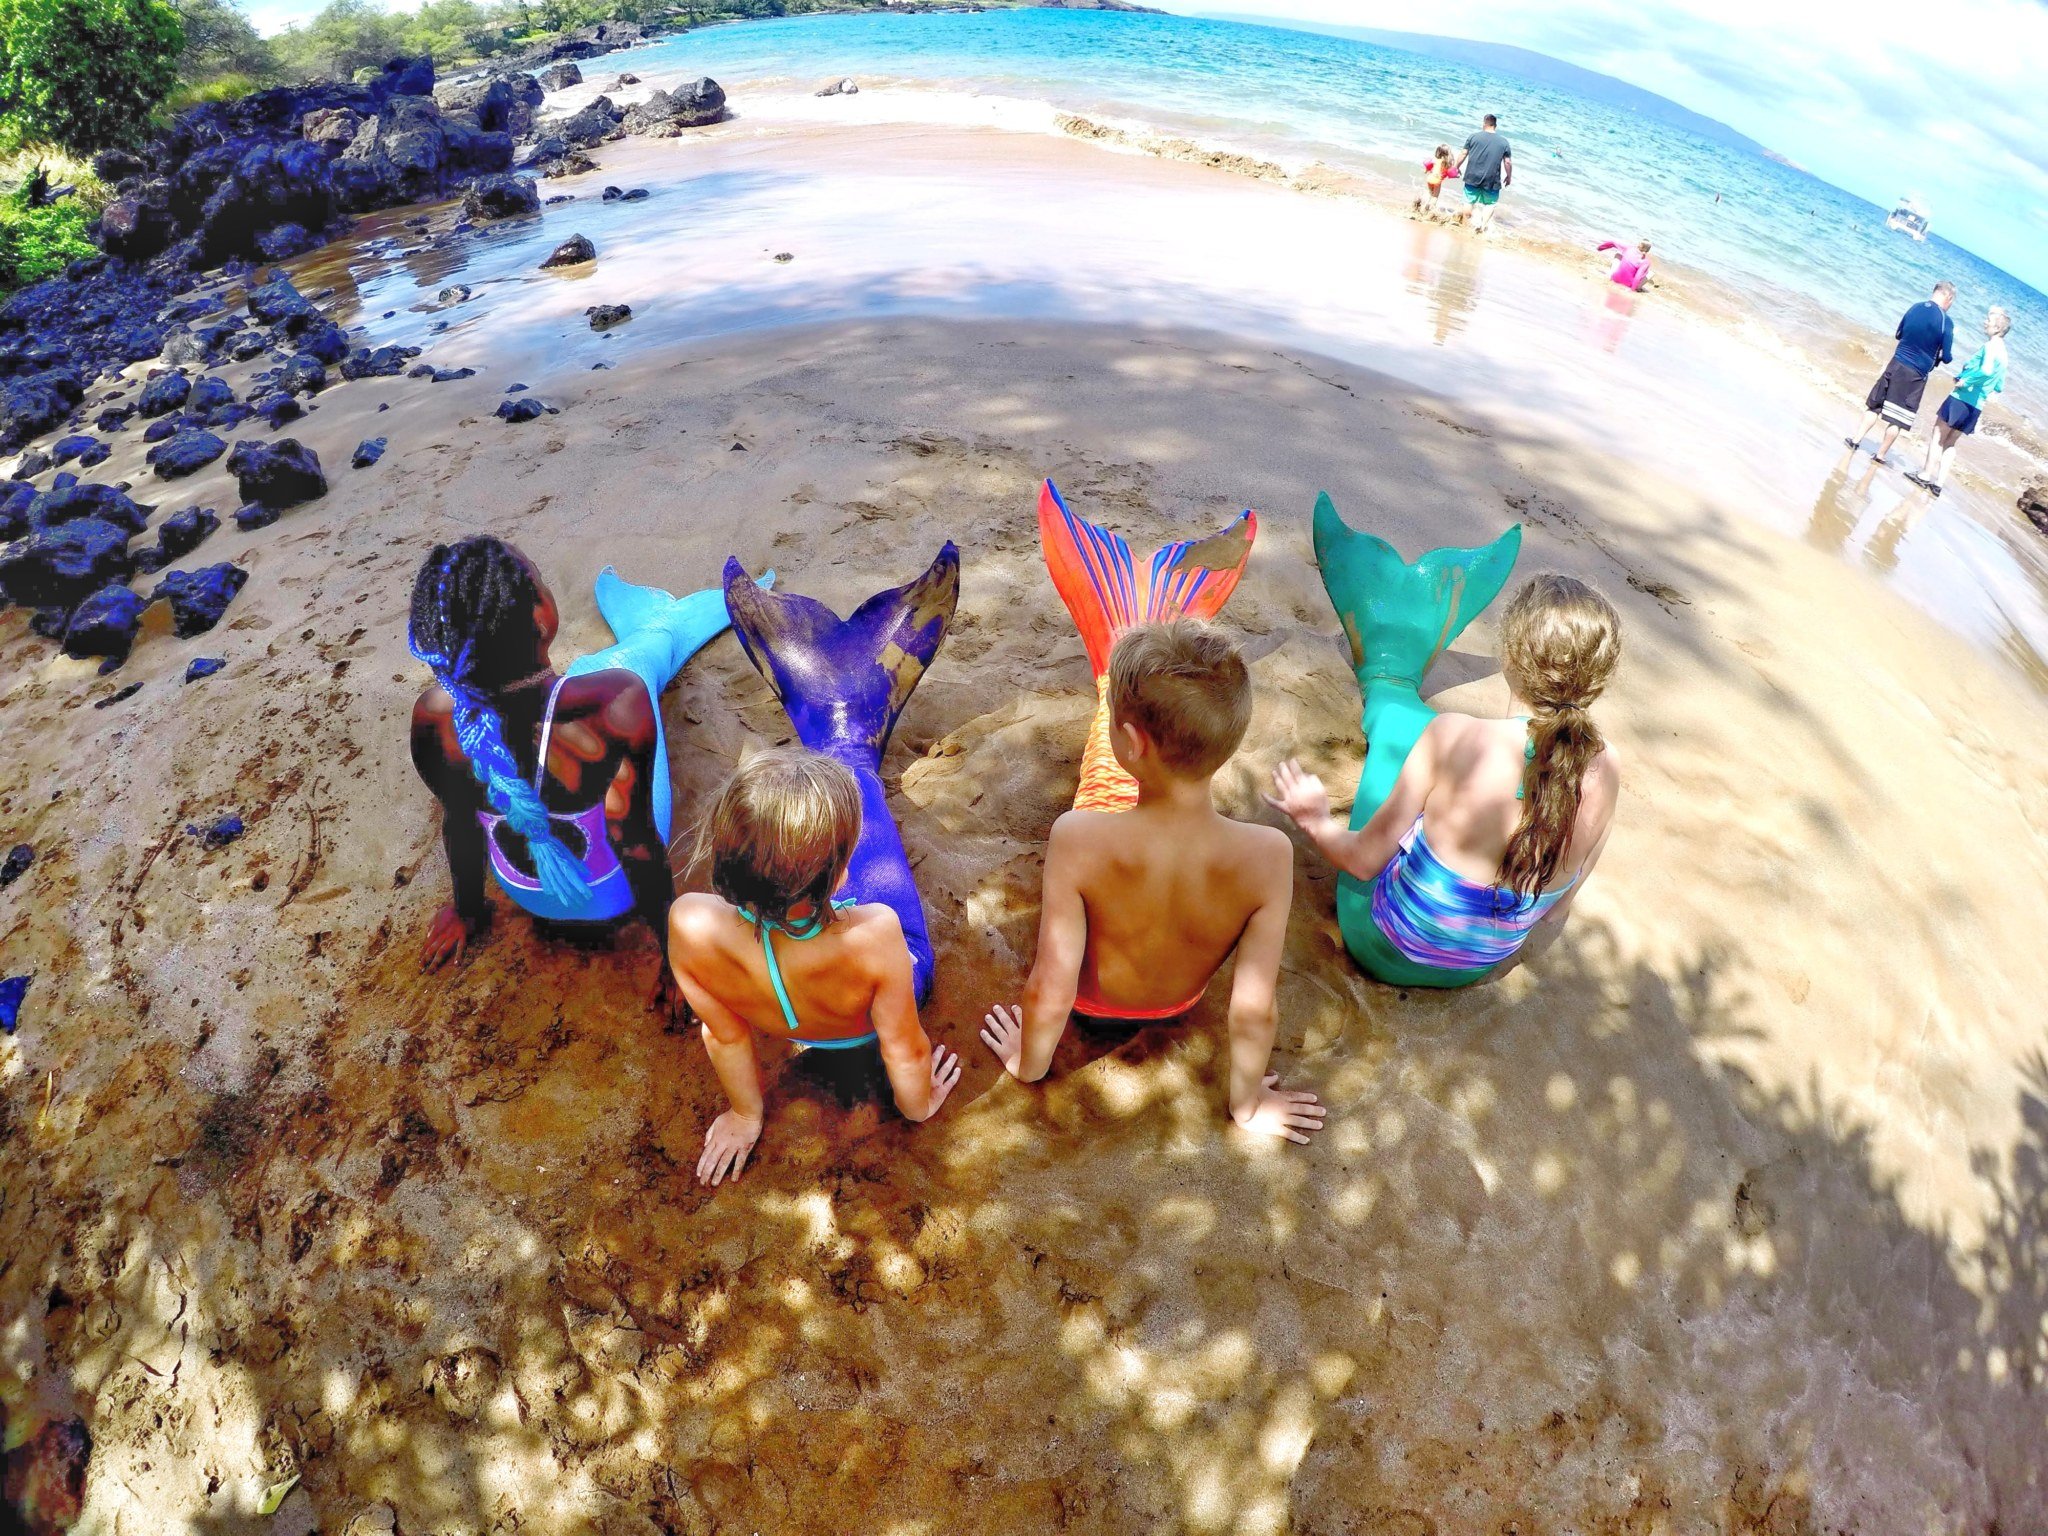
Our Hawaiian Mermaid Adventure

Leave a Reply