Never paint a piano yellow, “they” would probably say. Unless you are a wild woman. Painting a piano yellow means living life on the edge. It is dangerous. Rebellious. Probably something we shouldn’t talk about in public. Certainly not something we should admit to doing lest “they” don’t like it. –The Inspired Room
Well, there you have it, folks.
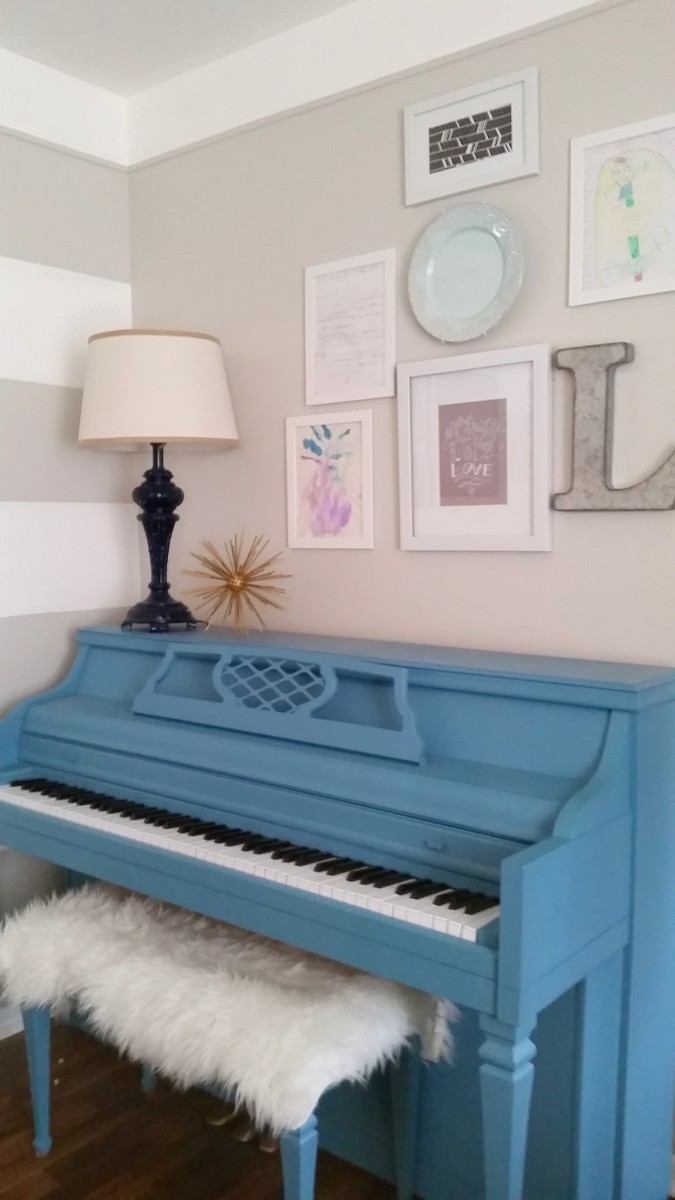
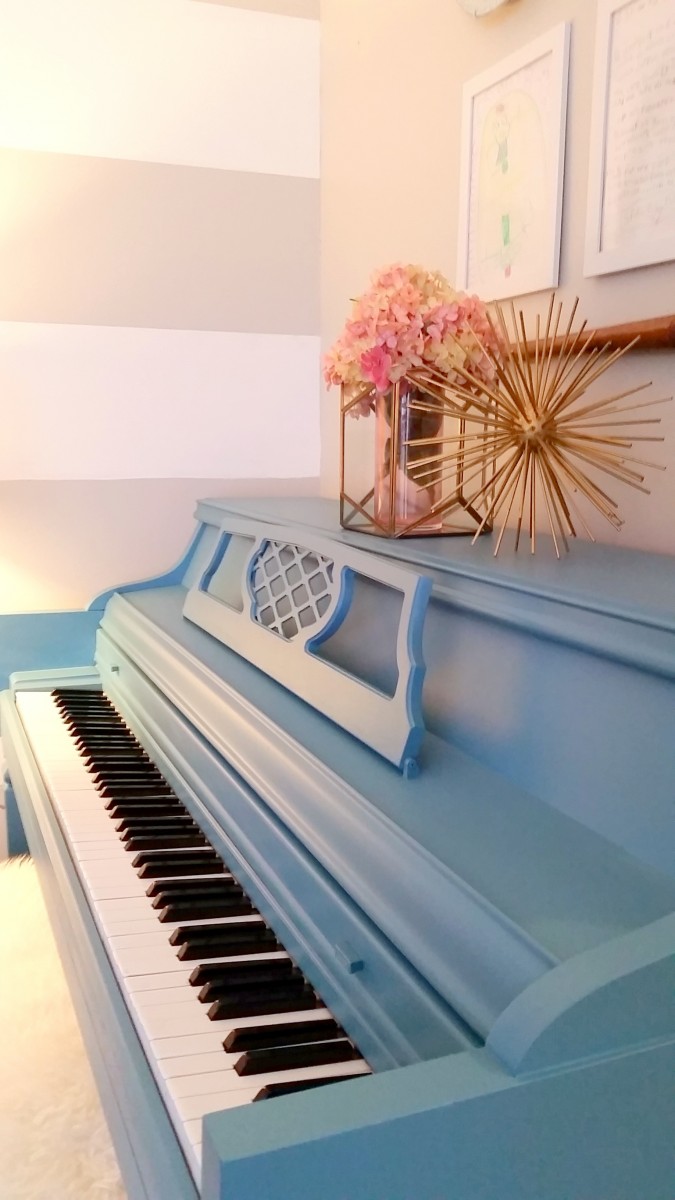
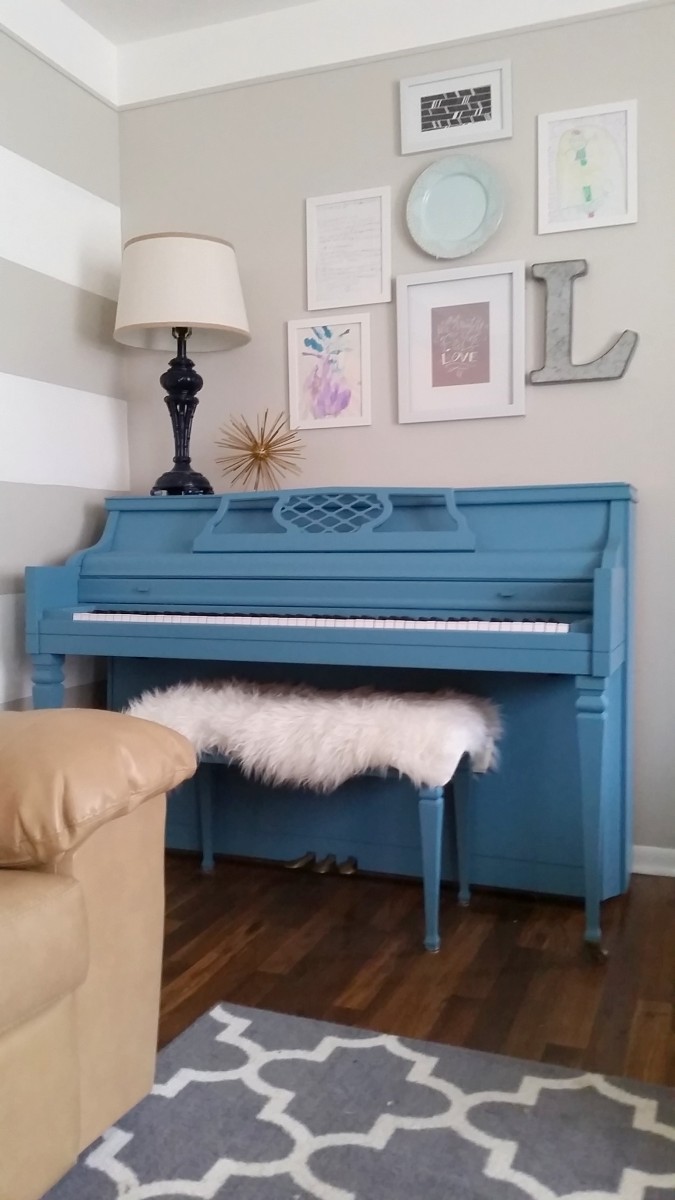
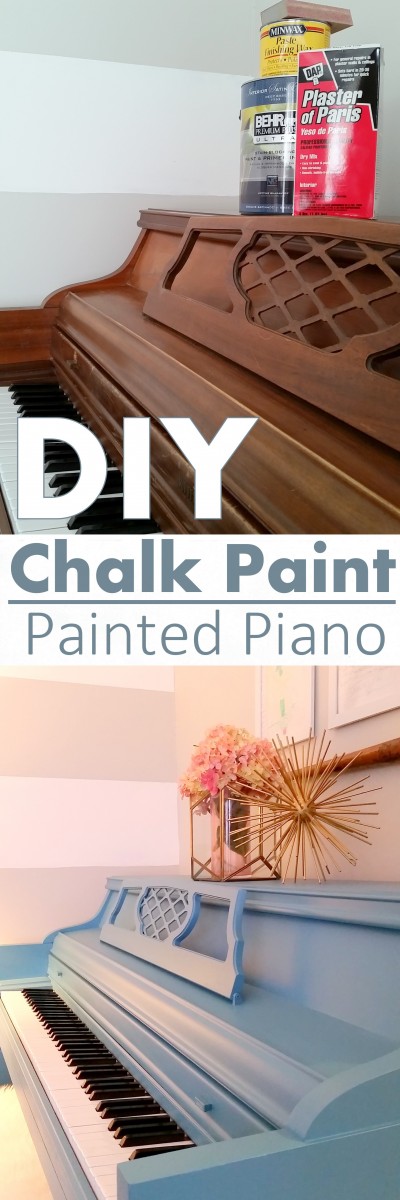
I painted my piano,
like a wild woman.
Only I painted it blue, not yellow. But, I seriously considered yellow after reading this post by the Inspired Room! I am probably the farthest thing from a “wild woman” but there is a part of me deep within that longs to be wild. I’m a rule follower that every once in a while likes to color outside the lines (literally).
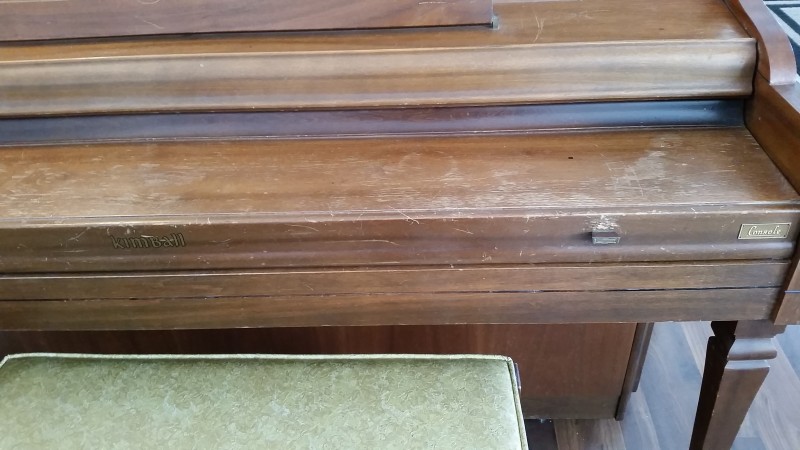
In all fairness, it was a free piano we found on Craigslist. Here is a picture of the before. Not pretty.
But.
I did paint a piano. Which I’m pretty sure is a capital offense to a lot of people.
I’ve already faced my share of criticism for even thinking of painting a piano. I mean, the indecency of it all!! So, if you’re like me and are ready to throw all care to the wind and laugh in the face of nay sayers, here is how you do it.
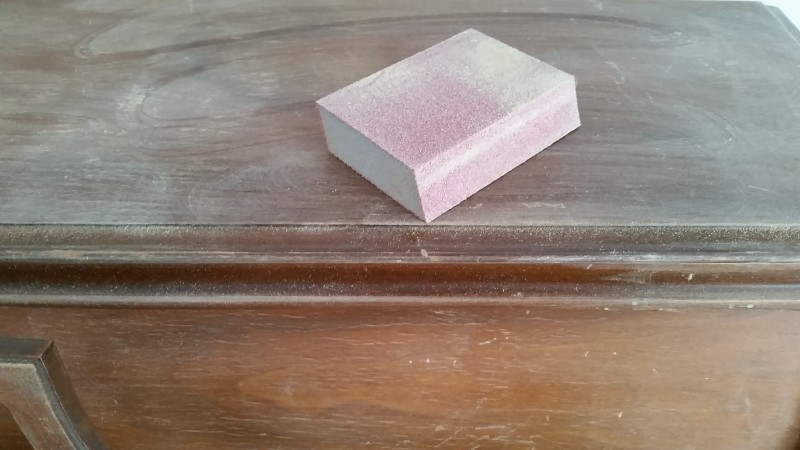
I started by lightly sanding down the surface and then wiping it clean with a damp cloth. If you’re painting with a chalk paint, this step is NOT necessary. But I felt like it was a nice added step.
I did a lot of research on other blogs and read reviews of products found online. I researched Annie Sloan paint and packaged “chalk paint” mixtures that all seemed way over priced. Over and over again I read that the main thing these over-priced products had in common was Plaster of Paris.
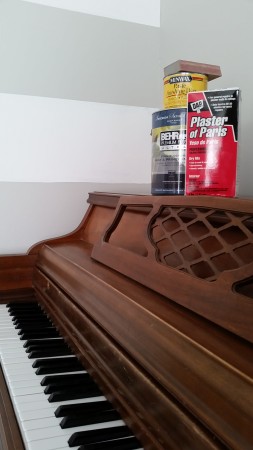
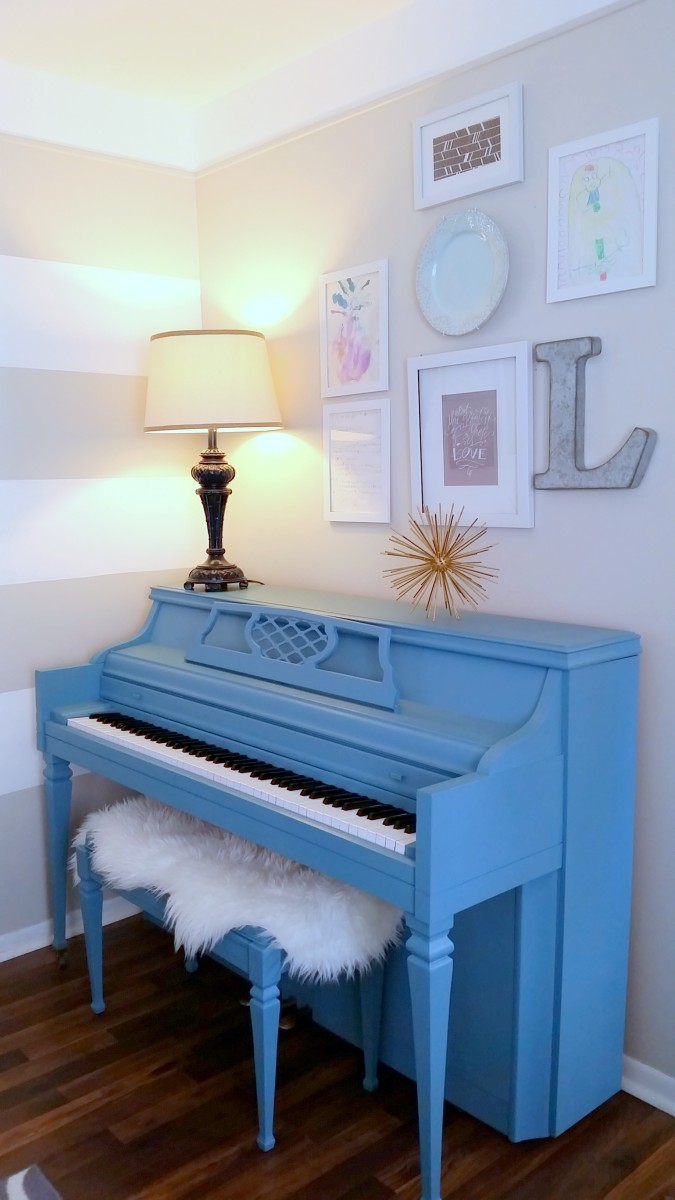
I bought a box of Plaster of Paris from the Home Depot for under $10, a can of Minwax Finishing Wax and a can of Behr paint. I don’t think it makes much of a difference what type of paint you use, but I went all out and got the Behr Premium paint and primer in one in a satin finish. Color: Harbor
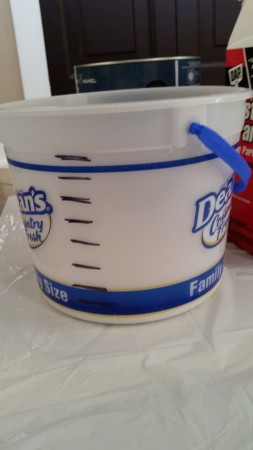
Step one: Get a bucket and mark off the side for easy measuring. I went a little too crazy with my marks – you really only need 4 lines spaced evenly.
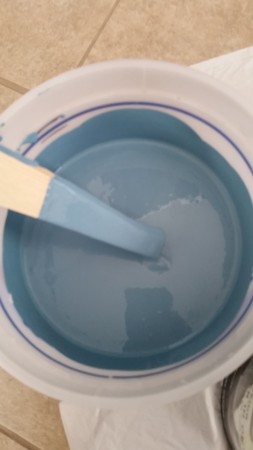
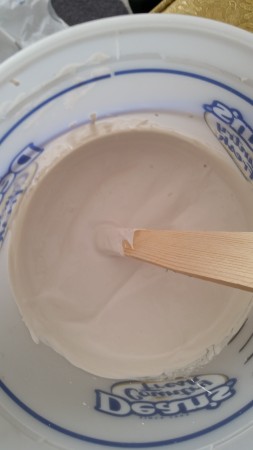
Step two: Pour Plaster of Paris into the bucket until it reaches the first line. Slowly add warm water (about a Tablespoon at a time) until the mixture is smooth and no longer gritty. I likened this step to mixing corn starch in cold water before adding it to pan of bubbling stew. You want it nice and smooth before adding the paint. Add just enough water so your mixture is smooth and a pudding like consistency. You don’t want it too watery. You should now be just above the first line, but not to the second.
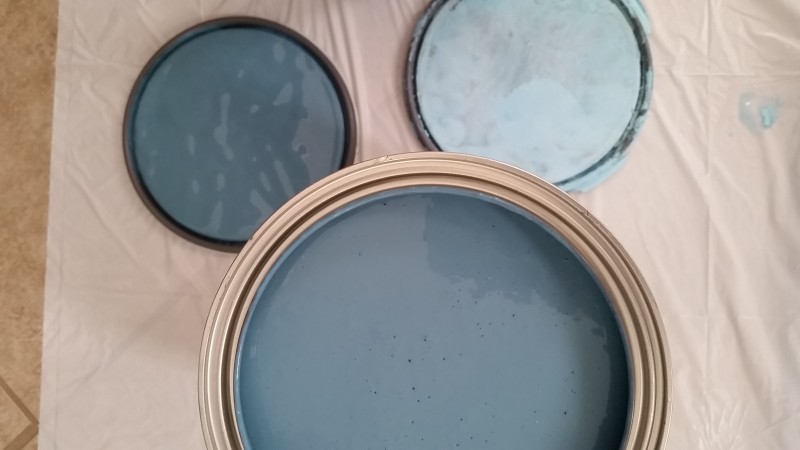
Step three: Add paint in your desired color up to the fourth line and stir well.
Step four: Paint!
Step five: After paint has dried, you could distress your piece with fine sand paper – or skip this step.
Step six: Seal with a coat of Minwax Finishing Wax.
I read that you should continue to mix the paint throughout your painting time, or risk it hardening on you. I didn’t find this to be an issue, but when you do go to paint, it does in fact dry very fast! I didn’t tape anything off or cover the keys… I was very careful :) I used a regular brush and roller and the paint went on nice and smooth. I mixed up way more paint then I needed to. It covered so well, I had enough left over to paint a second piano! I would say this project took less than a quarter of the can of paint.
The painting went surprisingly smooth and fast. I allowed it to dry over night and then the next day, applied the wax. I used a dry cloth and buffed it on. Pretty simple.
Oh, and I even painted that ugly yellow, vinyl seat cushion!
The beauty of chalk paint, is that it adheres so well. Now that I’ve made it, I see why – the plaster allows it to harden extra strong! I have read, you’re supposed to be able to paint over anything with this stuff, no surface prep, sanding or priming required. Even kitchen cabinets can be painted without having to be striped. What have you painted with chalk paint? The possibilities are endless!
This post contains affiliate links for your convenience.
Supply List:
- Plaster of Paris
- Sanding Block
- Paint in Your Desired Color (I used Behr in Harbor)
- Finishing Wax
- Bucket
- Paint Brush
Megan
Hi! Love the piano, and the finish looks great! I’ve also got a second-hand piano in pretty rough shape that I’d like to paint, but like you, am a busy mom so the one step chalk paint idea (no prep!!) looks very appealing. How do you feel it’s holding up about a year and a half later? Do you have to touch it up much?
Sarah Lemp
Hi Megan! Thank you so much! The paint has held up GREAT! I have one little spot that was chipped before it had fully dried and other than that, there is not one spot that has chipped or come off. I have been VERY IMPRESSED :)
Wimberly Giardina
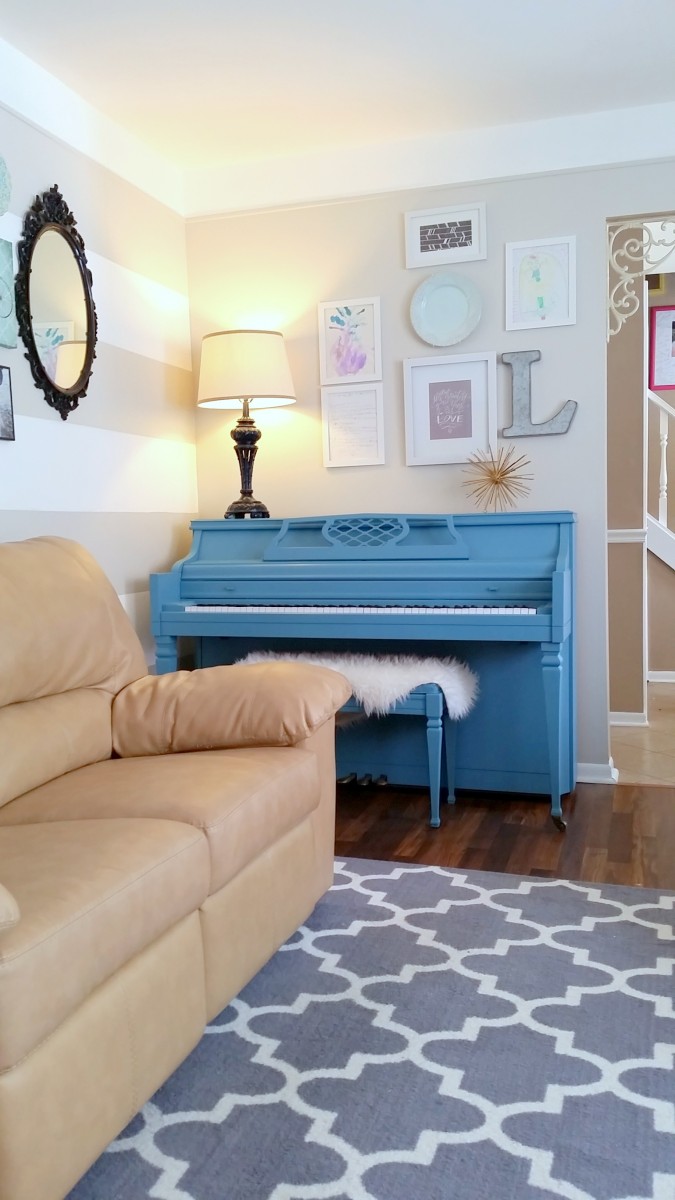
What colors did you use for the stripes??? I love them! the wall beside the piano
Sarah Lemp
Hey there! Thanks so much! The stripe color is one of my favorite paint colors that I have used throughout my house: Glidden “Smooth Stone” the white is just a flat, white from Behr I believe :)
CeeGee
I do love painted pianos. However there are some people have painted, gotten paint into the working parts, and now the piano doesn’t play or has issues. :-( It’s best to have a piano technician take out the keyframe and help you remove the cabinets parts before painting so there’s no ‘painted joints’. When work needs to be done on the inside, that can then cause issues. We’ve painted many pianos (actually we use spray paint) but we dissassemble them first to avoid any issues with possible damage to the interior working mechanisms. (Hubby is a Registered Piano Technician) :-D
Regina
This piano looks amazing! Great job! Any idea if the chalk paint chips very easily (or at all.) Did you just decide to go with chalk paint because it adheres so well?
Sarah Lemp
I went with chalk paint because it adheres so well, and creates a hard, slate like finish. I have had no chips since painting it! It is used every day and my husband is constantly piling junk on it, even sitting his coffee mug on it and it still looks great! I think the key is to use the wax finish. That really gives it a nice finish and added protection.