• Skip to main content
  • Skip to header left navigation
  • Skip to header right navigation
  • Skip to after header navigation
  • Skip to site footer
  • Start Here
    • About
    • Contact
    • Work with Me
    • Member Area
  • Blog
    • All Posts
    • Natalie
    • Taylor
    • Carissa
All Things with Purpose

All Things with Purpose

RV Renovations and Family Travel

  • Shop
    • My Store
    • Amazon
    • RVs For Sale
    • Shop My RV
  • At Home
    • Crafts & Sewing
      • Doll Clothes
    • Decor & DIY
    • Homeschooling
    • Lifestyle
    • Parties & Seasonal Celebrations
    • Recipes
  • RV Renovating
    • For Sale
    • How To
    • Tours
  • ON THE GO
    • Theme Parks
      • Ride Guides
      • Universal Studios
      • Disney World
      • SeaWorld Orlando
      • Cedar Point
    • Travel Tips
    • Camping
    • Cruises
    • Florida
    • Michigan
    • California
    • Hawaii
    • NYC
  • Popular Posts
    • How To Paint RV Walls
    • How Much Does it Cost to Renovate an RV
    • Basic Dress Pattern for American Girl Dolls
    • Our Favorite Spots in Northern Michigan
Home › Blog › The Least Expensive Stage 1 & 2 Baby Food

The Least Expensive Stage 1 & 2 Baby Food

FacebookPinTweetYummlyPrintEmail
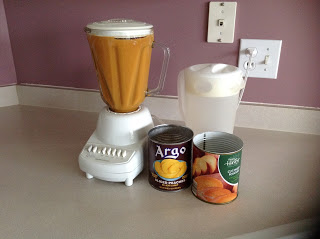
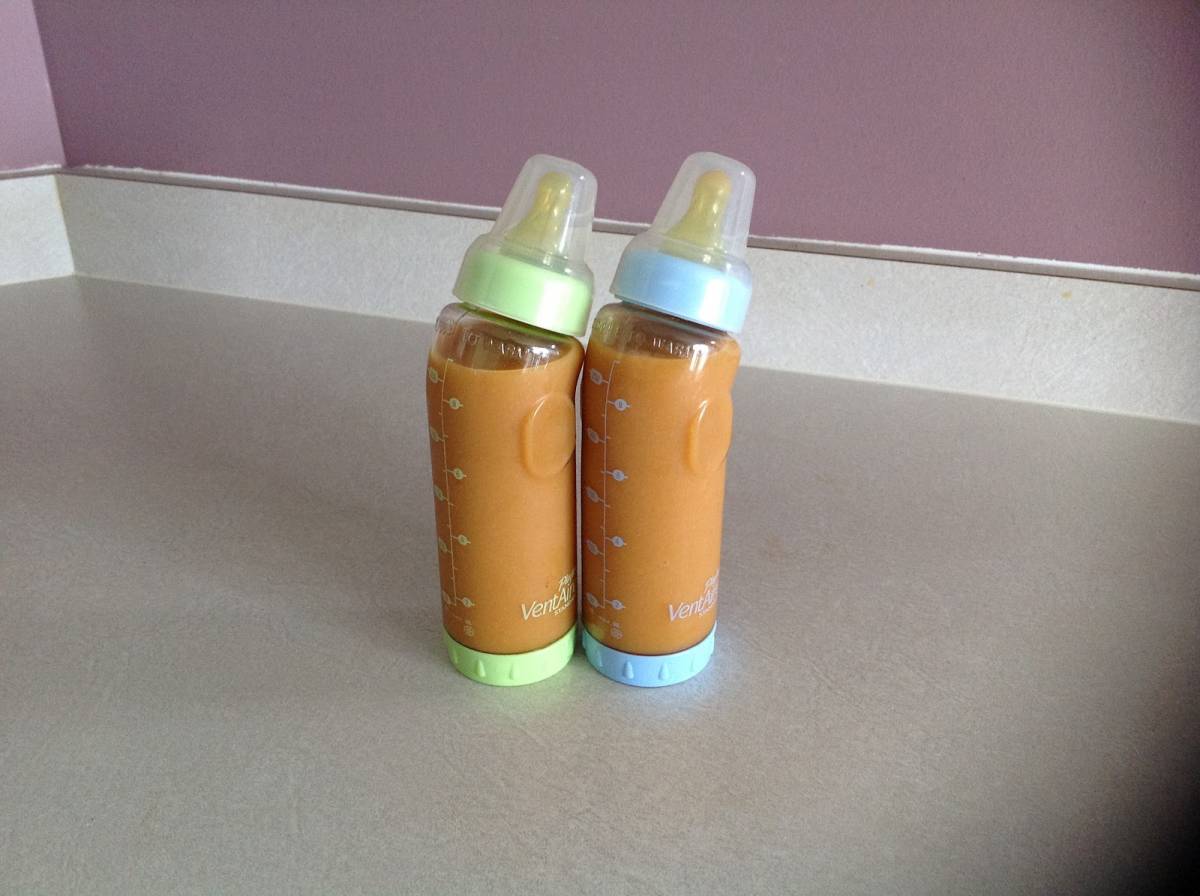
Are you tired of pricing everything out all the time? Do you just want to buy the brightly packaged, super convenient baby food you see on the shelf? Me too! When we had our first baby, Natalie, my husband  saw the price of baby food and decided there had to be a better way. So, he developed a concoction and delivery we used with all three of our kids. He put a large can of sweet potatoes and applesauce in the blender. After he blended them he poured the mixture into a pitcher with a lid. Whenever it was time to eat, we would pour a bottle, recline the highchair, hand it to our baby and call it good. The only thing we had to concern ourselves with was making sure she didn’t throw her bottle on the floor when she was done :)


Price:
We buy our cans of fruits and vegetables from Aldi. So our total cost per pitcher of food is approximately $3.00. That produces approximately 48 ounces. I am providing averages because I have several combinations listed.  That makes each ounce cost around $.06 an ounce. I recognize there are some differences in processing and types of fruit, but the process outlined below is very similar to the MashUps that are so popular right now.  I found some at a salvage food store for $.13 an ounce. I will tell you more about Salvage Food Stores in another post.  Compared to regular baby food it is about half price. Here are the specifics.
Recipes:

Get a large can of Sweet Potatoes and just pour it in the blender (if you prefer, drain the syrup in the can and replace it with water). Add 1 cup of water. Blend that together. Then pour the blended sweet potatoes into a pitcher. Pour equal parts Applesauce into the blender with half a cup of water. Blend and add to the pitcher. Then stir the two together.  You can make any changes you want. We have substituted a large can of peaches for the applesauce. And we have done carrots for the sweet potatoes.

With our first two we only used the sweet potato/applesauce combo, but our friends and family started pointing out that our baby’s nose was starting to turn a little orange :)  As a result we started to mix things up a little bit with different combinations.

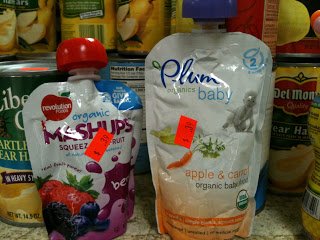
Peas and Pears. With this we just poured in a big can of pears (29 oz) and two smaller cans of peas (15 oz). If you choose to do frozen fruits and/or vegetables you would just need to experiment with adding more water. If I find something that works, I don’t need to add a bunch of other variables, but if you are looking for inspiration just walk the baby food aisle at the grocery store and make it at home.

Bottles:


Check this out! You may also like…

Basic Dress Pattern for American Girl Dolls: Easy to Learn!

Things to Make Using Lucky Charms All Things with Purpose Sarah Lemp

Things to Make Using Lucky Charms

Toy Story 4 Themed Birthday Party All Things with Purpose Sarah Lemp 6

Toy Story 4 Themed Birthday Party

My $300 Kitchen Makeover with Painted Cabinets (4 Years Later!)

DIY Faux Coral Tutorial

Fix Your American Girl Doll’s Hair without a Trip to the Doll Hospital

My Microblading Experience 3

My Microblading Experience

Stenciled Floor

How to Paint and Stencil Over an Ugly Linoleum Floor (Update: How Well it Has Held Up 2 Years Later!)

We have Playtex VentAire.  Those bottles come with two stages of nipples. Stage One is a slower hole in the nipple. Stage Two has a larger hole in the nipple.  You must use the larger opening. One day our third child randomly refused to eat from the bottle. I kept trying to give it to him, and he would just cry.  Then my husband looked at the bottle and noticed I was feeding him with a Stage 1 nipple. Whoops. The poor guy just couldn’t get it out. Yes, it will change the color of the nipple.  We have used the same bottles and nipples for three children. I guess if the color change bothered you, you could just buy replacements.
To Boon or Not to Boon:

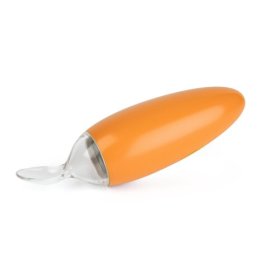
I know people who make their baby food and freeze it in ice cube trays really like the Boon. They put a couple frozen food cubes in the Boon Squirt before church and then when they go out to eat after church the food is ready in the Boon. I do have a Boon, but I find the bottle is so much more convenient, and is one less gadget to buy.~Julia

Linked Up Here
Rattlebridge Farm
MumsMakeLists

FacebookPinTweetYummlyPrintEmail
Julia Forshee smiling

About Julia Forshee

I have a degree in finance from Cedarville University and spent several successful years in banking and business ownership before choosing to be a stay at home mom! It has taken me time to adjust to being home with kids and not being part of the workforce, but it is so rewarding.

Reader Interactions

Comments

  1. Avatar photoMums make lists

    March 12, 2013 at 11:40 pm

    Great tips – thanks so much for sharing at the Baby Shower, Alice x

    Reply
  2. Avatar photoJulia Forshee

    January 20, 2013 at 3:04 pm

    I breast fed my kids exclusively until the ages of 9 months (daughter), 7 months (son), and 9 months (son). Each child is different and each parent is different. I found breastfeeding to be a very painful process to start, but after the first two months it was great and very convenient. So for that reason, I didn’t feel like preparing food, and thinking about what could they have, etc. Others want to back off breastfeeding earlier. My mom did the same thing for the three of us. Your breast milk is totally chocked full of everything your baby needs!!

    Reply
  3. Avatar photoAnonymous

    January 20, 2013 at 2:46 am

    I can’t wait to start making this for Emily Grace! At what age did you start your children on this concoction?

    Reply
    • Avatar photoSarah Lemp

      January 20, 2013 at 3:16 pm

      Thanks for the comment! See Julia’s response below:

      Reply

Leave a Reply Cancel reply

Your email address will not be published. Required fields are marked *

Recipe Rating (Optional)


Sarah Lemp smiling with coffee

MORE ABOUT SARAH

Sarah is a second generation homeschooling mom. She lives in Metro Detroit with her husband Jay and 5 kids. They love staying active as a family and going on trips in their renovated camper. Sarah loves to sing, make pretty things and eat pizza.

COPYRIGHT & DISCLOSURE

All content on this site is copyright Sarah Lemp. Many of my posts contain affiliate links. If you click on an affiliate link and buy something, I may receive a small commission. Read more on my DISCLOSURE PAGE.

All Things With Purpose logo
  • Facebook
  • Instagram
  • Pinterest
  • Twitter
  • YouTube
  • My Account
  • Work with Me
  • Privacy Policy
  • Become an Affiliate
  • Affiliate Dashboard

Copyright © 2023 · All Things with Purpose · All Rights Reserved · Powered by Mai Theme