• Skip to main content
  • Skip to header left navigation
  • Skip to header right navigation
  • Skip to after header navigation
  • Skip to site footer
  • Start Here
    • About
    • Contact
    • Work with Me
    • Member Area
  • Blog
    • All Posts
    • Natalie
    • Taylor
    • Carissa
All Things With Purpose logo

All Things with Purpose

RV Renovations and Family Travel

  • Shop
    • My Store
    • Amazon
    • RVs For Sale
    • Shop My RV
  • At Home
    • Crafts & Sewing
      • Doll Clothes
    • Decor & DIY
    • Homeschooling
    • Lifestyle
    • Parties & Seasonal Celebrations
    • Recipes
  • RV Renovating
    • For Sale
    • How To
    • Tours
  • ON THE GO
    • Theme Parks
      • Ride Guides
      • Universal Studios
      • Disney World
      • SeaWorld Orlando
      • Cedar Point
    • Travel Tips
    • Camping
    • Cruises
    • Florida
    • Michigan
    • California
    • Hawaii
    • NYC
  • Popular Posts
    • How To Paint RV Walls
    • How Much Does it Cost to Renovate an RV
    • Basic Dress Pattern for American Girl Dolls
    • Our Favorite Spots in Northern Michigan
Home › Blog › Vintage Trailer Renovation: Days 2 & 3

Vintage Trailer Renovation: Days 2 & 3

Sarah Lemp smiling with coffeeSarah Lempon November 12, 2014(updated July 19, 2022)1K+
FacebookPinTweetYummlyPrintEmail

20141104_102156

On days 2 and 3 of my vintage trailer renovation project, I began securing the outside from the Winter elements and critters! Like I have said before, the previous owners did a lot of funky patching jobs. There was serious water damage done on the inside of the trailer, for really stupid reasons. Some really simple things could have been done that would have stopped the leaking. For instance, not only were there plenty of large bullet holes (this was a hunting trailer mind you), there were other large holes stopped up with wads of cloth and a ceiling vent totally missing the cover.

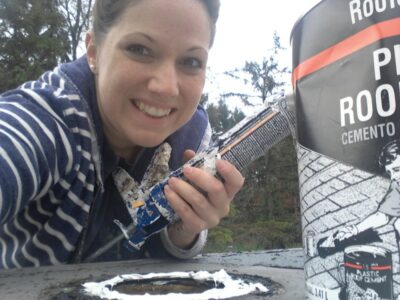
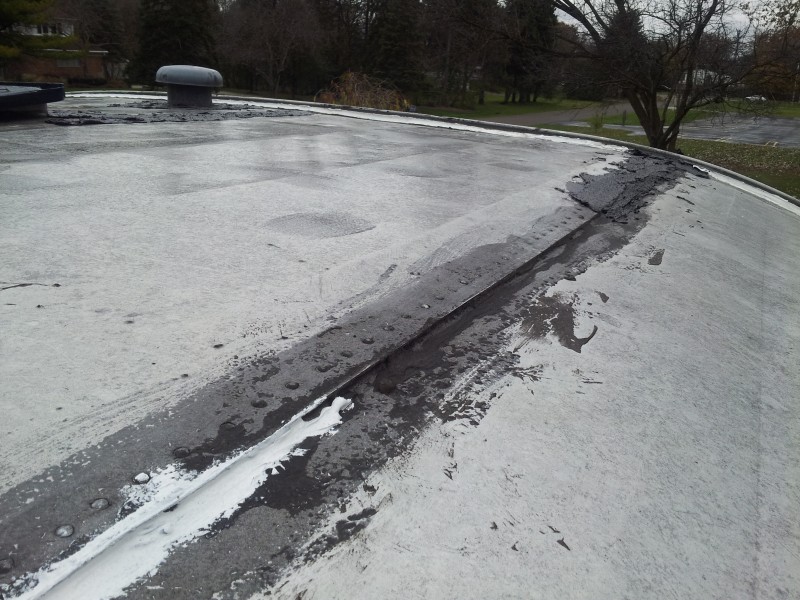
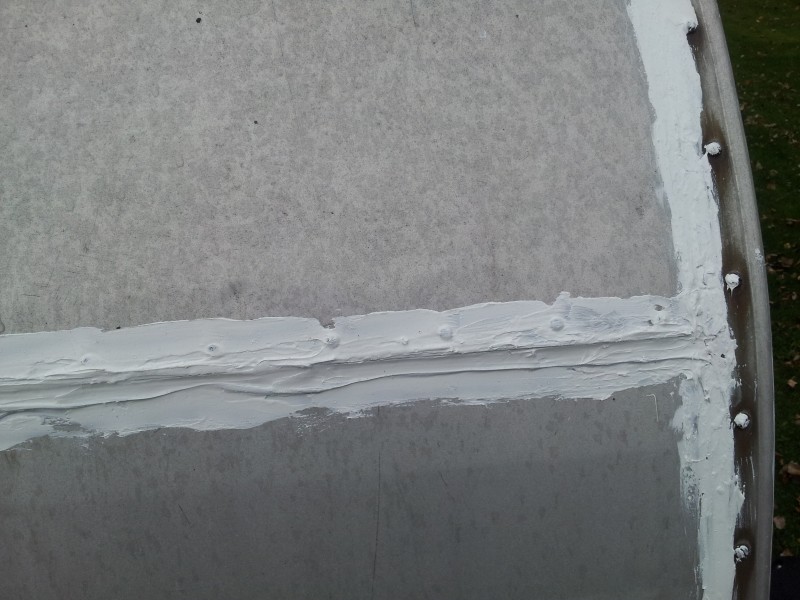
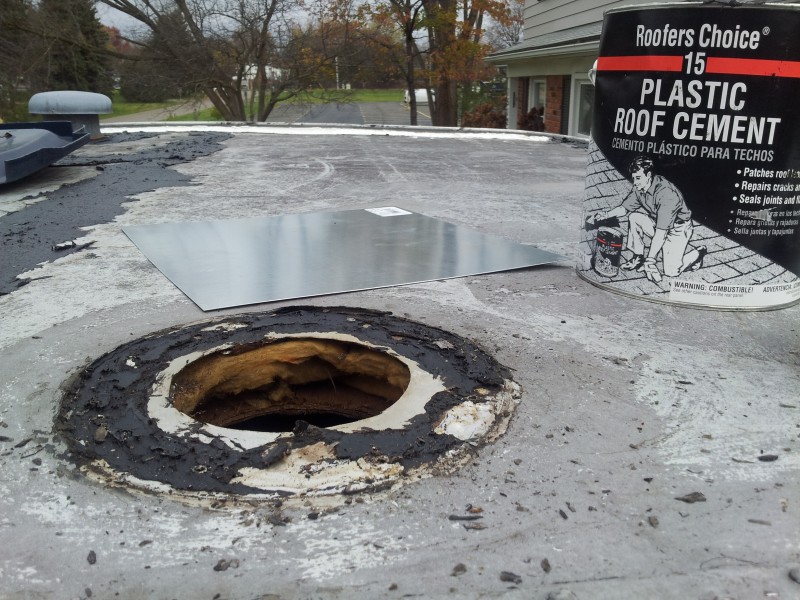
The picture above shows the bottom layer of patch that was there all ready. The white stuff on the left and the dark black tar on the right are the two things I used in various areas to seal up cracks. I was racing against the rain… no sooner had I got everything covered, that I had to tarp the whole thing before the rain started pouring.

20141104_102027

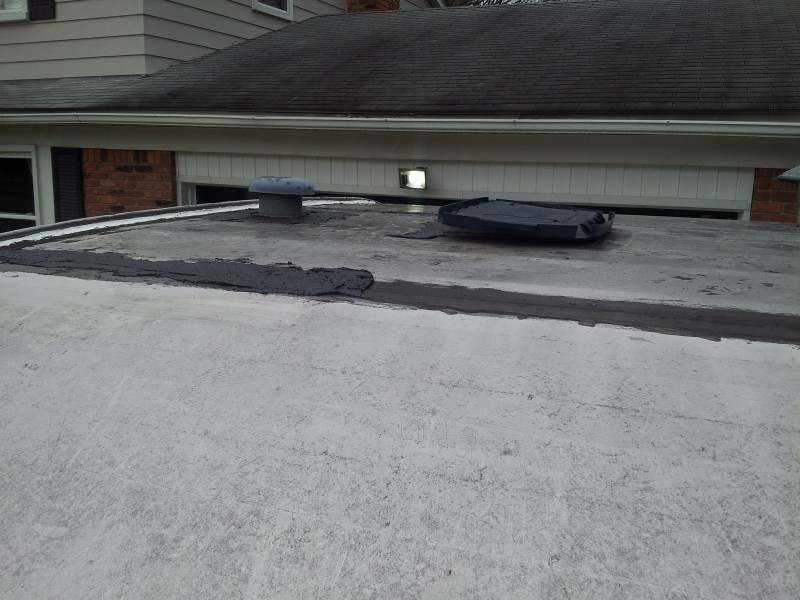
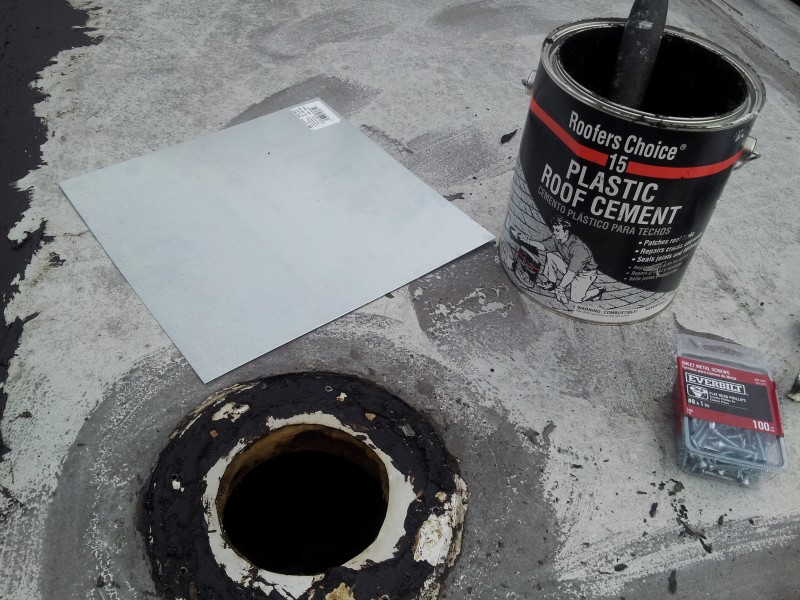
In the picture above, you can see the lid that was rigged up to cover the ceiling vent!
20141104_102041 20141104_102045

What I should have done…

Remove the j trim around the edges and window awnings to be polished or replaced. If the body it’s self was not so badly damaged and patched in such a funky way already, I would have cleaned everything up so it was nice and shiny like an Airstream!

What I did do…

Gave up on the idea of shining that baby up. It just wasn’t possible. I thought long and hard about removing the j trim at least, so that if I were to paint the body, the trim would remain shiny. The problem is, the previous owners had rigged that stuff up in such a crazy way, I think I would have done more damage to try and remove it. So, after I gave up the idea of a shiny, Airstream-like shine on the body, I also gave up on having a shiny trim on a painted body.

I guess paint it is! You would think I’d be happy. After all, I am the queen of paint. I paint everything in my path. I was a little sad at the idea of losing all the shiny  trim, but it just seemed like the MUCH easier and cheaper option.

20141104_110330 20141104_110344 20141104_110630

Want to see more? Start here: Before Pictures!

Category: How To, RV RenovatingTag: gidget, vintage trailer
FacebookPinTweetYummlyPrintEmail

Trending Posts

Check out my currently trending posts!

Disney on a Dime All Things with Purpose Sarah Lemp 1
410K+

Disney on a Dime

25 Christmas Gifts Kids Can Make 25
238K+

25 Christmas Gifts Kids Can Make

Copycat DQ Ice Cream Cake
200K+

DQ Ice Cream Cake Recipe

185K+

Faux Shiplap Backsplash with Peel ‘n Stick Flooring

161K+

Realtor Thank You Gift

18" Doll PJ Pattern (Digital Download) All Things with Purpose Sarah Lemp
147K+

American Girl Doll PJ’s Pattern

113K+

Basic Dress Pattern for American Girl Dolls: Easy to Learn!

104K+

Fix Your American Girl Doll’s Hair without a Trip to the Doll Hospital

Sarah Lemp smiling with coffee

About Sarah Lemp

Sarah is a second generation homeschooling mom. She lives in Metro Detroit with her husband Jay, 5 kids and dog, Edison. They love staying active as a family and going on trips in their renovated RV’s. Sarah loves to sing, make pretty things and eat pizza.

Previous Post:10 Painted Furniture Makeovers by Brepurposed10 Painted Furniture Makeovers :: Contributor Post
Next Post:Vintage Glitter House Ornament with Template

Reader Interactions

Comments

  1. Avatar photoTarma Vaughan

    March 1, 2021 at 6:42 pm

    Hello. Loved seeing your camper. I have the same year and make but a 12 foot. Mine had some water damage but not serious. Same counter top and original floors.

    Have a question about the windows. The seal around them is what is cracking and falling off. Did you have to replace yours? If so, how?

    Reply
  2. Avatar photorenee traynor

    May 5, 2020 at 12:39 am

    Hi Sarah, I’m just starting my renovation on a 1960’s ish Trailblazer and your photos look so similar to what I’ll be doing! I was wondering when you were doing your demo, did you remove the cabinets/sink area? If so, how did you remove them without destroying them? I’m assuming you’ll be doing some floor repair or possibly replacing some rotted beams. Any suggestions or words of encouragement? I’m 53 years young and will be tackling this by myself! My husband thinks I’m crazy for doing this, but I want to show him how great it will be when I’m done! Hope yours is going well, can’t wait to hear more about your progress!! Thanks, Renee T. from Wisconsin!

    Reply
  3. Avatar photoLettie Greene

    October 17, 2019 at 11:37 am

    I’m just getting ready to start my reno project and was curious about the window seals. Did you pull any of your windows out to seal them from water? Or if you used something around them? BTW you are a huge inspiration!!

    Reply
    • Sarah Lemp smiling with coffeeSarah Lemp

      October 17, 2019 at 12:52 pm

      Hi Lettie! I did not go to the trouble of pulling any windows out to caulk behind them. I love using DAP Extreme Stretch Caulk https://amzn.to/32qySiC I use that around all the windows before painting the exterior. If you don’t plan on painting, you can get a clear sealant, but clear sealants are such a pain to work with, be warned lol. Water can get in at the tiniest spot, so seal well and use your finger or a tool to press into the cracks and over screws.

      Reply

Leave a Reply Cancel reply

Your email address will not be published. Required fields are marked *

Recipe Rating (Optional)


Sidebar

Shop My RVs

I Wrote a Book!

Follow on Instagram

copyright & disclosure

All content on this site is copyright Sarah Lemp. Many of my posts contain affiliate links. If you click on an affiliate link and buy something, I may receive a small commission. Read more on my disclosure page.

Sarah Lemp smiling with coffee

MORE ABOUT SARAH

Sarah is a second generation homeschooling mom. She lives in Metro Detroit with her husband Jay and 5 kids. They love staying active as a family and going on trips in their renovated camper. Sarah loves to sing, make pretty things and eat pizza.

COPYRIGHT & DISCLOSURE

All content on this site is copyright Sarah Lemp. Many of my posts contain affiliate links. If you click on an affiliate link and buy something, I may receive a small commission. Read more on my DISCLOSURE PAGE.

All Things With Purpose logo
  • Facebook
  • Instagram
  • Pinterest
  • Twitter
  • YouTube
  • My Account
  • Work with Me
  • Privacy Policy
  • Become an Affiliate
  • Affiliate Dashboard

Copyright © 2023 · All Things with Purpose · All Rights Reserved · Powered by Mai Theme