
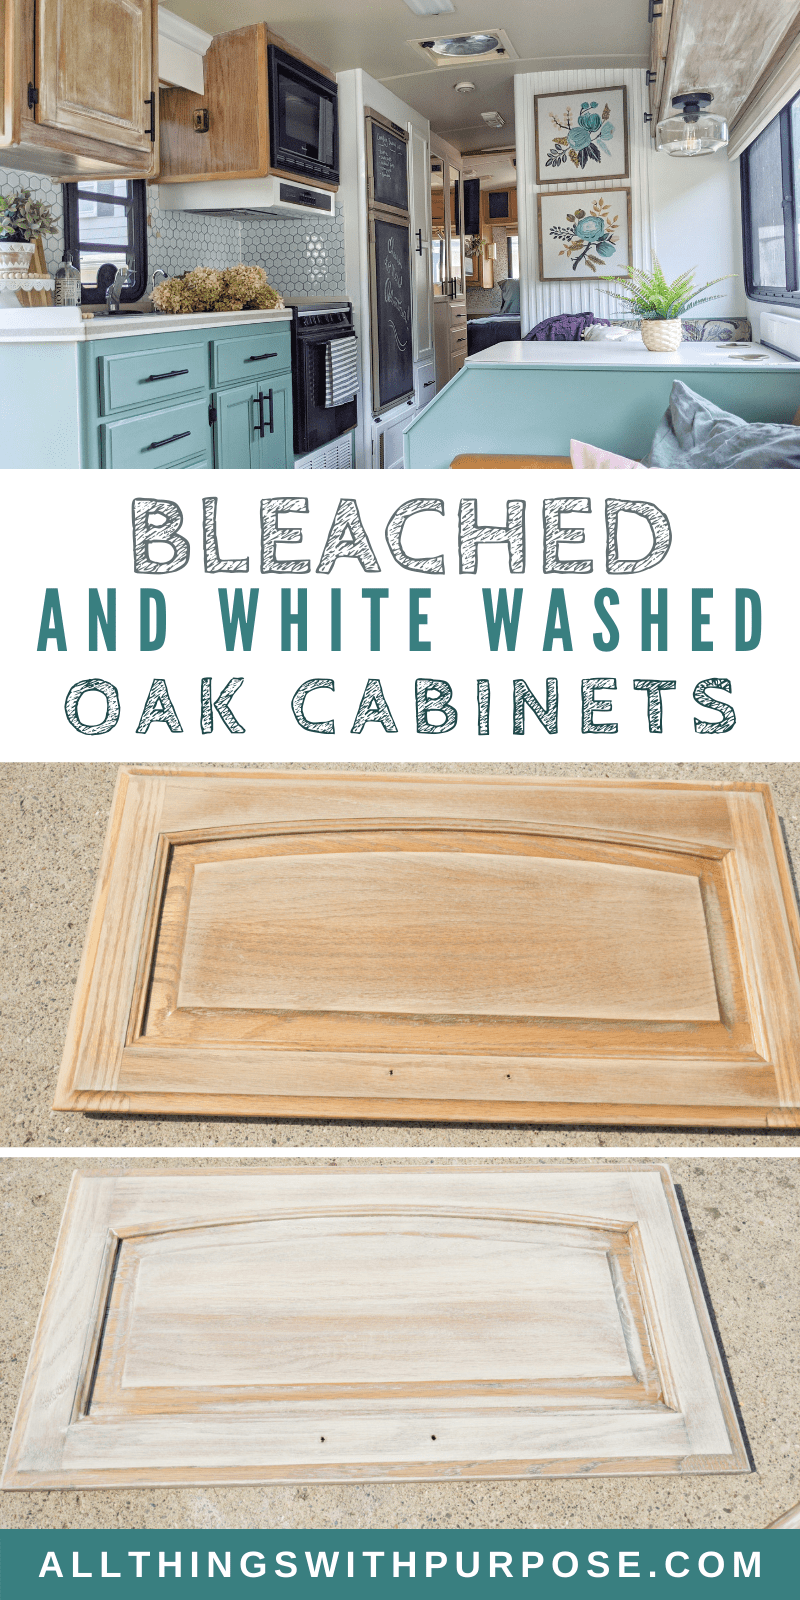
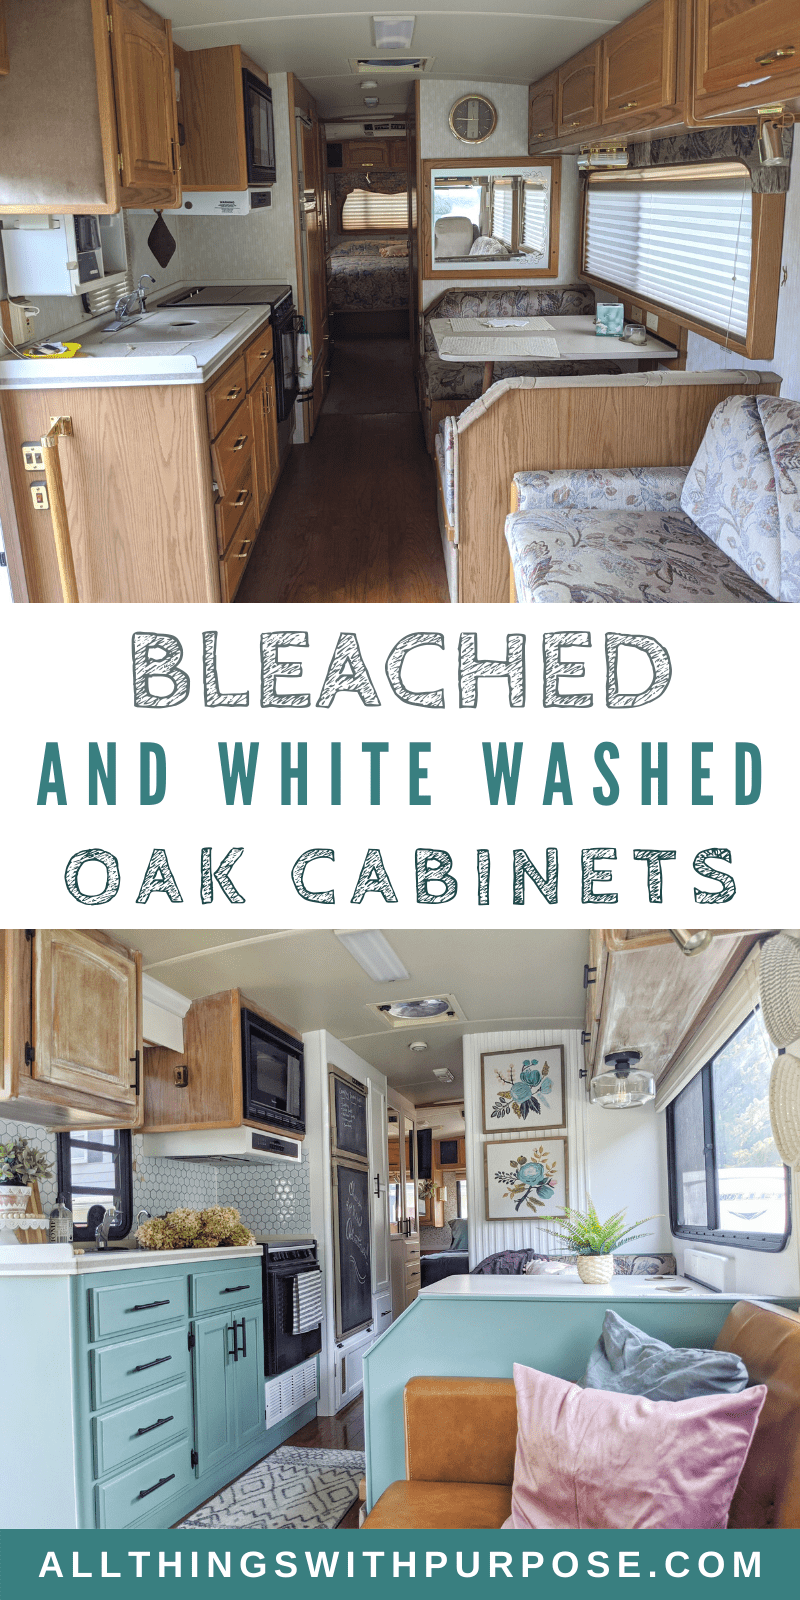
How To Bleach and White Wash Cabinets
When I started the renovation work on our 1994 Pace Arrow motorhome, I wanted to do something different. I could have played it safe and used the same, winning color combinations that I’ve used in the past, but for the sake of keeping things interesting, I decided to try something new. I decided to bleach and whitewash the yellow oak cabinets. Did it pay off? Am I happy with the outcome? Keep reading to find out!
Get the Look
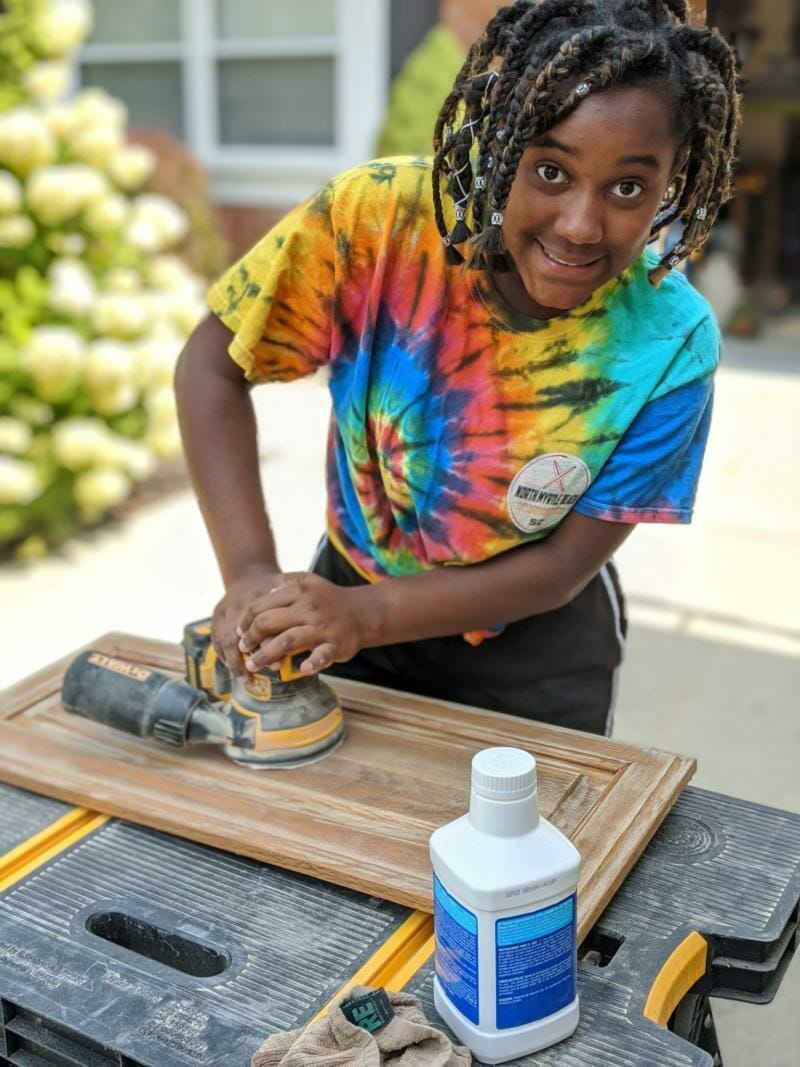
It took us some trial and error to bleach and whitewash these cabinets in a way that I liked. I originally wanted to attempt a bleached wood look, but after several rounds of bleach, decided it would be too labor intensive. We tried sanding, bleaching and liquid sanding before coming up with a combination that worked. Here’s what worked:
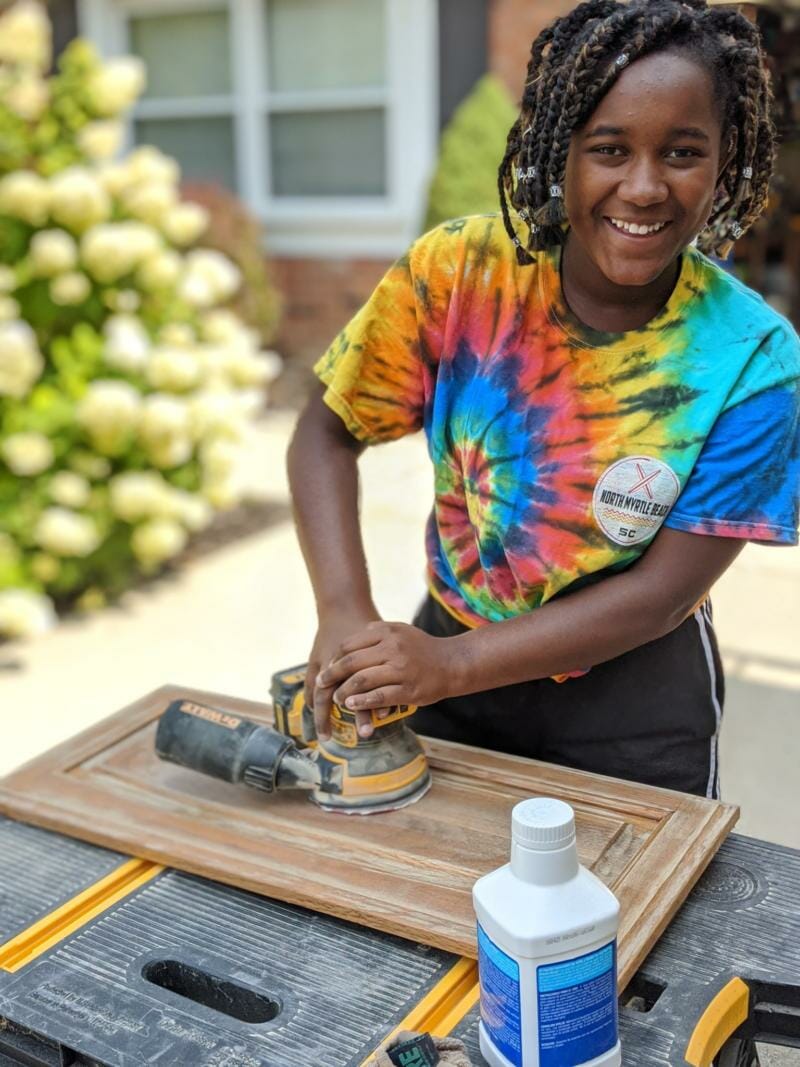
- Remove cabinet hardware and label the doors so you know where to put them back.
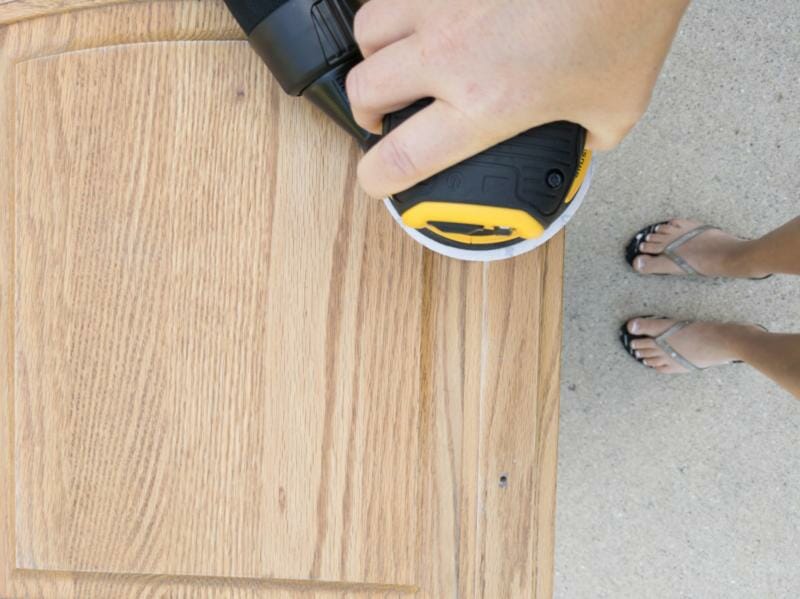
- Using a palm sander, sand down the doors until most of the original finish is gone. This palm sander made this step almost effortless.
- Using an old paint brush, brush on a layer of full strength bleach. TIP: we did this in the driveway on a sunny day. You’ll want to do this outside where there is plenty of ventilation and the sun will help the bleach do it’s job.
- Once the sun had thoroughly dried the bleach, I painted on a mix of 1 part paint to 3 parts water. I used very little paint and wiped it off with a damp rag.
- Once the paint was dry, I used the sander again to remove more of the paint.
- Wipe the doors clean and then seal with a clear top coat.
Keep Trying
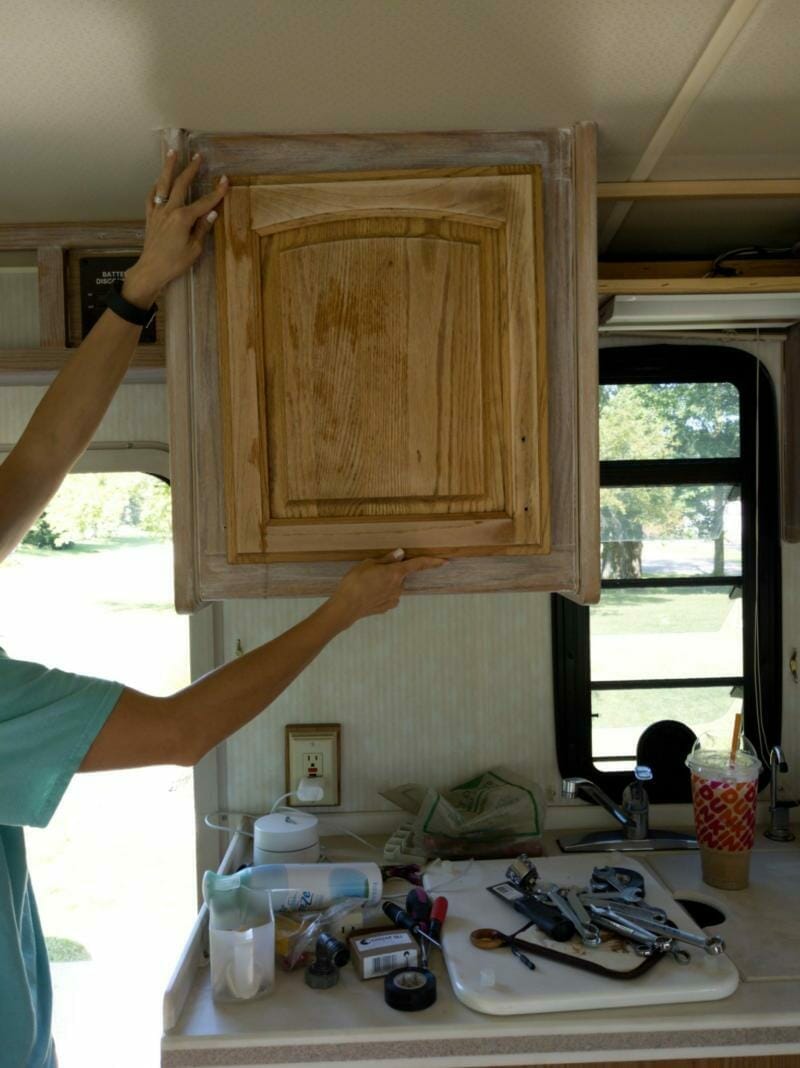
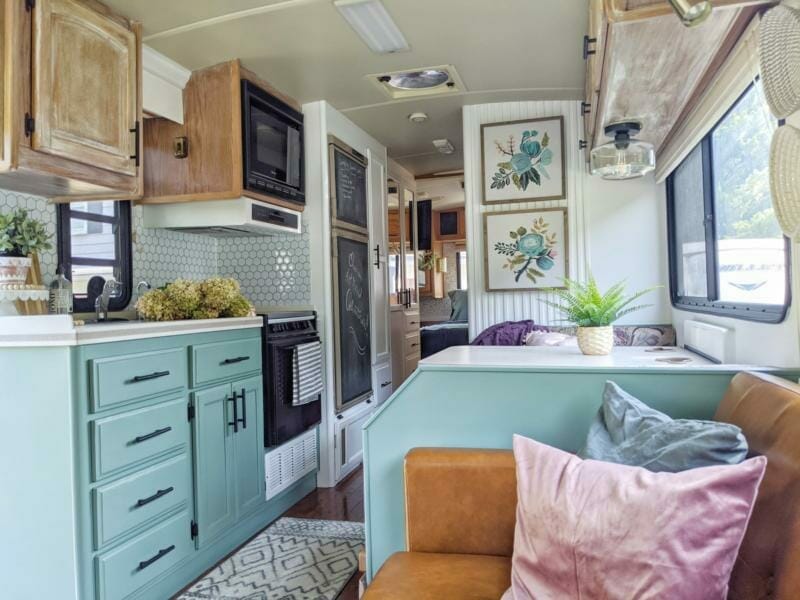
Don’t be afraid to play around with these steps until you achieve the look you are going for. I was VERY unsure how this would turn out and didn’t know if I would end up loving or hating it. I put a survey out there on Instagram and the reactions were very mixed! I wanted a weathered, driftwood kind of look that would add interest and texture to this space. I liked the idea of having a natural wood grain element to this RV design, and knew I would be painting other areas.
As we experimented, we’d bring a door in and hold it up, only to feel like it wasn’t quite right. Adding a little bit of watered down paint helped brighten it up without spending tons of time on bleach.

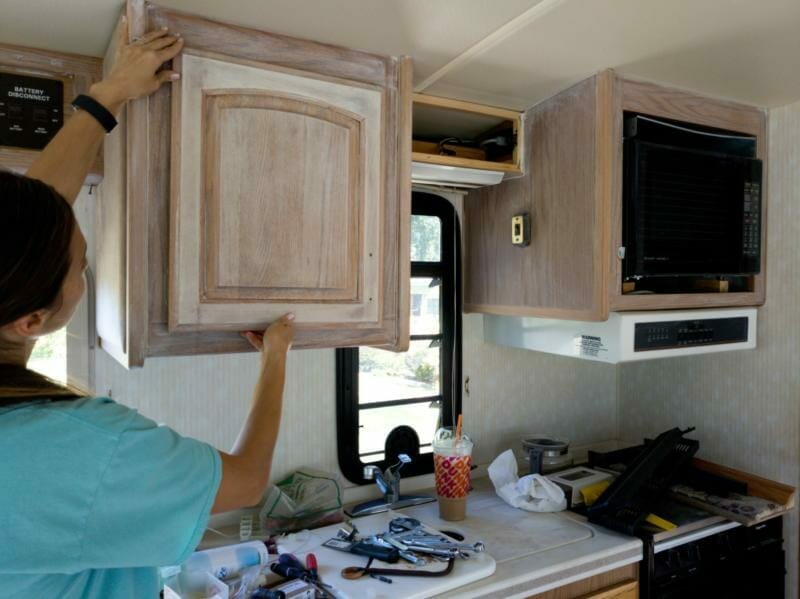
What to Do with Fake Wood
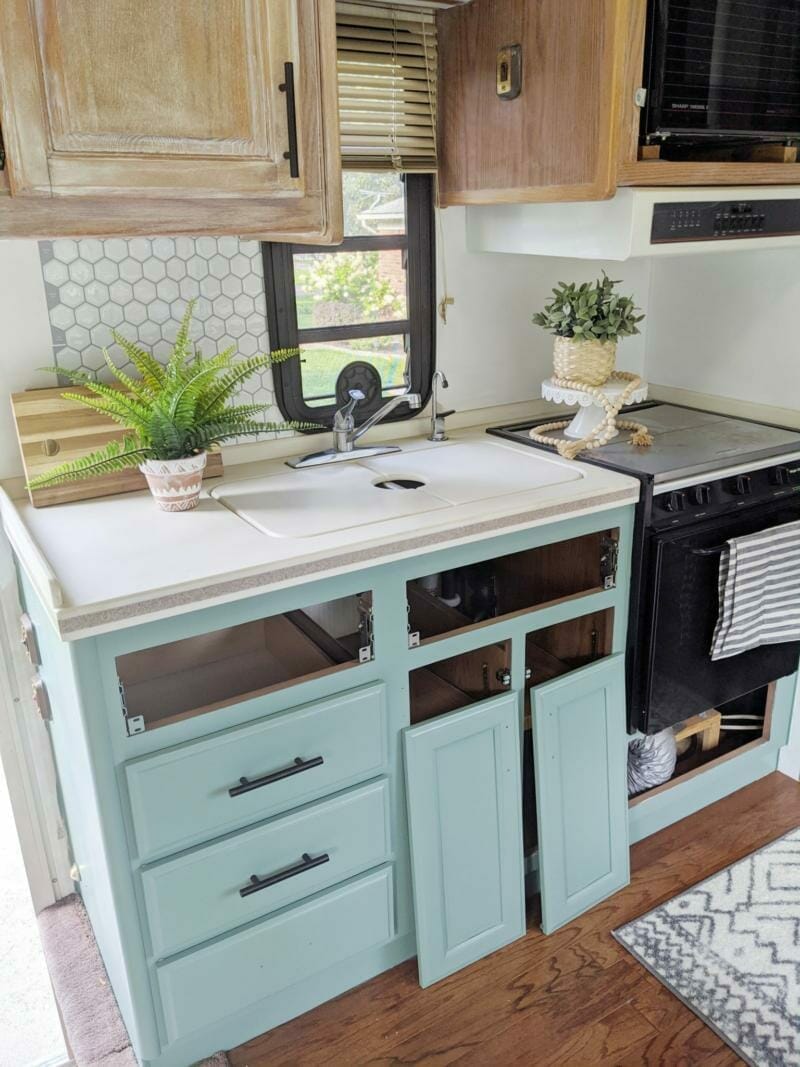
In many RV’s the cabinet doors are solid wood, while the rest of the cabinet has a wood or wood-like veneer. This can’t really be sanded down in the same way the doors can, so we had to get creative to match the look on the doors. For this portion of the cabinet, I used the white wash mixture and painted it on a little heavier than the doors. I used a damp rag to spread it around but left more on the wood. I covered this with the same clear coat as the doors.
Putting it all Together
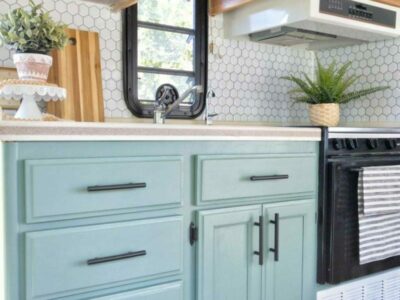
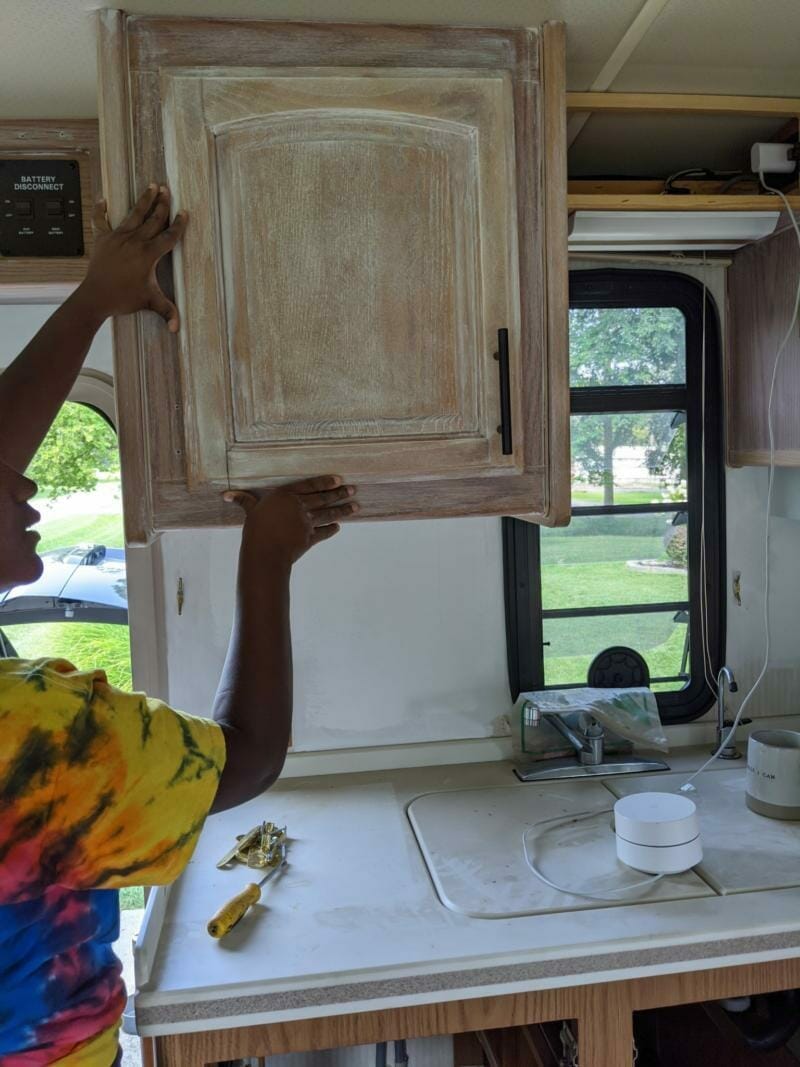
Once we got the hardware installed and painted the lower cabinets, it all started to come together. I realize this look is a matter of preference, but when the new owners signed off on it, that’s all the approval I needed! I like the overall combination of wood, color and texture. What do you think?
Pin-It!
Michele Parbury
Thanks for the info! Your color combo caught my eye, as this is the exact combo I want. I wasn’t quite sure if the whitewash would work on the fake wood uppers, so I’m glad to see your steps. We have a few cool days ahead (lower 80’s & low humidity) so I’m headed out to get started!
Beverley Sterne
Hi my cupboards are pine. Can I still use your technique? I thinks it’s fabulous. I’d start my trying the process on the inside of the food first.
DJ
I love this look. It’s fresh and clean, not the factory assembly line RV.
Excellent!
Addy latta
You did a fabulous job!
LJ
Loved it! What a job!
Jenni Isfan
Gorgeous- bravo you!,
Sarah
Hi! Do you remember the name of the lower cabinet color? I love it! We are renovating a kitchen and want to use some like this to paint the island. Thank you!
Pamela
How can you afford to reno ? How do you know that the flooring, back splash in the kitchen will stay up and the paint won’t come off easy?
The movement when traveling for the floor what do you use.